Bar Carts and How to Style Them

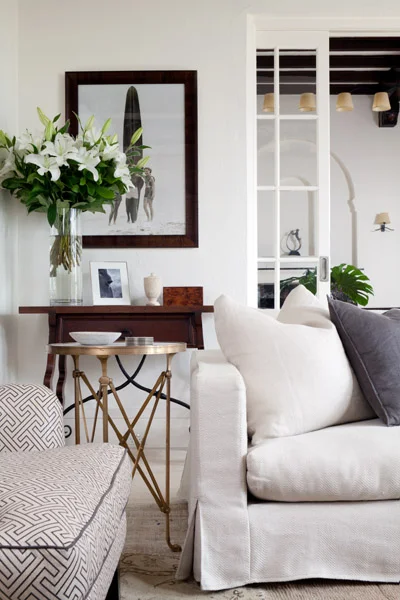
Now is the time of year when everyone is entertaining in their home.  Aside from having a beautiful dinner table (you can purchase our table setting packages here if you haven't already), I love a nicely done bar cart.  If your space and budget allow, I think these are a great investment for entertaining--they are fun, stylish and portable...what's not to like?  I've compiled a list of a few of my favorites below.  For smaller budgets, tray tables are a great option.

Once you have your cart, you need to set it up right.  This can be easily done with these essentials.  So grab the necessities and interject your personal style for a cart that you and your guests will enjoy.


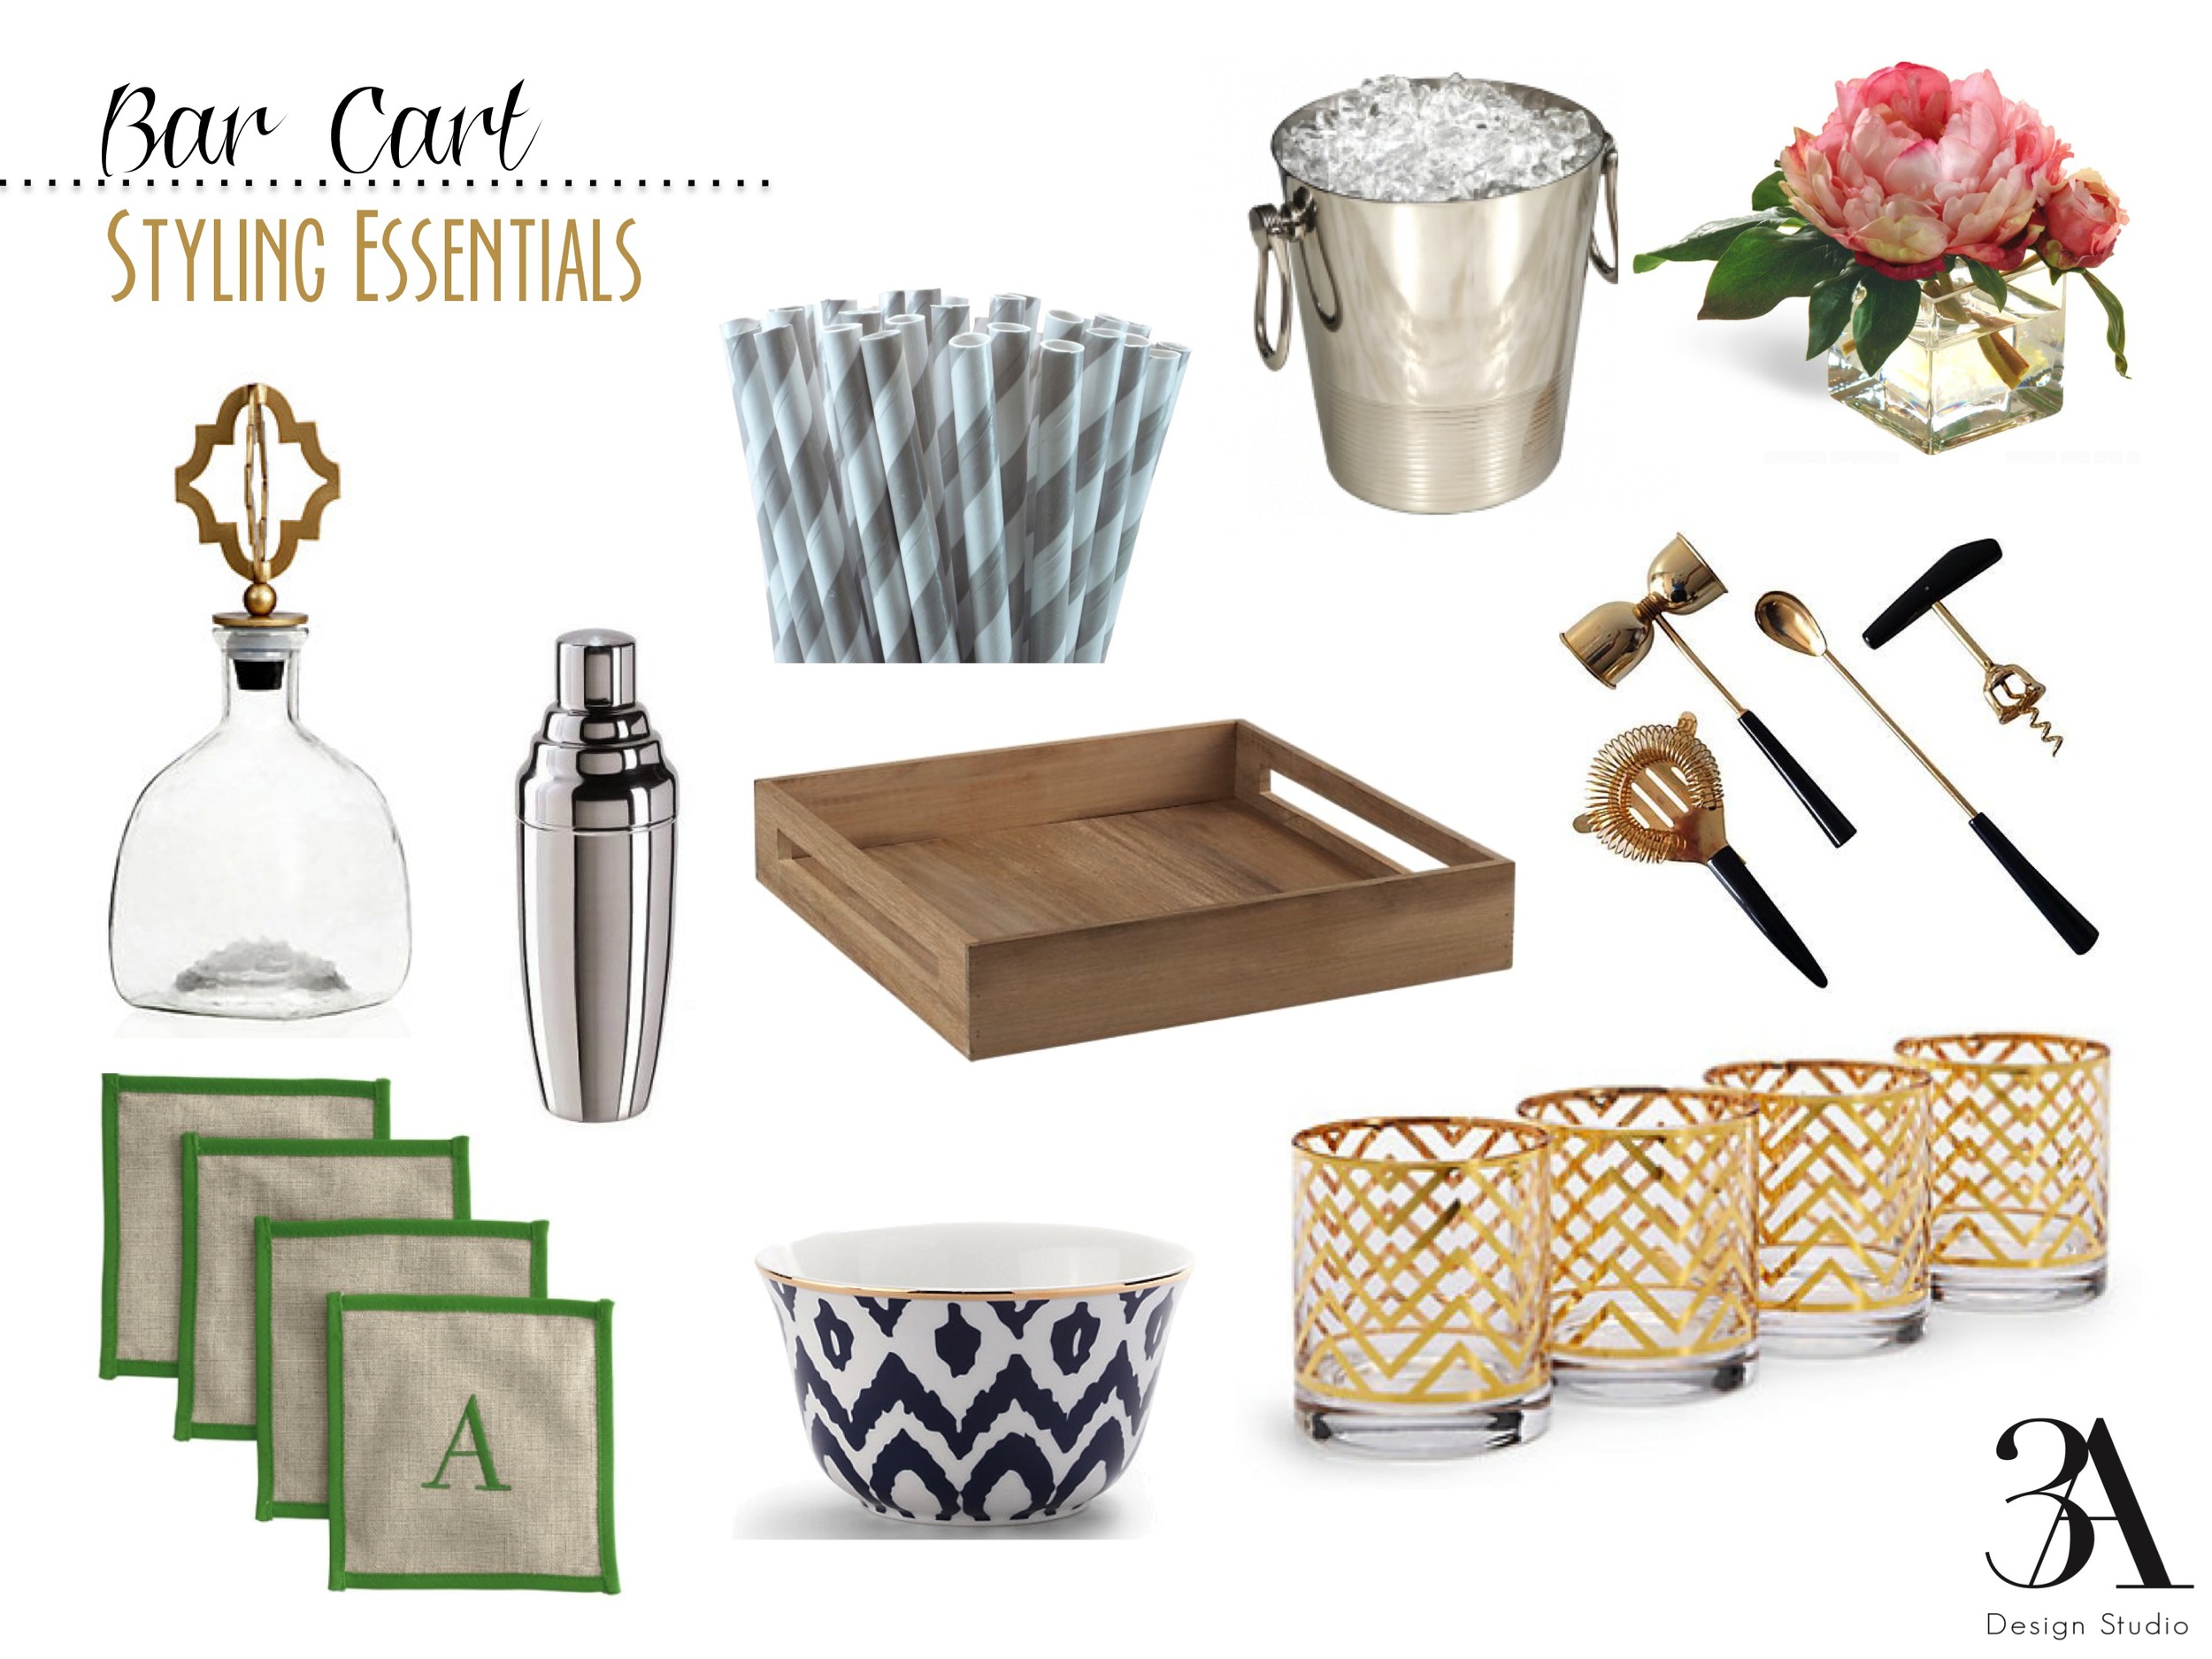
How to style a bar cart:

  • Small decorative bowl(s): For snacks or drink garnishes
  • Straws: Paper straws are my favorite, and they come in every style/color you can think of these days.
  • Florals/greenery:  A great way to add color and life to your cart.  You can keep everything else on the cart the same and simply change out the flowers for an entirely different look.
  • Glassware:  Forgo the plastics and get a set or two of essential glassware.  West Elm is one of my favorite places to find these, and they just so happen to have their glassware on sale (with free shipping!) right now.
  • Ice bucket (and tongs):  Because no one wants a hot drink.
  • Cocktail shaker: Another no-brainer.
  • Bar tools: Purchase a jigger, stirrer and bottle opener if nothing else.  You can often find these tools sold in a set.
  • Mixers: Have your favorite mixers on hand for quick pouring. Swap juice containers for glass carafes and cohesive look.  
  • Alcohol: Unless you prefer the virgin variety of course.  Serving liquors from decanters instead of cheap looking store-bought packaging is optimal (especially for style points).
  • Decanters:  See above.  
  • Coasters:  Protect your furniture and add your style with a personal monogram.  I love these options from Mark & Graham.
  • Tray: They are a great way to corral your glasses and alcohol and keep your cart looking organized even when full.

Client Project Before and After-Styling Bookshelves

Last month Dana and I headed up to Homewood, AL, to do an in-home style consultation for one of our sweet clients.  Our client had already received one of our E-Designs for her living room and was well on her way to putting all of the pieces together.  But one thing in the room kept stumping her--the bookshelves.  

She had not one, but three built-in bookcases in her living room--I know, we're all a little jealous.  She also had a great assortment of accessories, collectables and frames to help fill them.  The problem came when figuring out where to place everything.  

Styling bookshelves is definitely an art.  Even the most keen eye will move pieces around several times before stepping back and looking to see if it is just the way they want it.  This was something the homeowner had done several times but had yet to figure out the puzzle.  She needed our help, and we were thrilled to give it.

She did a great job with two of the built-ins but wasn't fully satisfied with the outcome...and she didn't even know where to begin on the third one--the deepest one of the them all.

We honestly have to say that she did a really great job.  Two of the bookshelves were almost "complete," but they still had a few little problem areas.  A few of the shelves were still empty or didn't showcase the pieces like she wanted, there was little red (a color that needed to be added to balance out the rest of the room) and all of the remaining accessories weren't right for the third, incomplete shelves.

We began by tackling the most difficult bookcase first, the deep one next to the fireplace.  Once we got things looking good in there, we knew we would be golden with the other two.  We spread out the red accessories among all of the shelves so that one side of the room wasn't weighted in turquoise and showcased her prized possessions were they could all be seen.  A couple of hours (and a lot of chatting--we seriously have the best clients) later, we were done.  Here are a few before and after shots (please excuse the lighting--it was dark by the time we finished).

Bookcase one with the deepest shelves. 

Bookcase two.  The fish floats are a favorite of the clients so we moved them to eye level on the deep shelf for everyone to see. 

Case three.  

What do you think?  Just a little rearranging can go a long way, huh?  We loved the final outcome and so did our client.  After leaving she sent us a text saying "I can't stop looking at them.  Thank you!  Thank you!"  I'd say that was a success!  We love what we do--especially when doing our job makes you love your home even more.  Contact us today and let us know how we can help you---no project is too big or too small!

In closing, I have to say that last bookcase is my favorite.  Which one is your favorite--1, 2 or 3?  


Color with Doors

I've been dreaming of painting a few doors in our house for some time now.  I really want to tackle the front door, but I'm so indecisive on the color for the outside (I know I want the inside of it to be black). Our home is tan with cream trim and it definitely needs a little somethin' somethin' to wake up the front porch.  I think a freshly painted front door (and new light fixture if I'm being greedy) will do just the trick.  

I love this gray and green combo.

I love this gray and green combo.

Our front door is not the only door I want to paint.  We have far too many interior doors (including 4 pocket doors) to even think about painting so I'll leave them white.  However, I do have an itch to paint the door in our laundry room that leads out into the garage.  Right now it's a white door in a tan room with slate tile and a white washer and dryer.  It needs something.  A fun colored coat of paint on the door would be perfect---not to mention easy.  You can paint one side of a door with only a sample size of paint in most cases...which means it would be a nice room update for less than $5!  And if I use one of my many sample colors I already own, it'll be free!  Decisions, decisions. 

orange-sliding-barn-doors-0911-berman-mdn.jpg

I always love when I come across rooms that have a door in an unexpected color.  Painting a door in a different color makes it stand out and become a fun accessory in the space instead of a typical, overlooked necessity.  

Oh hello beautiful pantry door!*

Oh hello beautiful pantry door!*

Here's Emily's mint door from Little Green Notebook.

Here's Emily's mint door from Little Green Notebook.

Then there's these blue beauties.

Then there's these blue beauties.

A little coastal blue.

A little coastal blue.

Periwinkle is my favorite.

Periwinkle is my favorite.

Everything about this kitchen is lovely, including the door.

Everything about this kitchen is lovely, including the door.

Coral, anyone?

Coral, anyone?

Whenever I make some decisions, I will let you guys know (and see!)  

*Click on images for sources.


Contrast Piping

Contrast piping--a simple concept that can create a profound look.  I've really been noticing/digging contrast piping in upholstered pieces lately...especially when the piping is darker than the overall upholstery.  It's not overly complicated but can really make a piece.  Here's a few favorites to show you what I mean.

The brown detail on these x-benches make them stick out in the vignette instead of fading away into the wall color.

A darker piping on light colored fabrics is a great way to increase longevity in a pieces. The edges are what get the most dirty, right?  I love this navy and white combo.

The black and white ottomans and pink and black sofa are tied together without trying too hard thanks to the contrast piping on both. 

This window bunk just got even more playful with the pop of color in the orange piping.  A little something, something to enhance an already adorable room.  The details are what make a space!

via

The black piping on the cream patio furniture from the American Dream Builders finale looks so sophisticated and classy.  I want that sofa on my own patio!

American Dream Builders patio.jpg

Again, the use of black brings a little extra sophistication to this charming room.  A little black goes a long way, folks.

via

And lastly this chartruese sofa brings it home with the contrast piping.  Everything just looks a little more put together with these clean lines.

eclectic-living-room contrast piping.jpg

So that's what I've been drooling over lately.  I can't stop thinking about where I can apply this in my own designs--headboards, chairs, sofas...  All of the examples I showed above are solids, but this concept would be just as great with patterned upholstery... like this greek key chair that I need in my life.

via

via

Oh the possibilities are endless!