Before/After: A Lesson in Paint and Scale by Chango & Co.
/Susana Simonpietri, creative director for New York interior design firm Chango & Co., knows how to transform a space. One thing I love about her company's website is that instead of just showing a portfolio of their work, they also show a great deal of before and after pictures of their projects. It's here that you can get a true grasp of what a good eye, great scale and great color can do for a space.
Here is one project in particular that is a favorite of mine, a brownstone in Brooklyn's Park Slope neighborhood.

New paint, furniture and minimal styling update this entry.

It's hard to believe that this is the same size room isn't it? Those huge mirrors are amazing and define the grandeur of the rooms ceiling height.

Anyone else swooning over that light fixture?

This dining room was updated with some paint, a new light fixture and amazing built-in, another signature element in Chango's designs.

New wallpaper and mirror and your powder room is transformed.

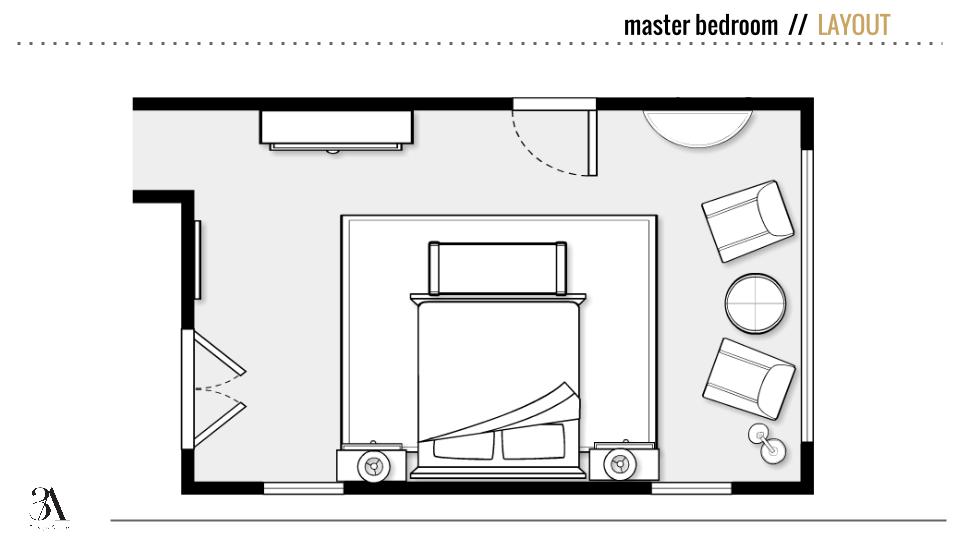
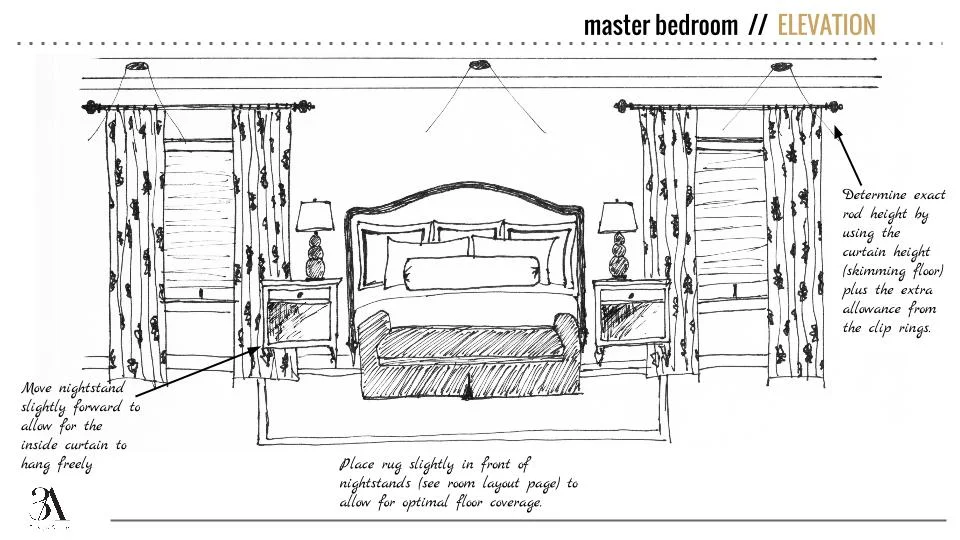
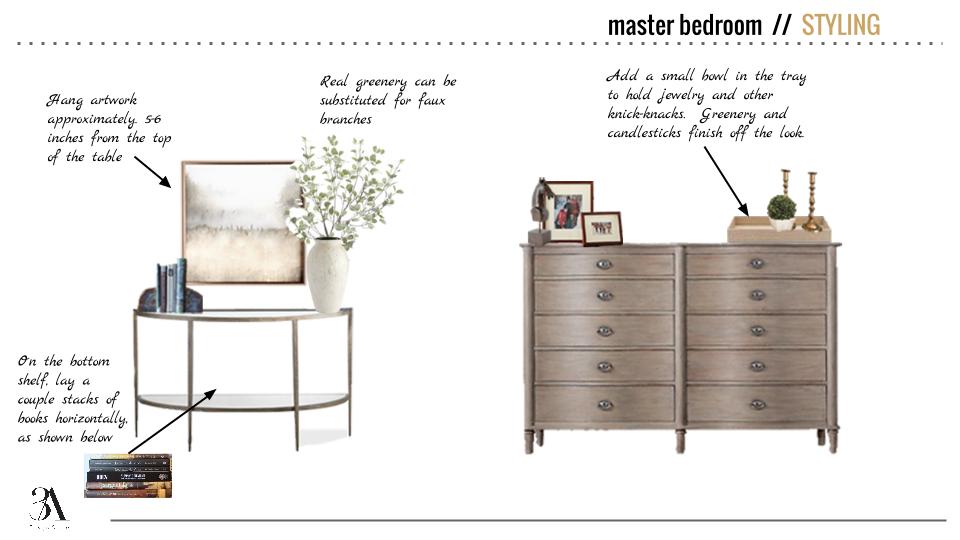
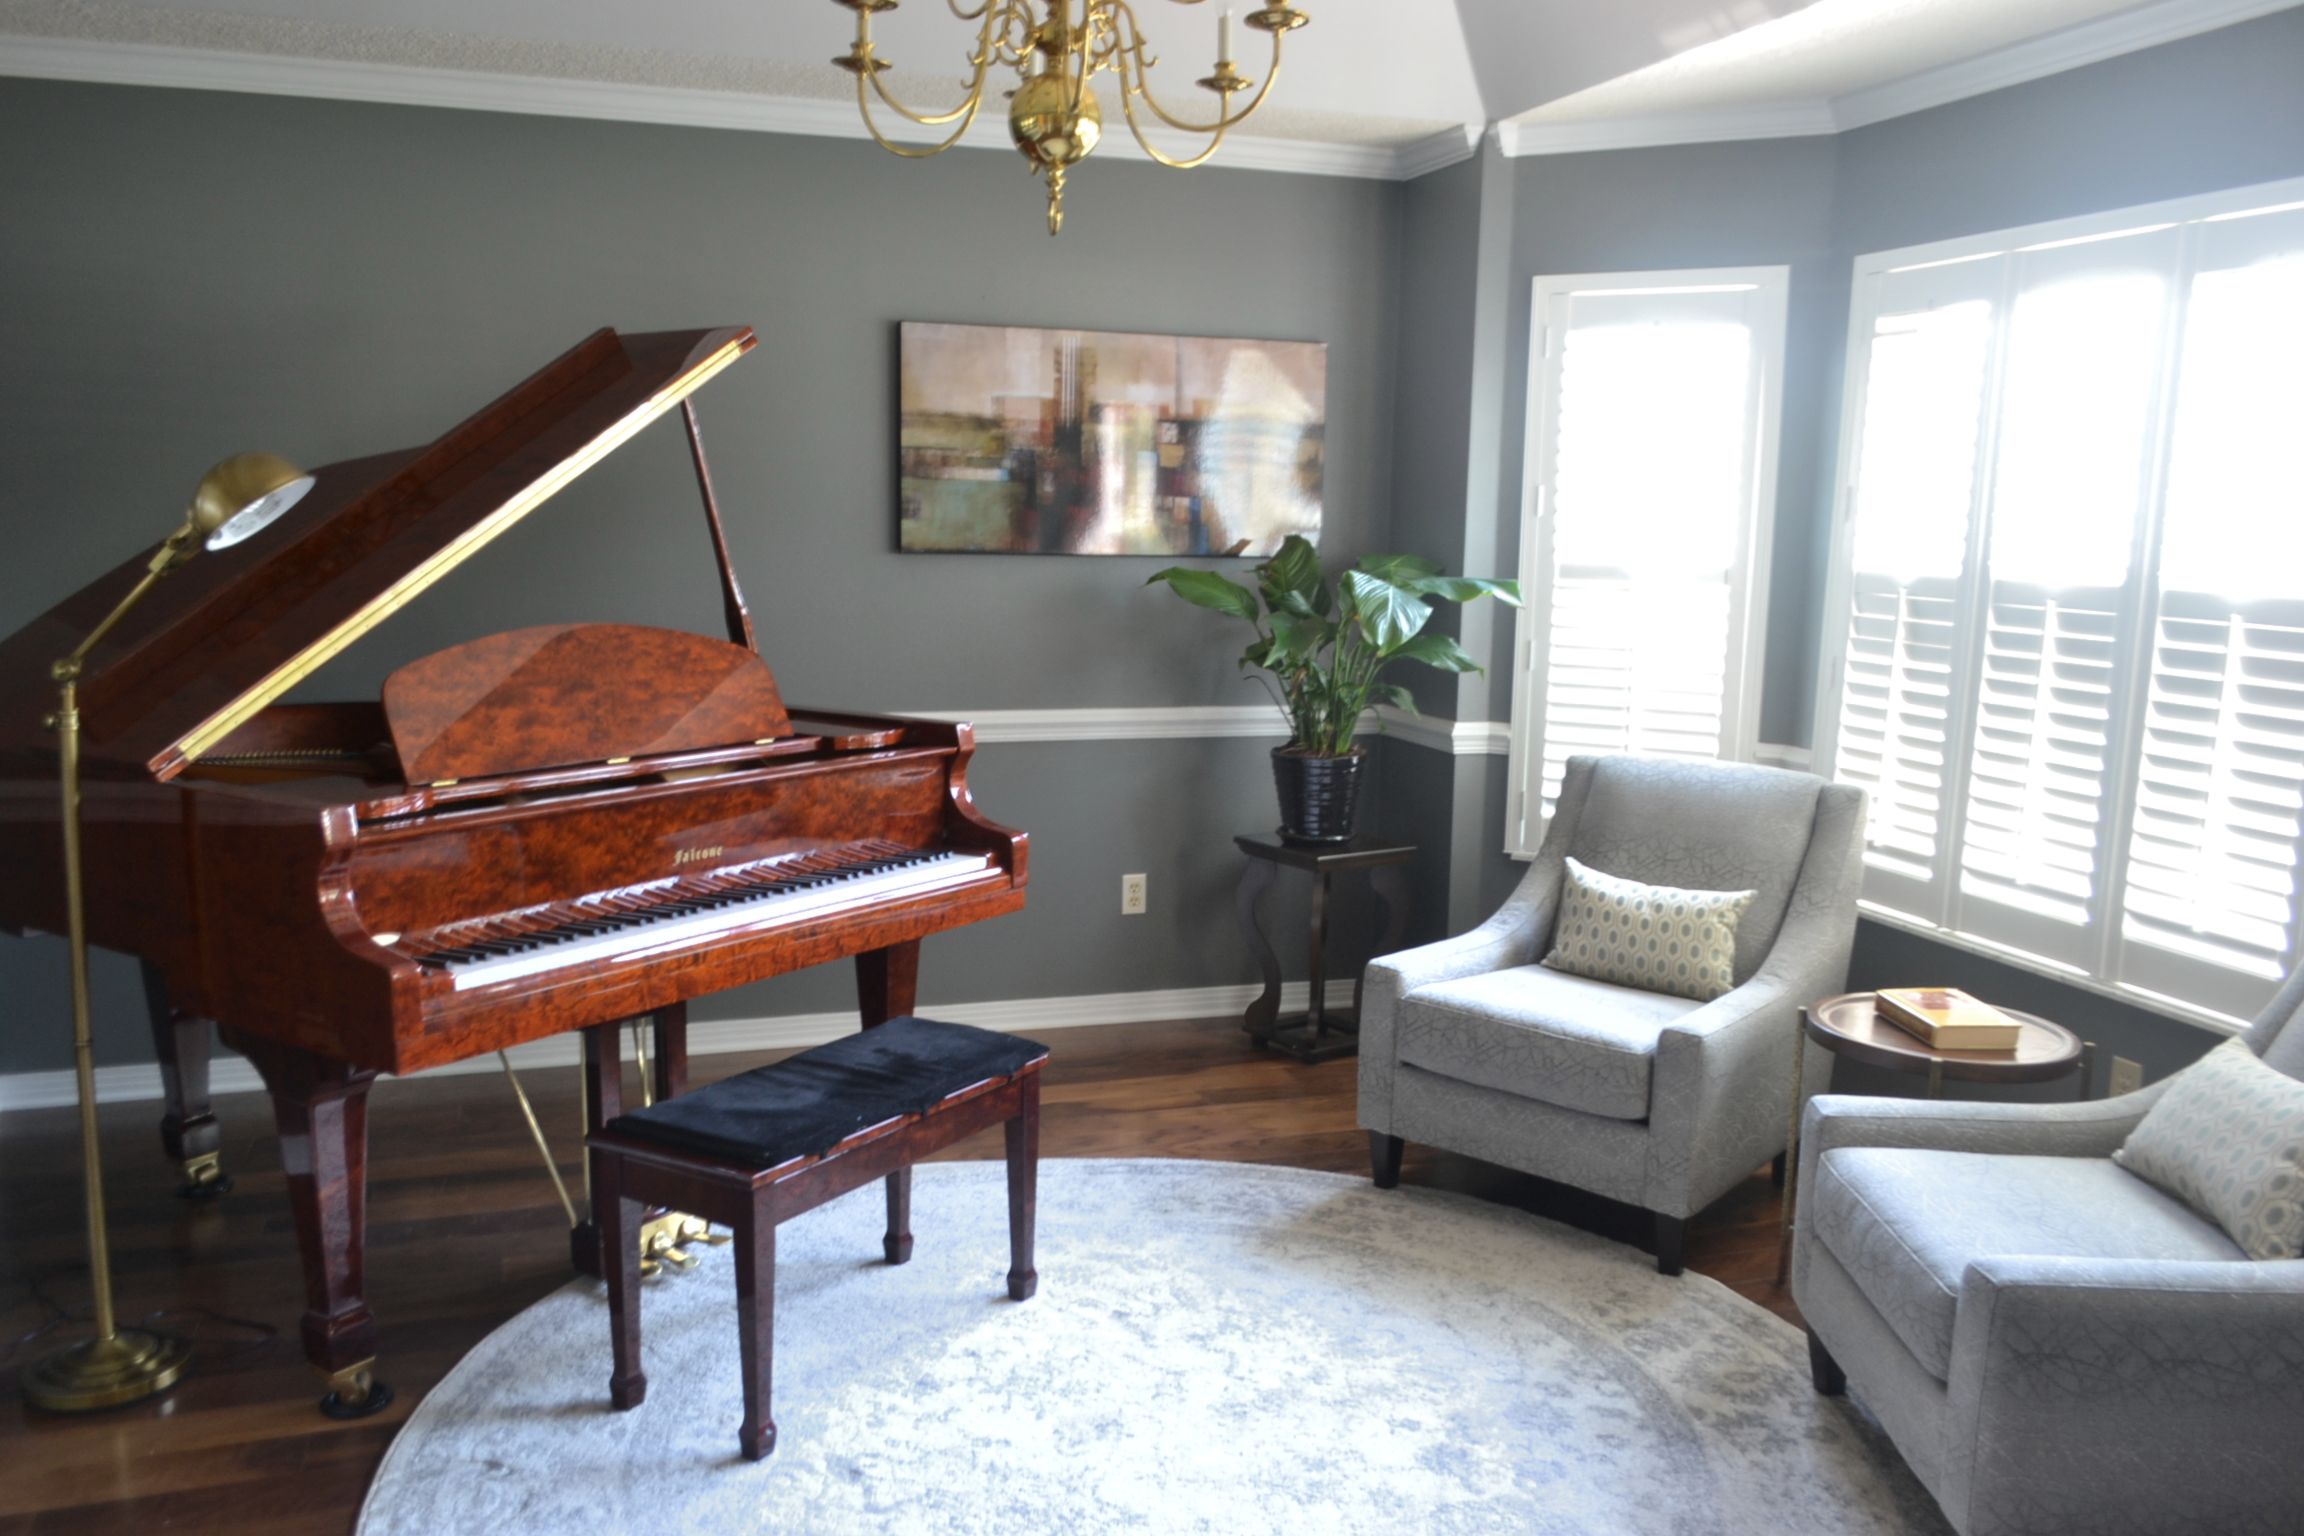
This master got a makeover with some new trim, paint and large-scaled furniture to fit the room.
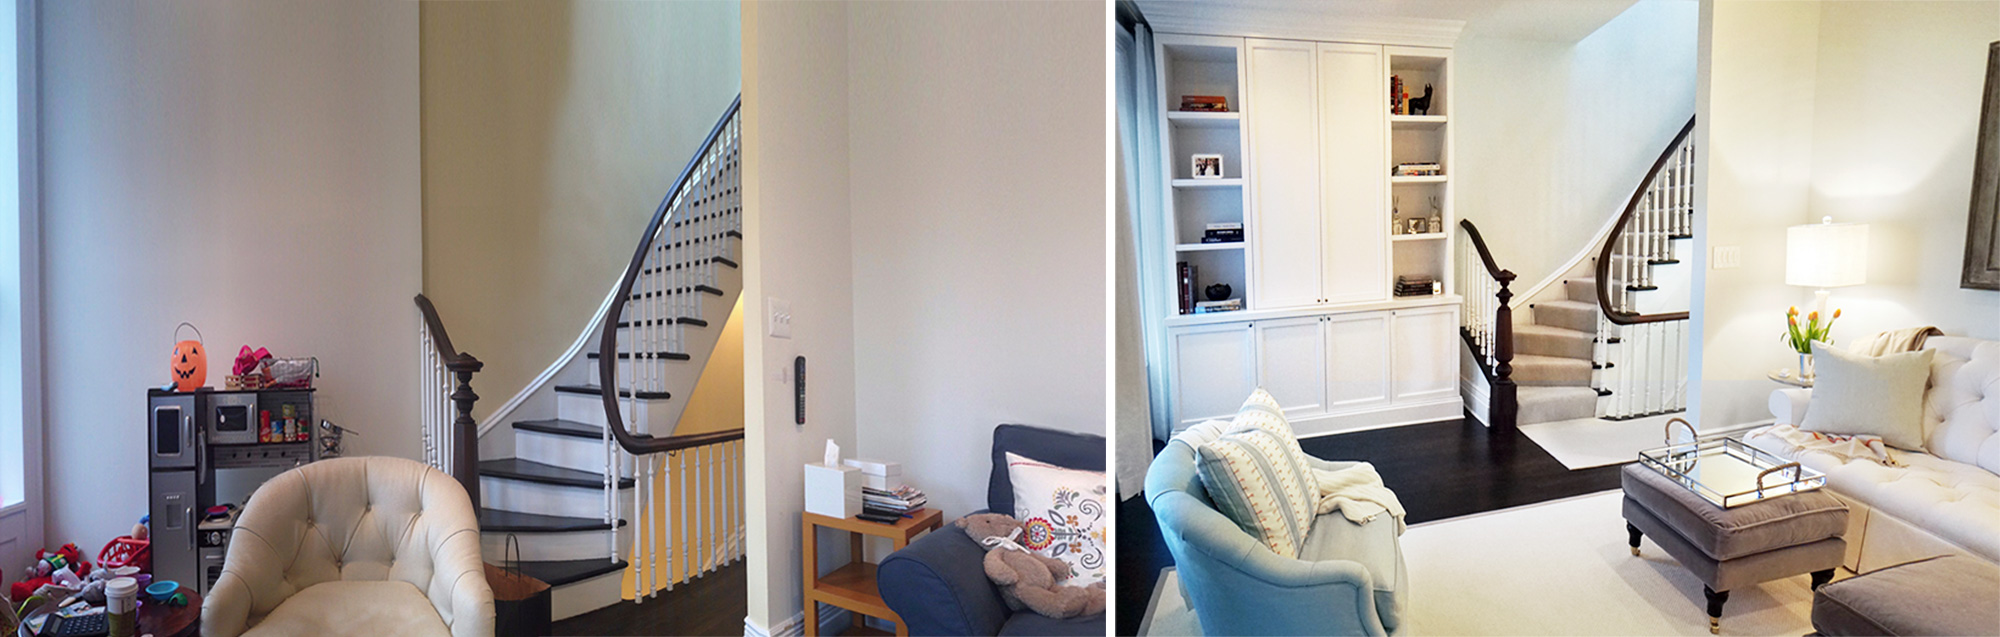
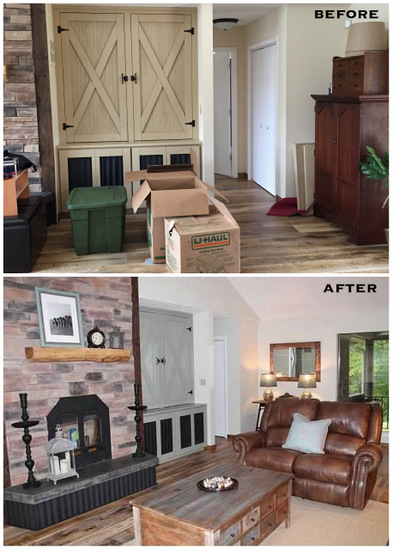
I spy another great addition of a built-in. What family doesn't need more storage?
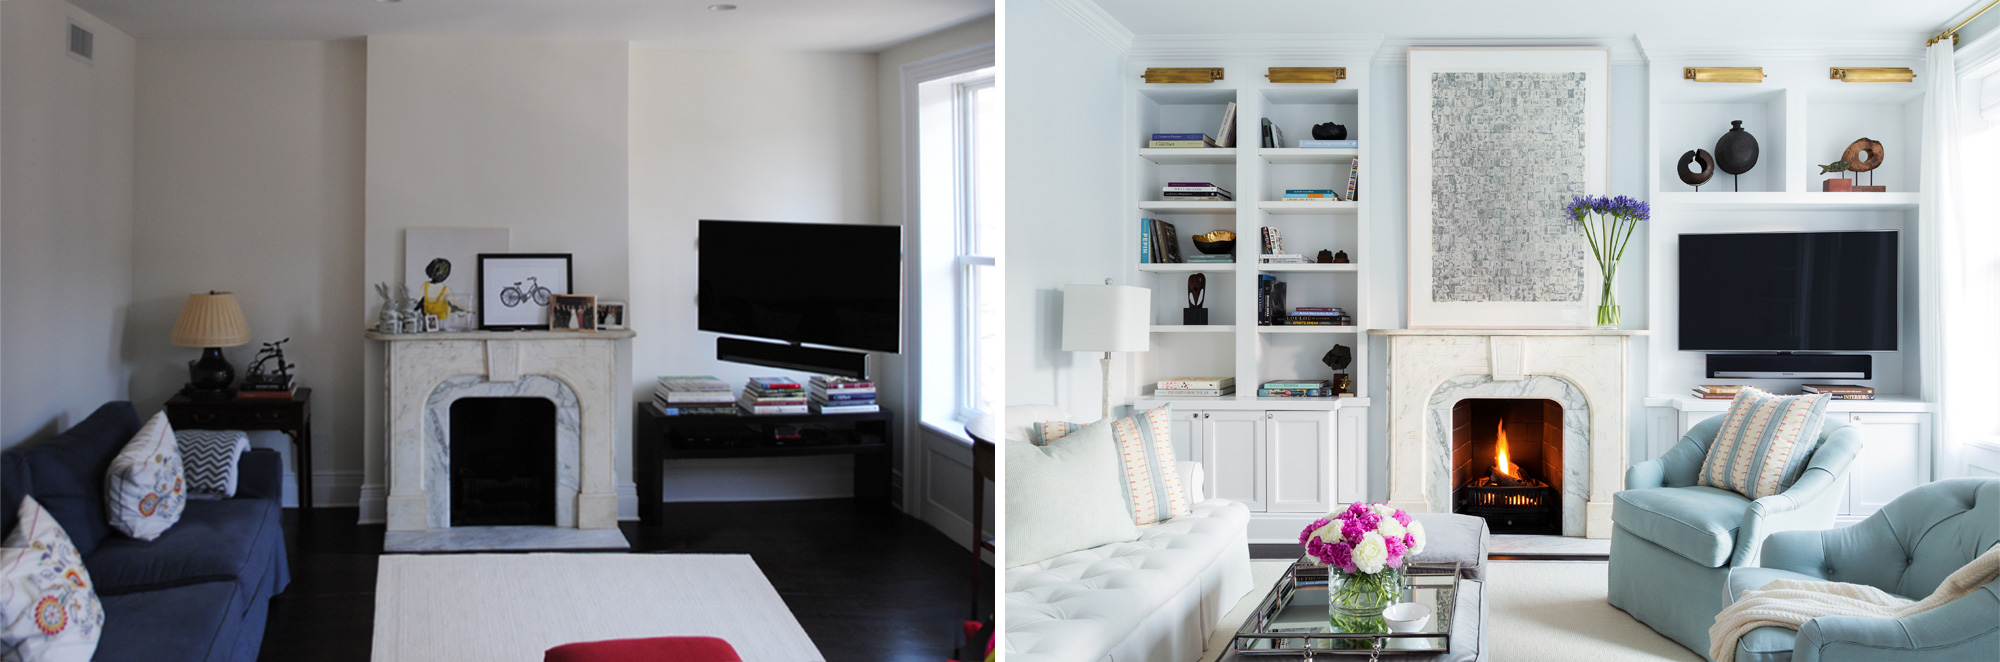
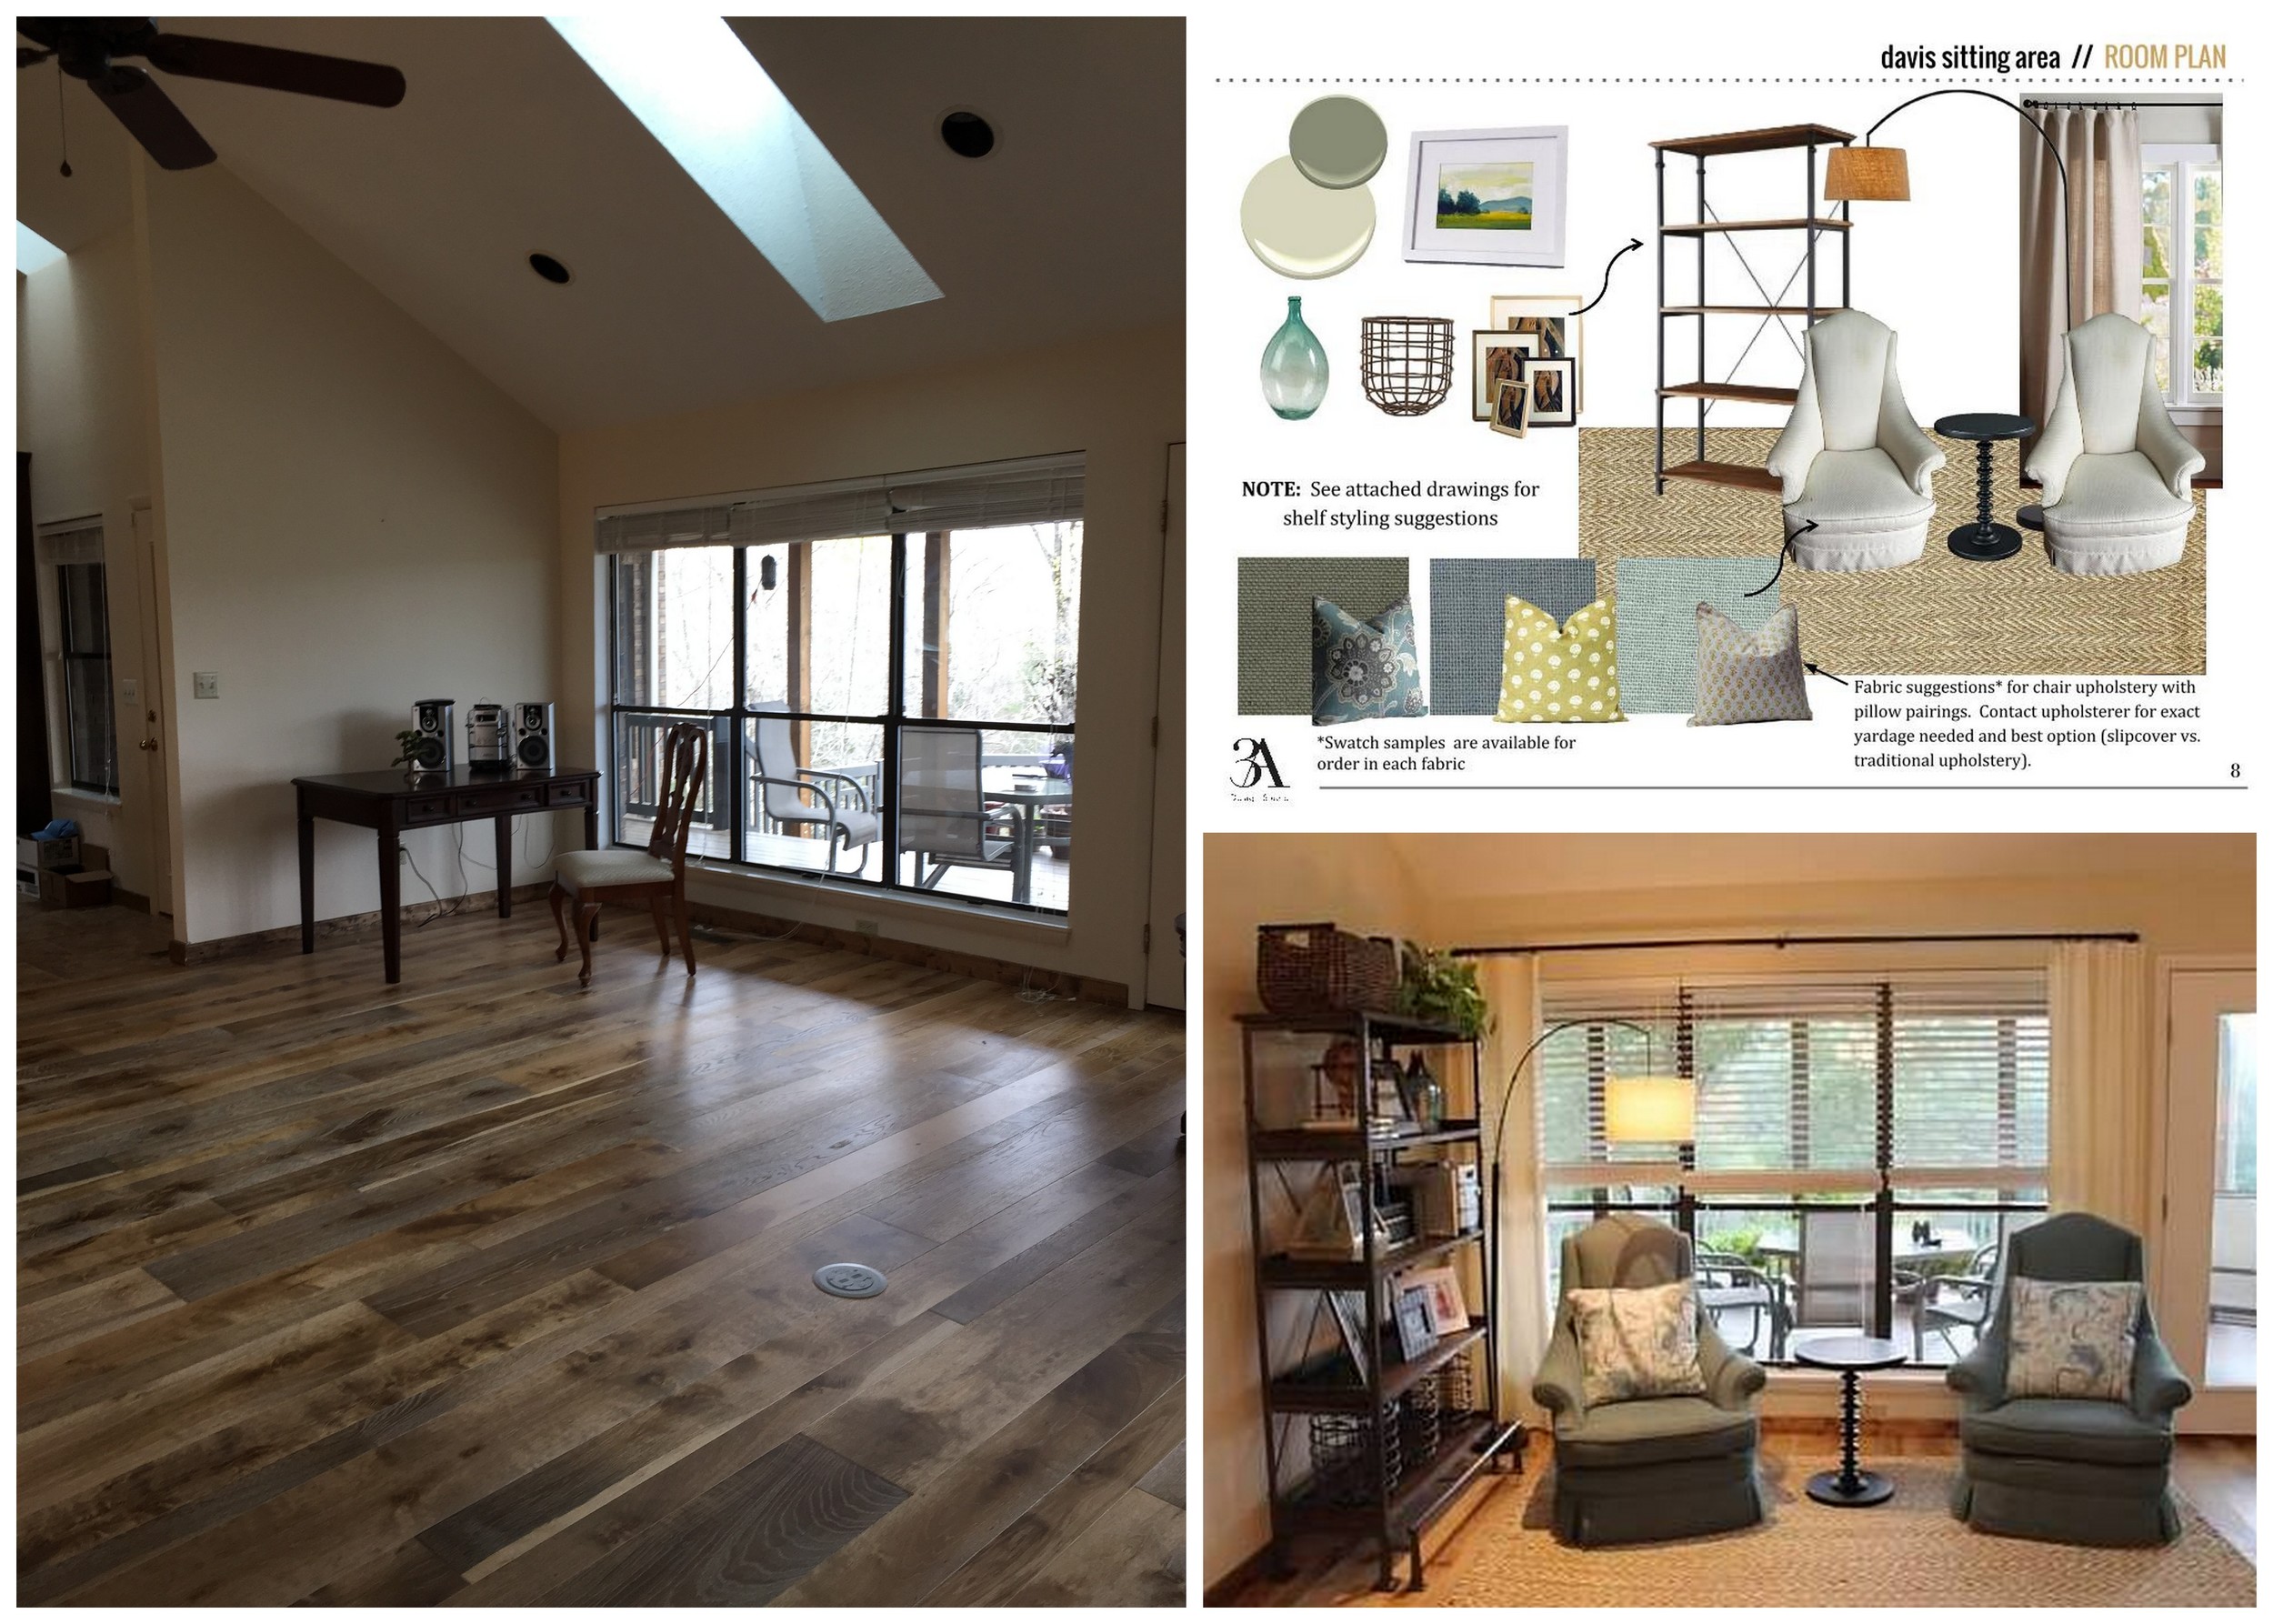
Here is the other side of the family room, showcasing some more built-ins that look like they should have been there all along.

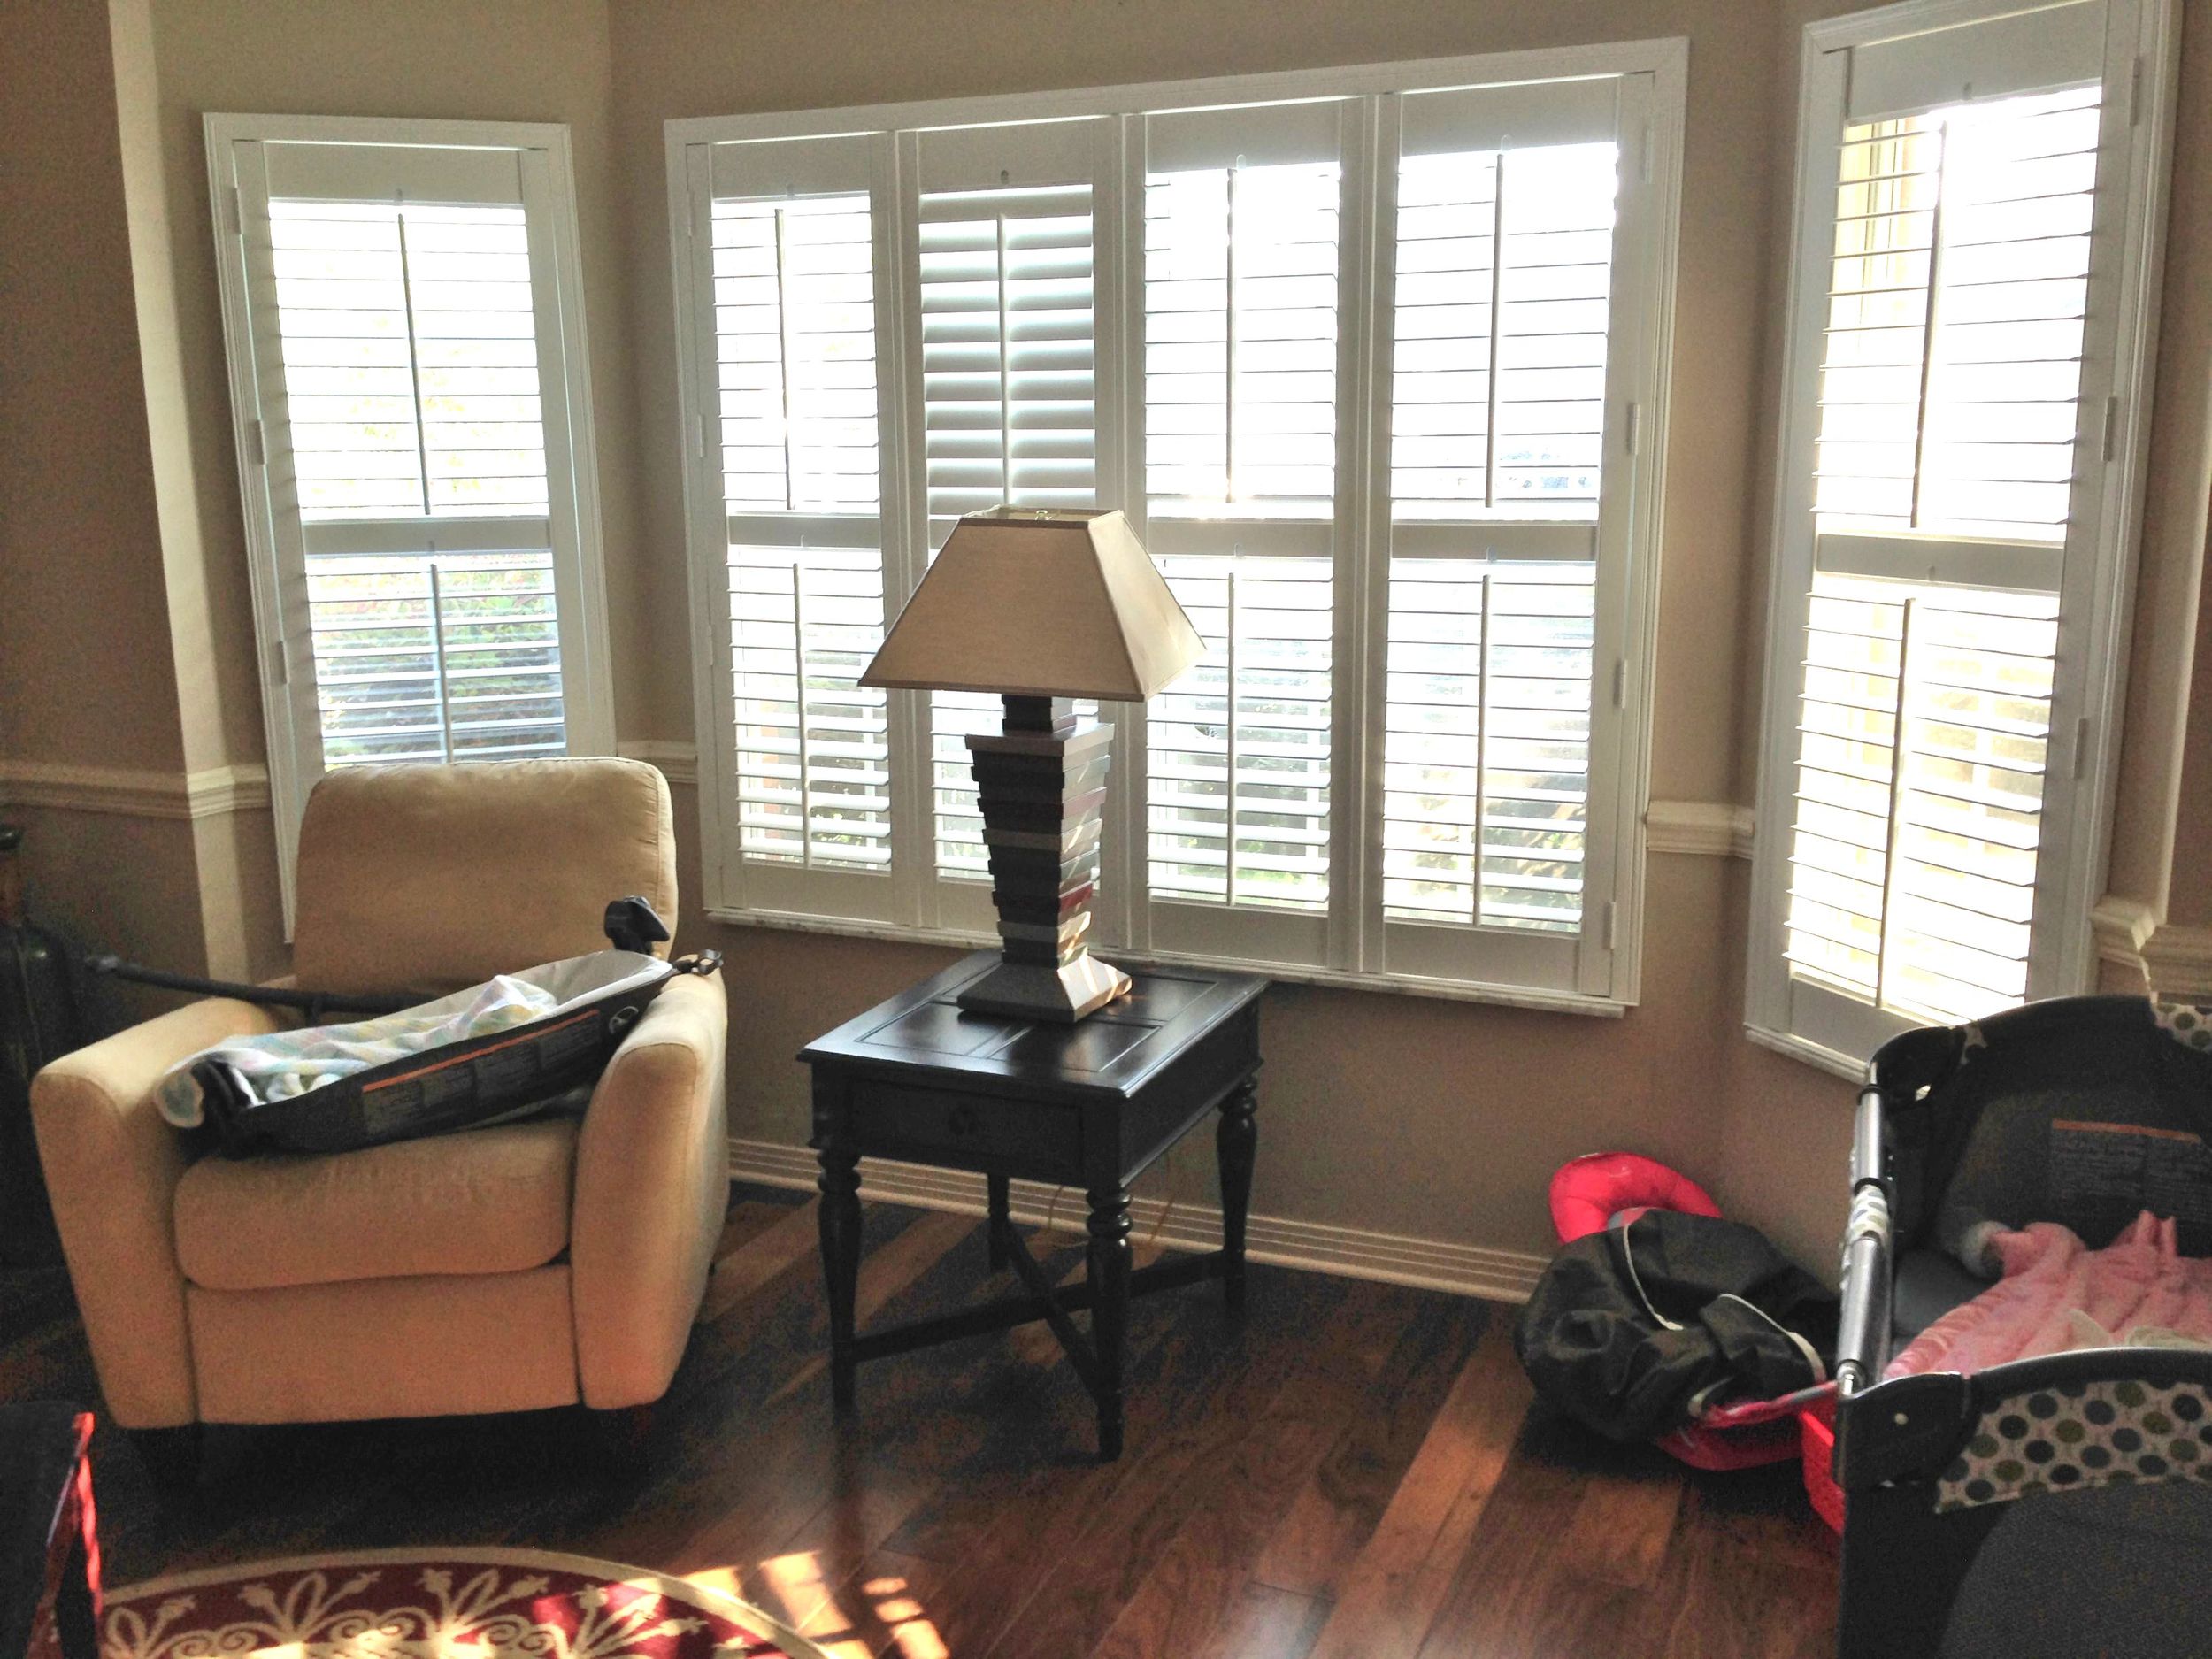
Last but not least is this adorable nursery. Look at how different the windows look when they have the right window treatments!
For more before and after photos of their work go here. And if we can help transform your space from a "blah" before to an amazing after, drop us a line today!