coffee-stained wood
/More progress in the navy bedroom. Last week the curtains went up! I don't have photos yet because they still need to hang a while to get out some of that new-curtain stiffness. Plus what good is seeing everything go up piece by piece. I think it diminishes the final "ooh" and "ahh" over the grand reveal ;)
In order to put up these new curtains (that have been sitting in their packaging for months) I needed a really inexpensive DIY method for my curtain rods. I'm in love with these from West Elm:

But I'm not so in love with the price. So, I made a rough inspired recreation and here's how it came out:
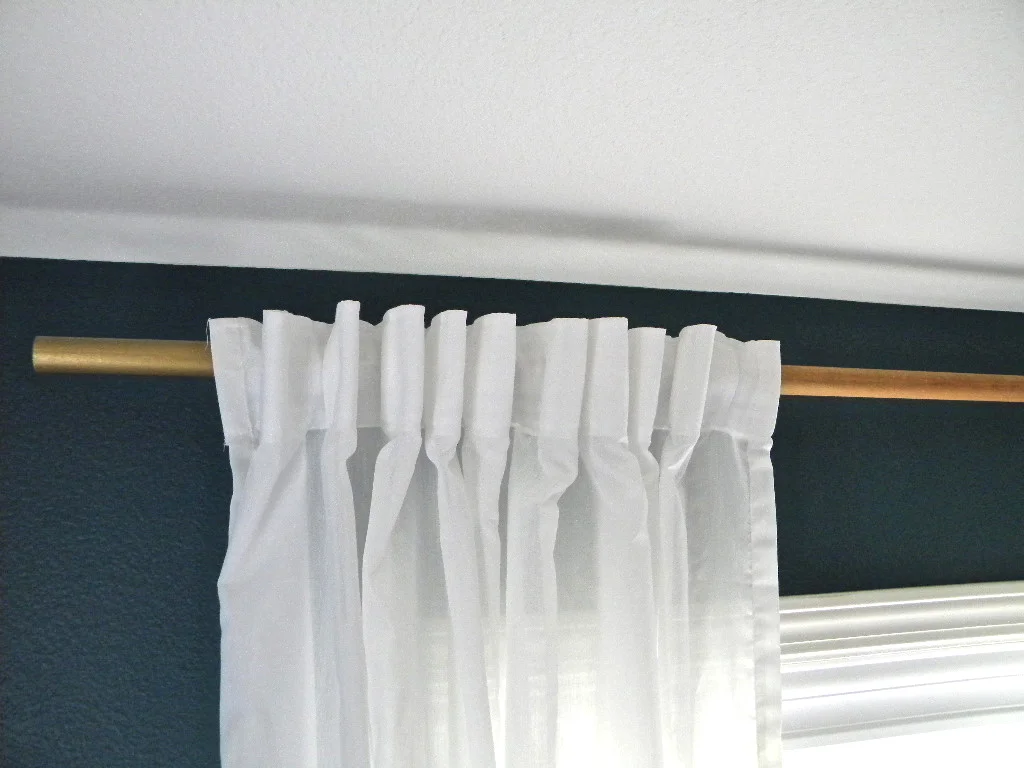
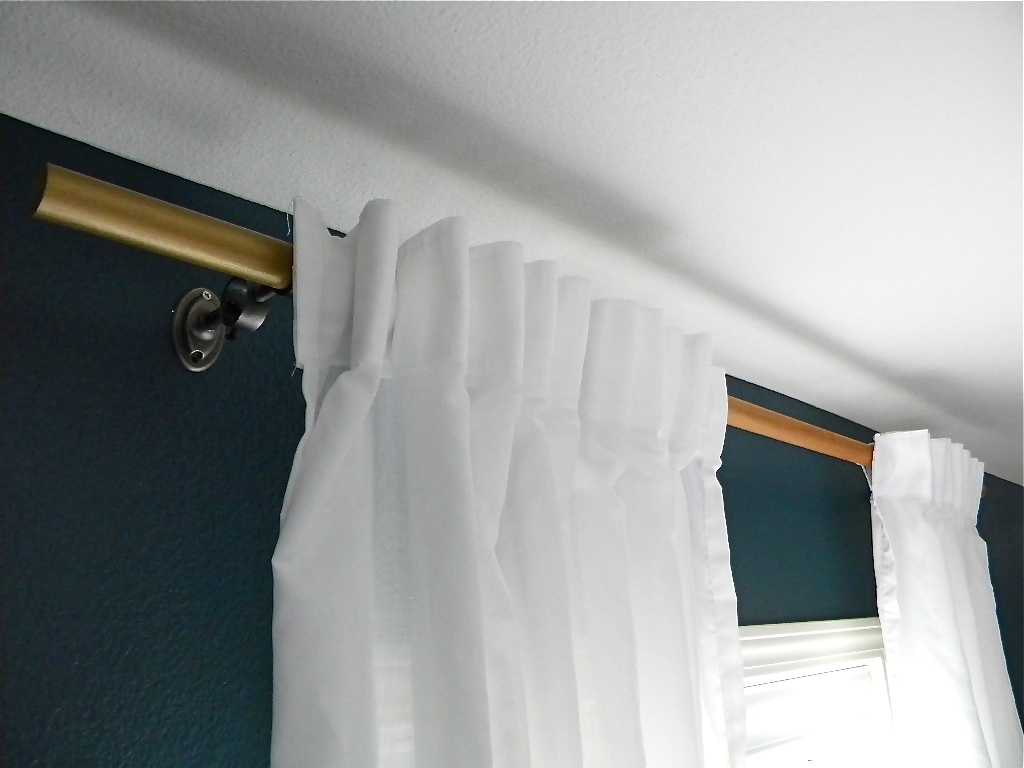
I'll eventually paint the hardware, but for now you can't even see them except at certain angles
Not exactly like the real thing, but good enough for $11 per window.
Here's the easy DIY:
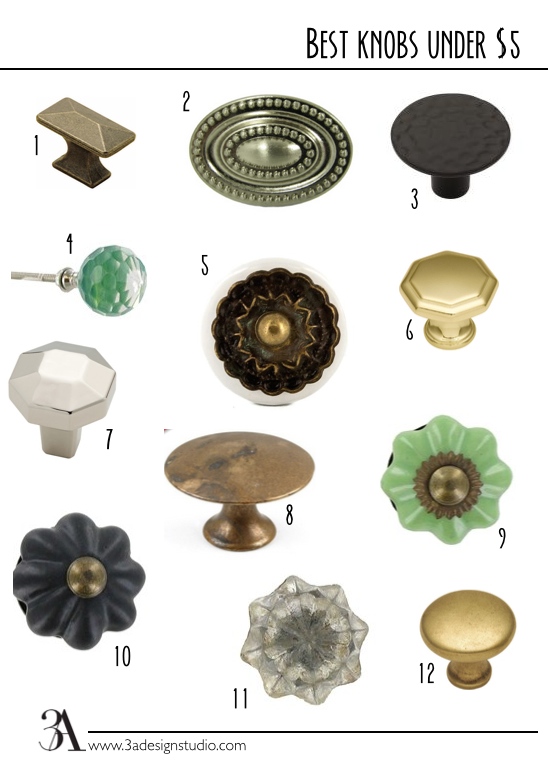
1. Buy a dowel rod from Lowes and some hardware that will fit the diameter of your rod. That was tough to find, since the dowel was 1" in diameter and most curtain rods are thinner. I settled on these, even though I wanted these, because they were cheaper :) Hey, I have 3 windows. It adds up, people.
2. Take about 2 scoops of fresh coffee (not leftover grounds because they are less potent in staining power), put in a bowl with boiling water--just enough water to make it soupy. You definitely want it much more concentrated than coffee you drink. 1/2 cup to 1 cup should be plenty.
3. Take an old rag, dip it in your cooled coffee mixture and wipe onto your wood in a single direction, as to not agitate the texture of the wood. It will probably take several coats before reaching the desired darkness. I think mine took 4 or 5 for a medium stain (and they dry lighter than you think, so make sure you let the wood dry before throwing in the towel...literally).
4. Measure the width of your window and add on a good allowance for your window panel and hardware to be well-spaced (about 10-20 inches per side, so 20-24 inches total) and trim down accordingly. If you don't have a saw, you can do the measuring ahead of time and ask a Lowe's employee in the wood department to cut them down for you.
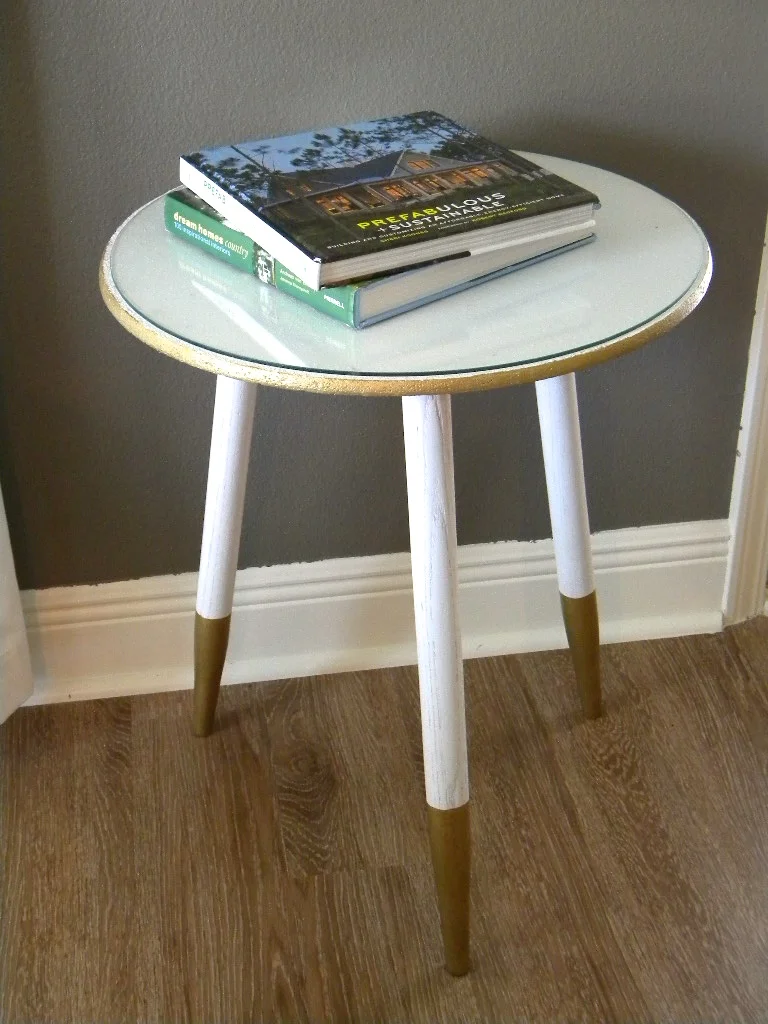
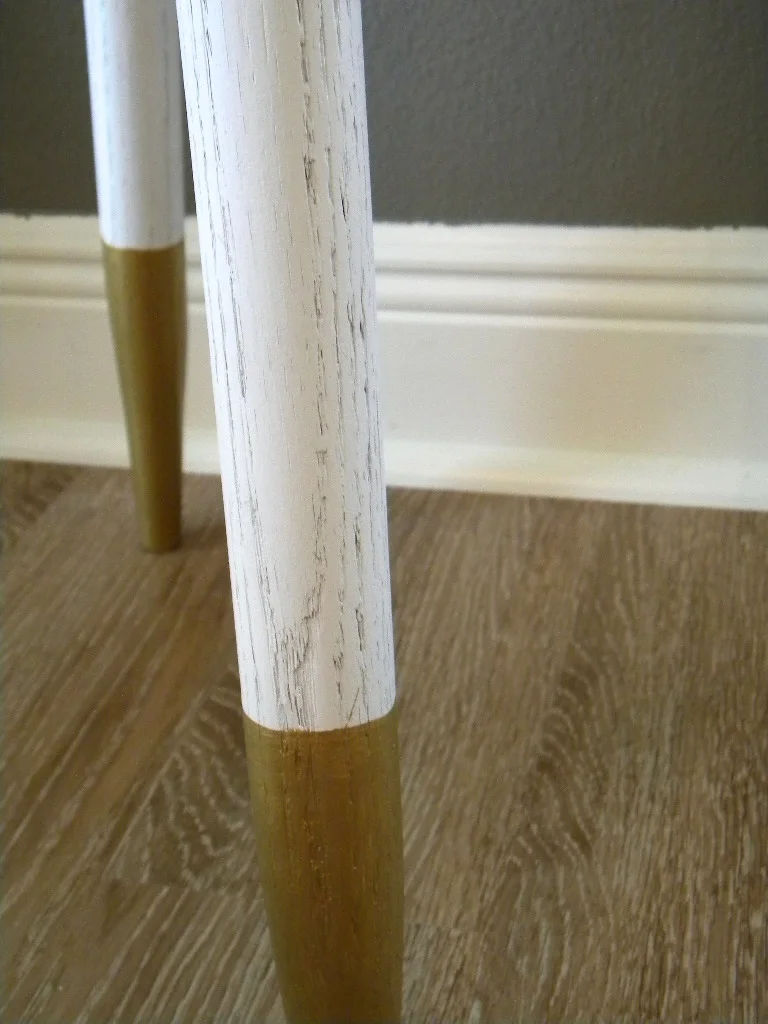
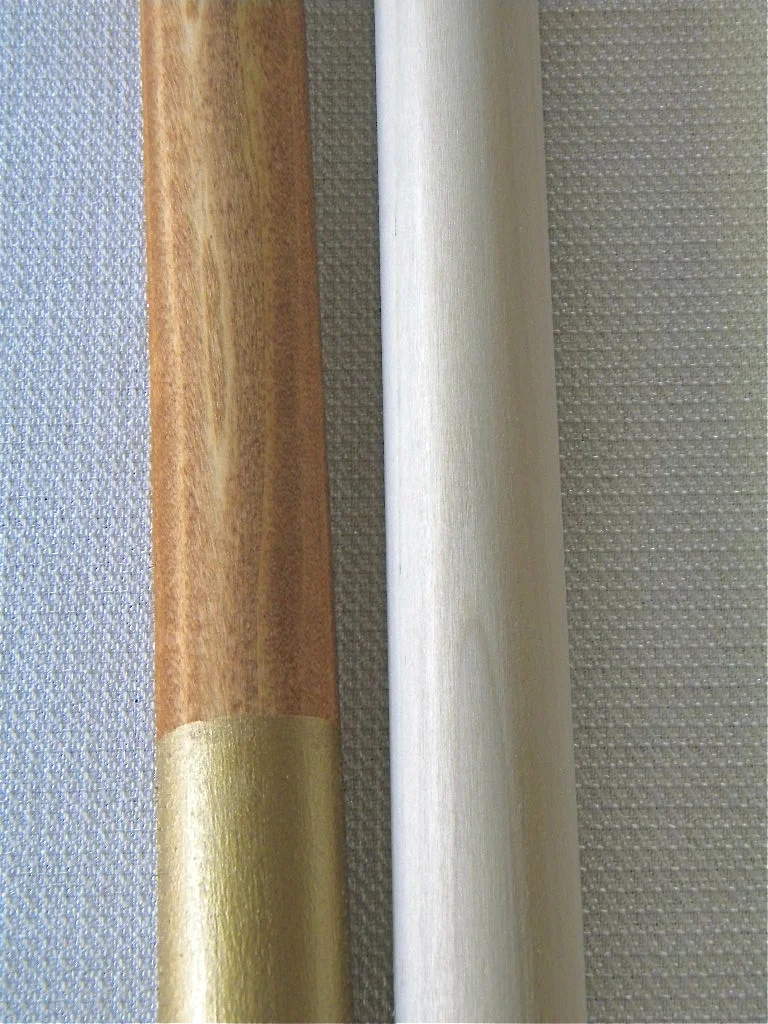
5. Paint your ends gold (I did 5 inches of gold). Done and done! You can use a shiny sealer if you want, but I prefer the natural finish.
I may go back and buy a thicker dowel rod cut it down to 3 inches, paint it gold, and screw it onto the ends so it has that end-cap look of the ones from West Elm. We'll see. For now I'm satisfied
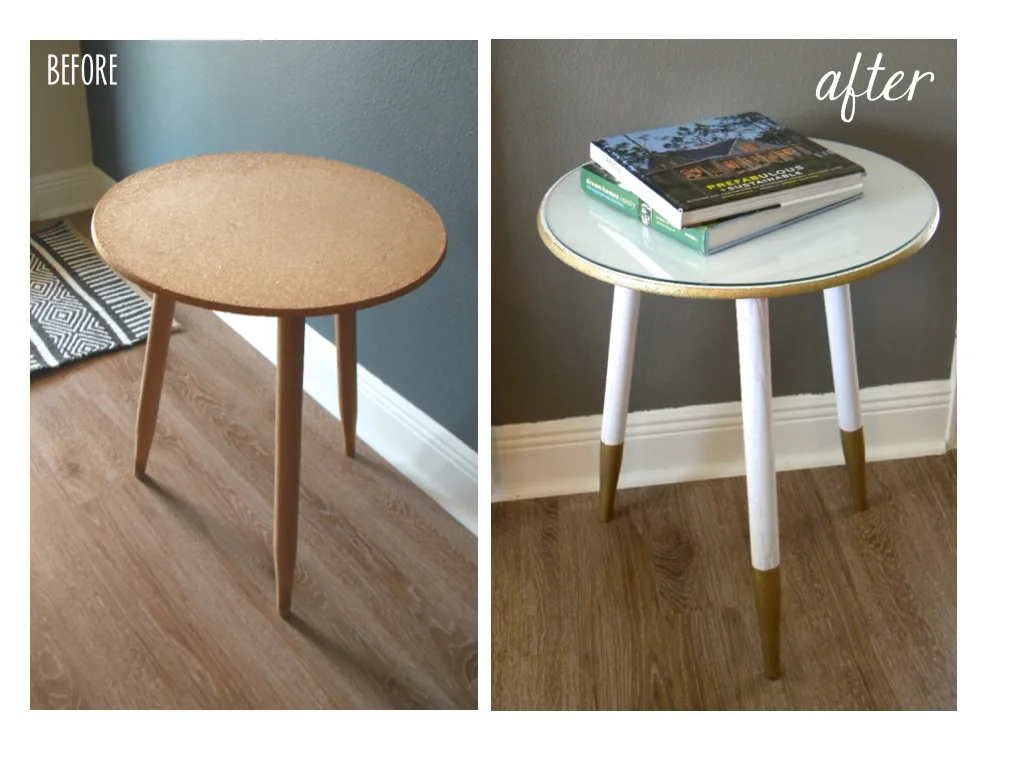
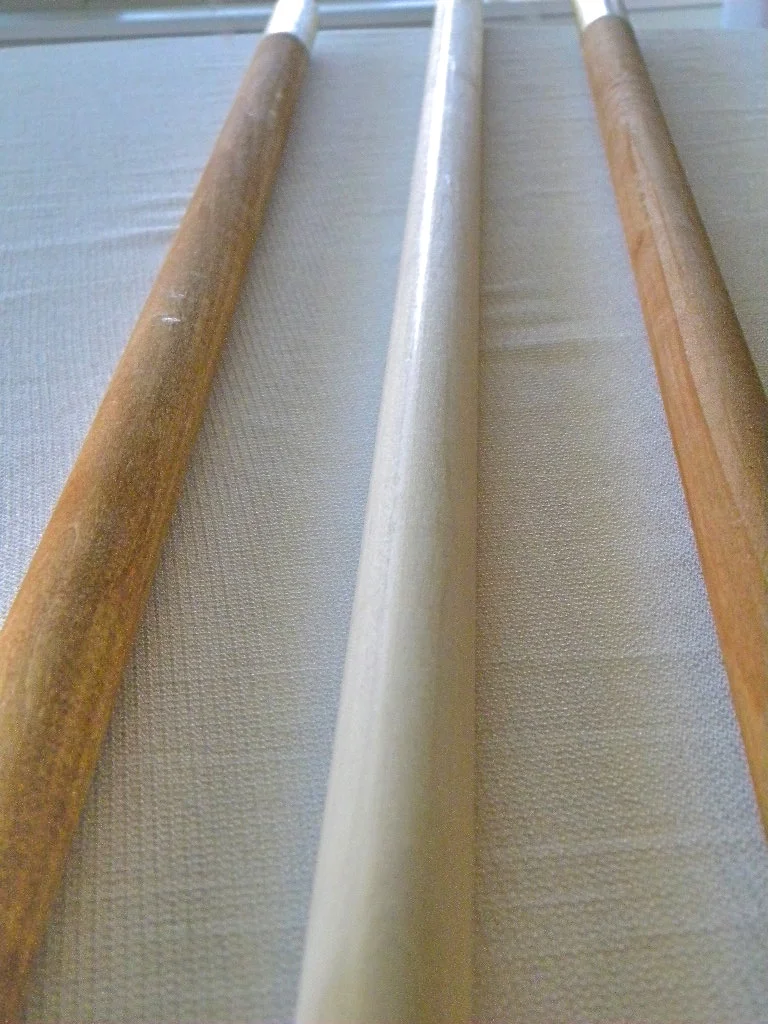
Here's a close-up of a before and after side-by-side to see how dark the wood became:
I got the idea to use coffee from my visual arts days. We sometimes used coffee to stain paper for sketches or ink drawings to make it look more antiquated. And I'm always a fan of using something that's totally free of harmful fumes!
I was skeptical at first of how it would turn out, but I love the color. I would imagine different coffees produce slight color variations. And large pieces would probably take a good amount of time so I would definitely stick to small pieces if you decide to try this for yourself. Definitely a good alternative to buying a whole can of stain for 3 little curtain rods!
And as you might have guessed, this means I'm getting closer to my master bedroom reveal. Baby steps around here :)
Until next time!