A Fall Table, Part 2

DSC_0631.JPG

Can you believe Thanksgiving is in two weeks?! I feel like each year goes by faster than the previous. Today I'm following up with my fall tablescape. If you missed Mallory's you can read about hers here.

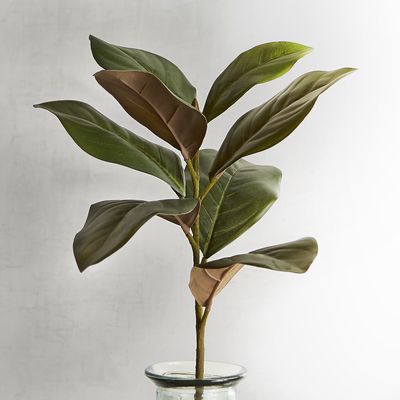
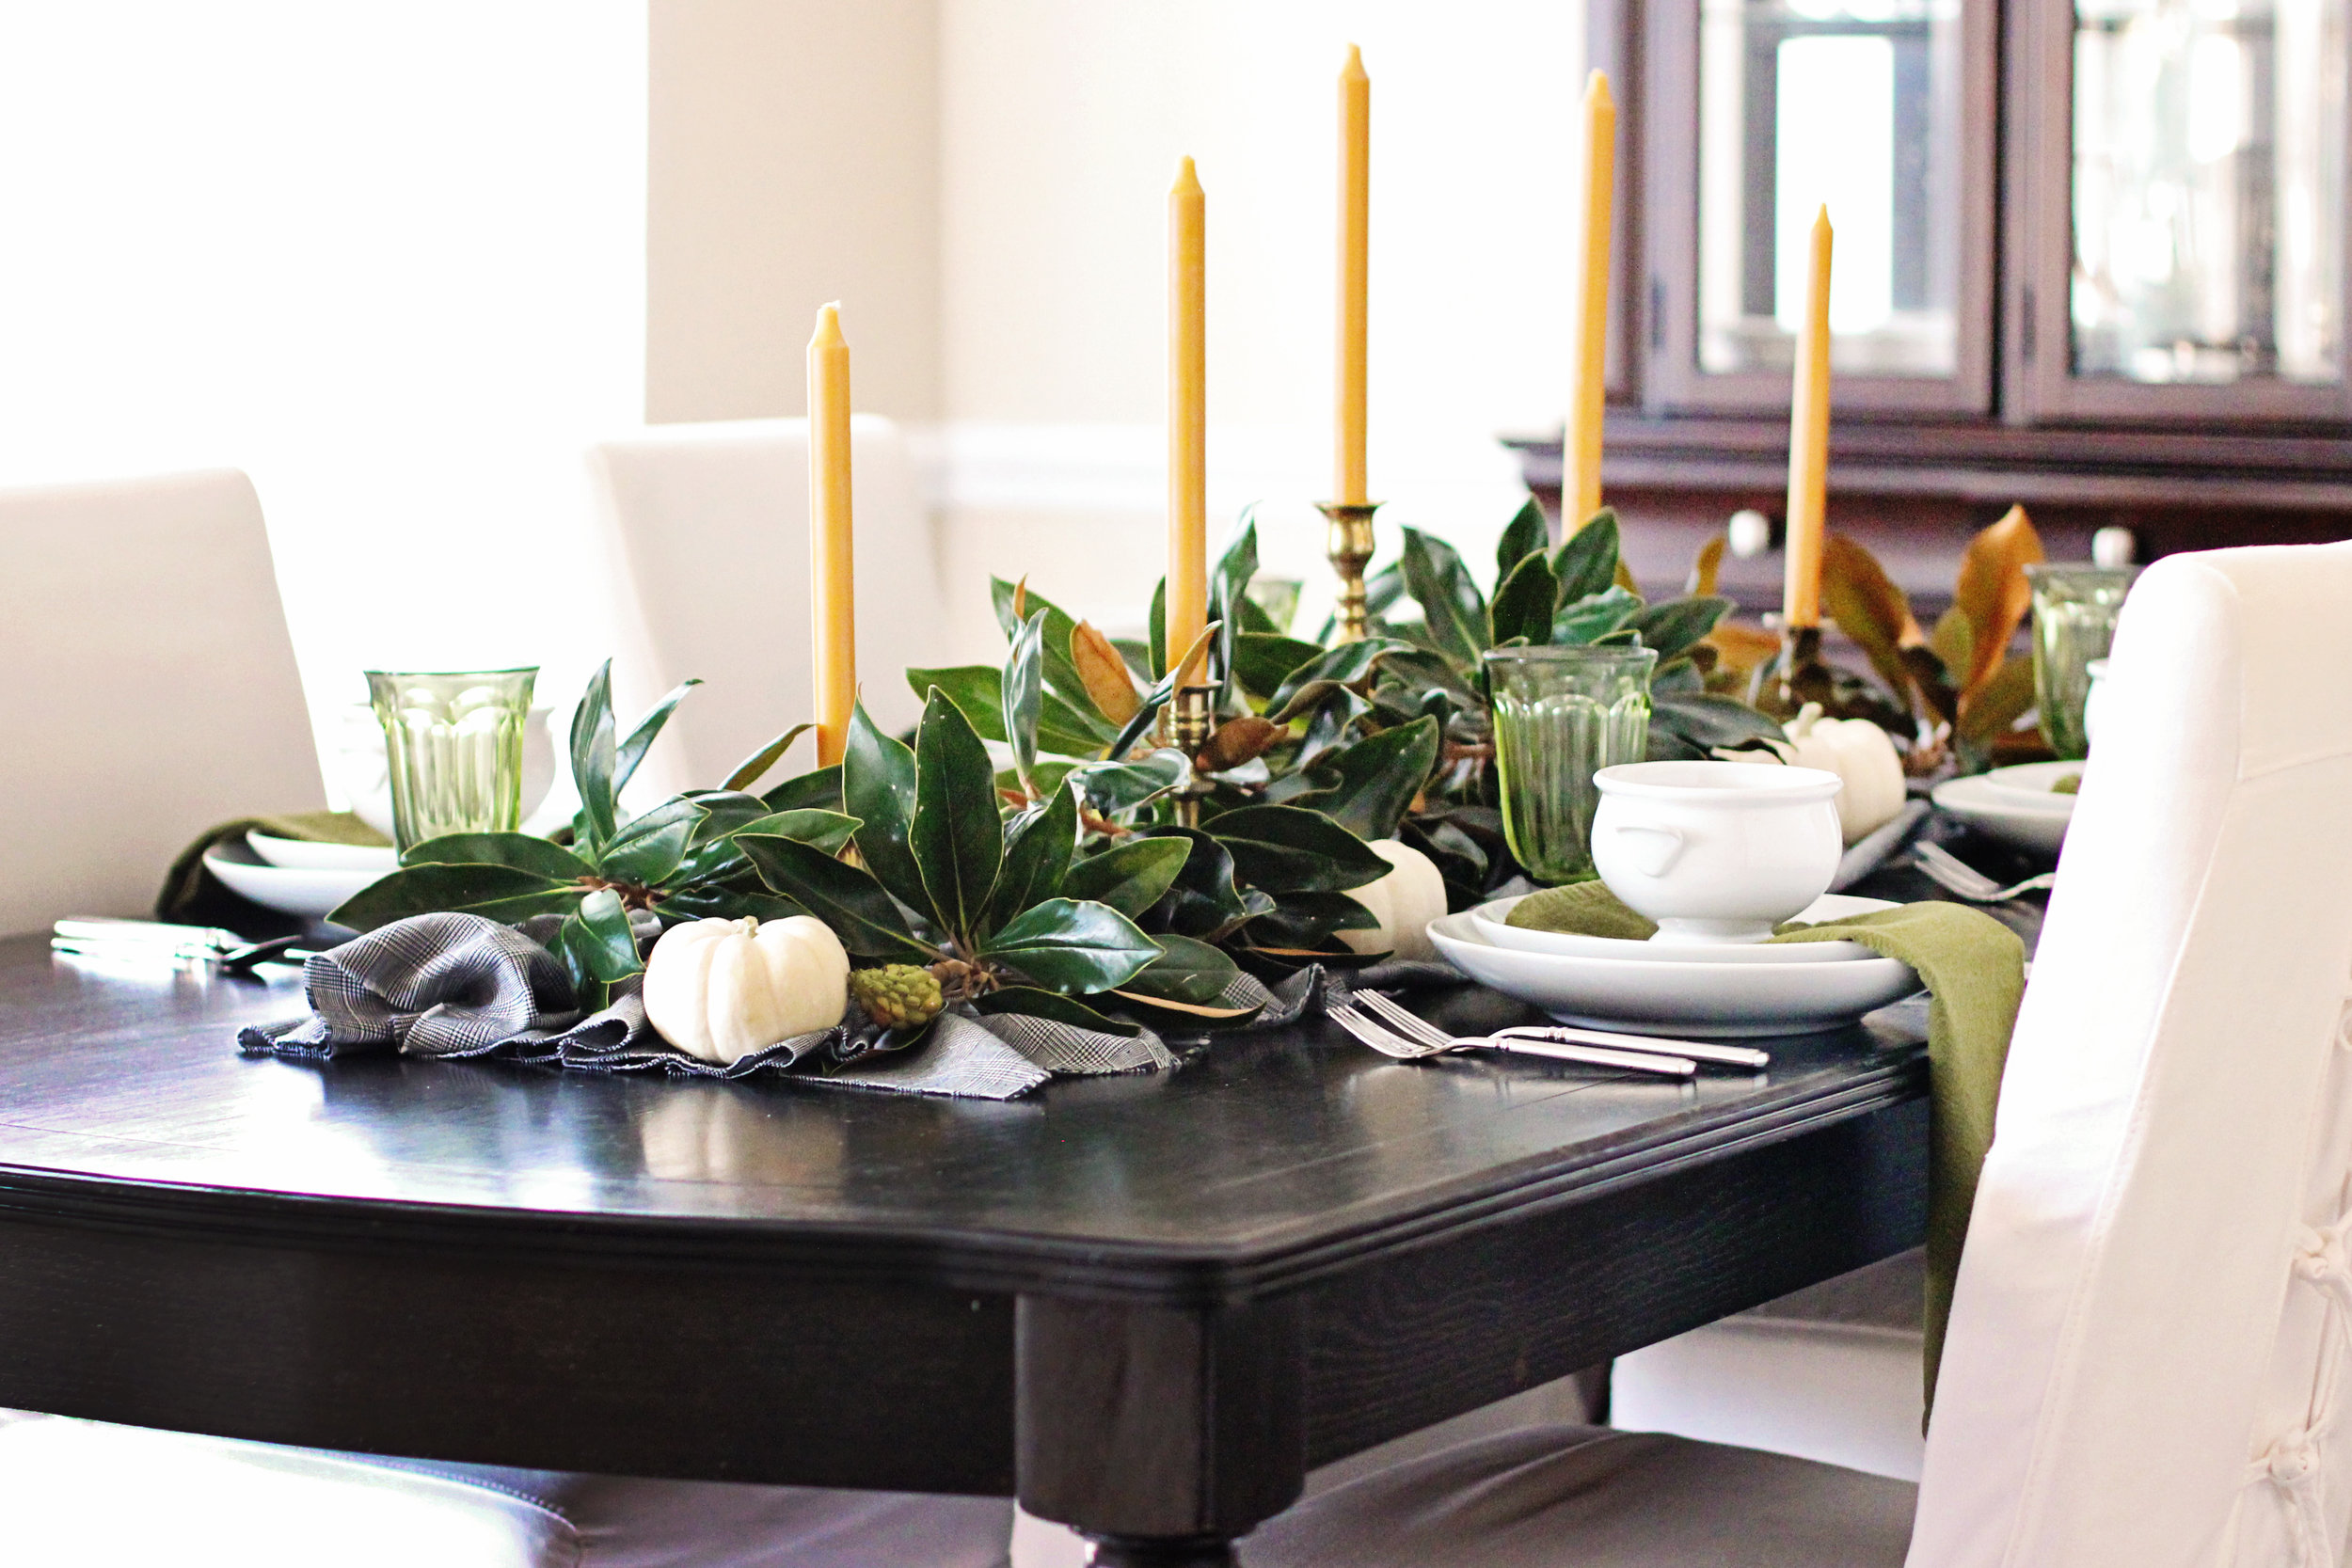
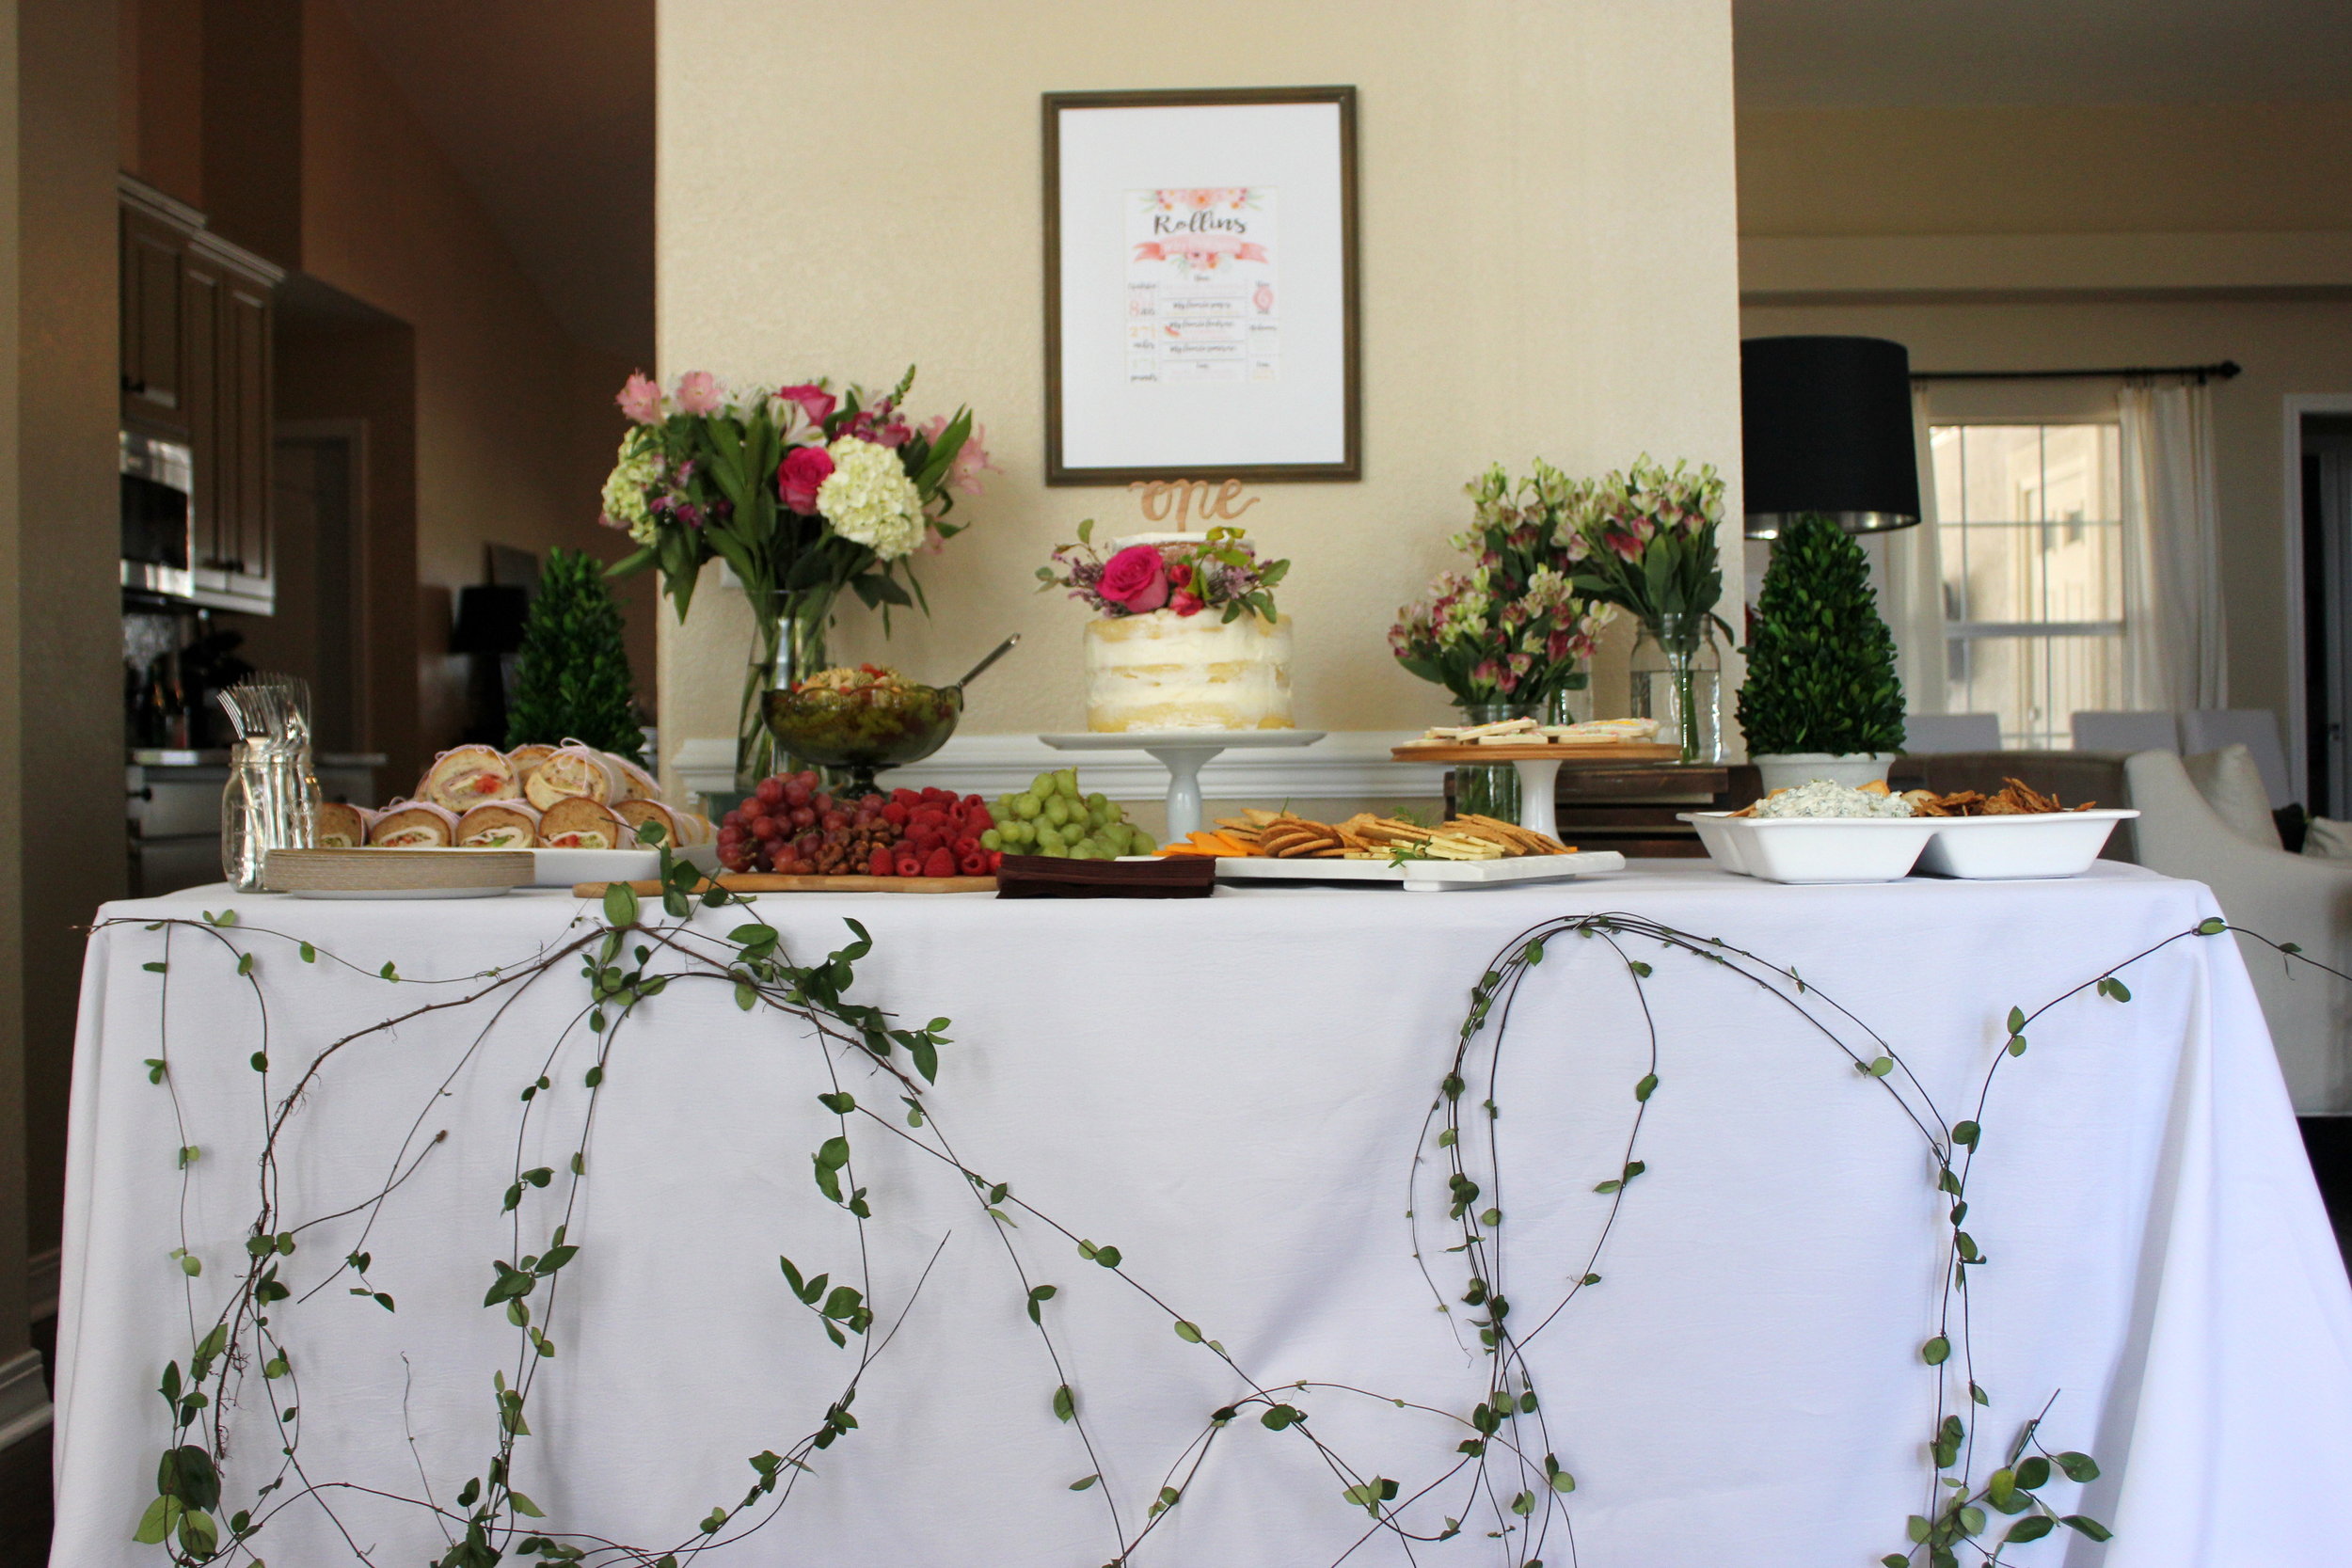
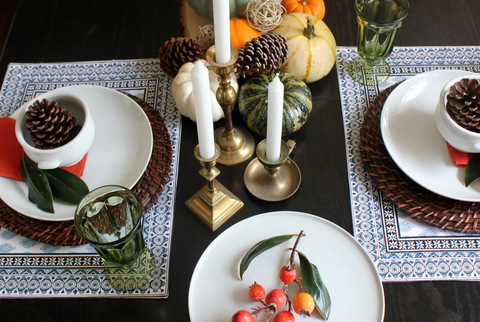
This year I opted for a more muted look of light greens and whites. I had scored all of the velvet green pumpkins, the mini ceramic pumpkins, and the vases at Target's dollar section. The vases were $5 each! The white pumpkins I found at Joann's. I incorporated a couple air plants that I have. One of them is fake. Can you tell which one? And the big mama in the center I picked up at our local farmer's market.

green thanksgiving tablescape
IMG_0507.jpg

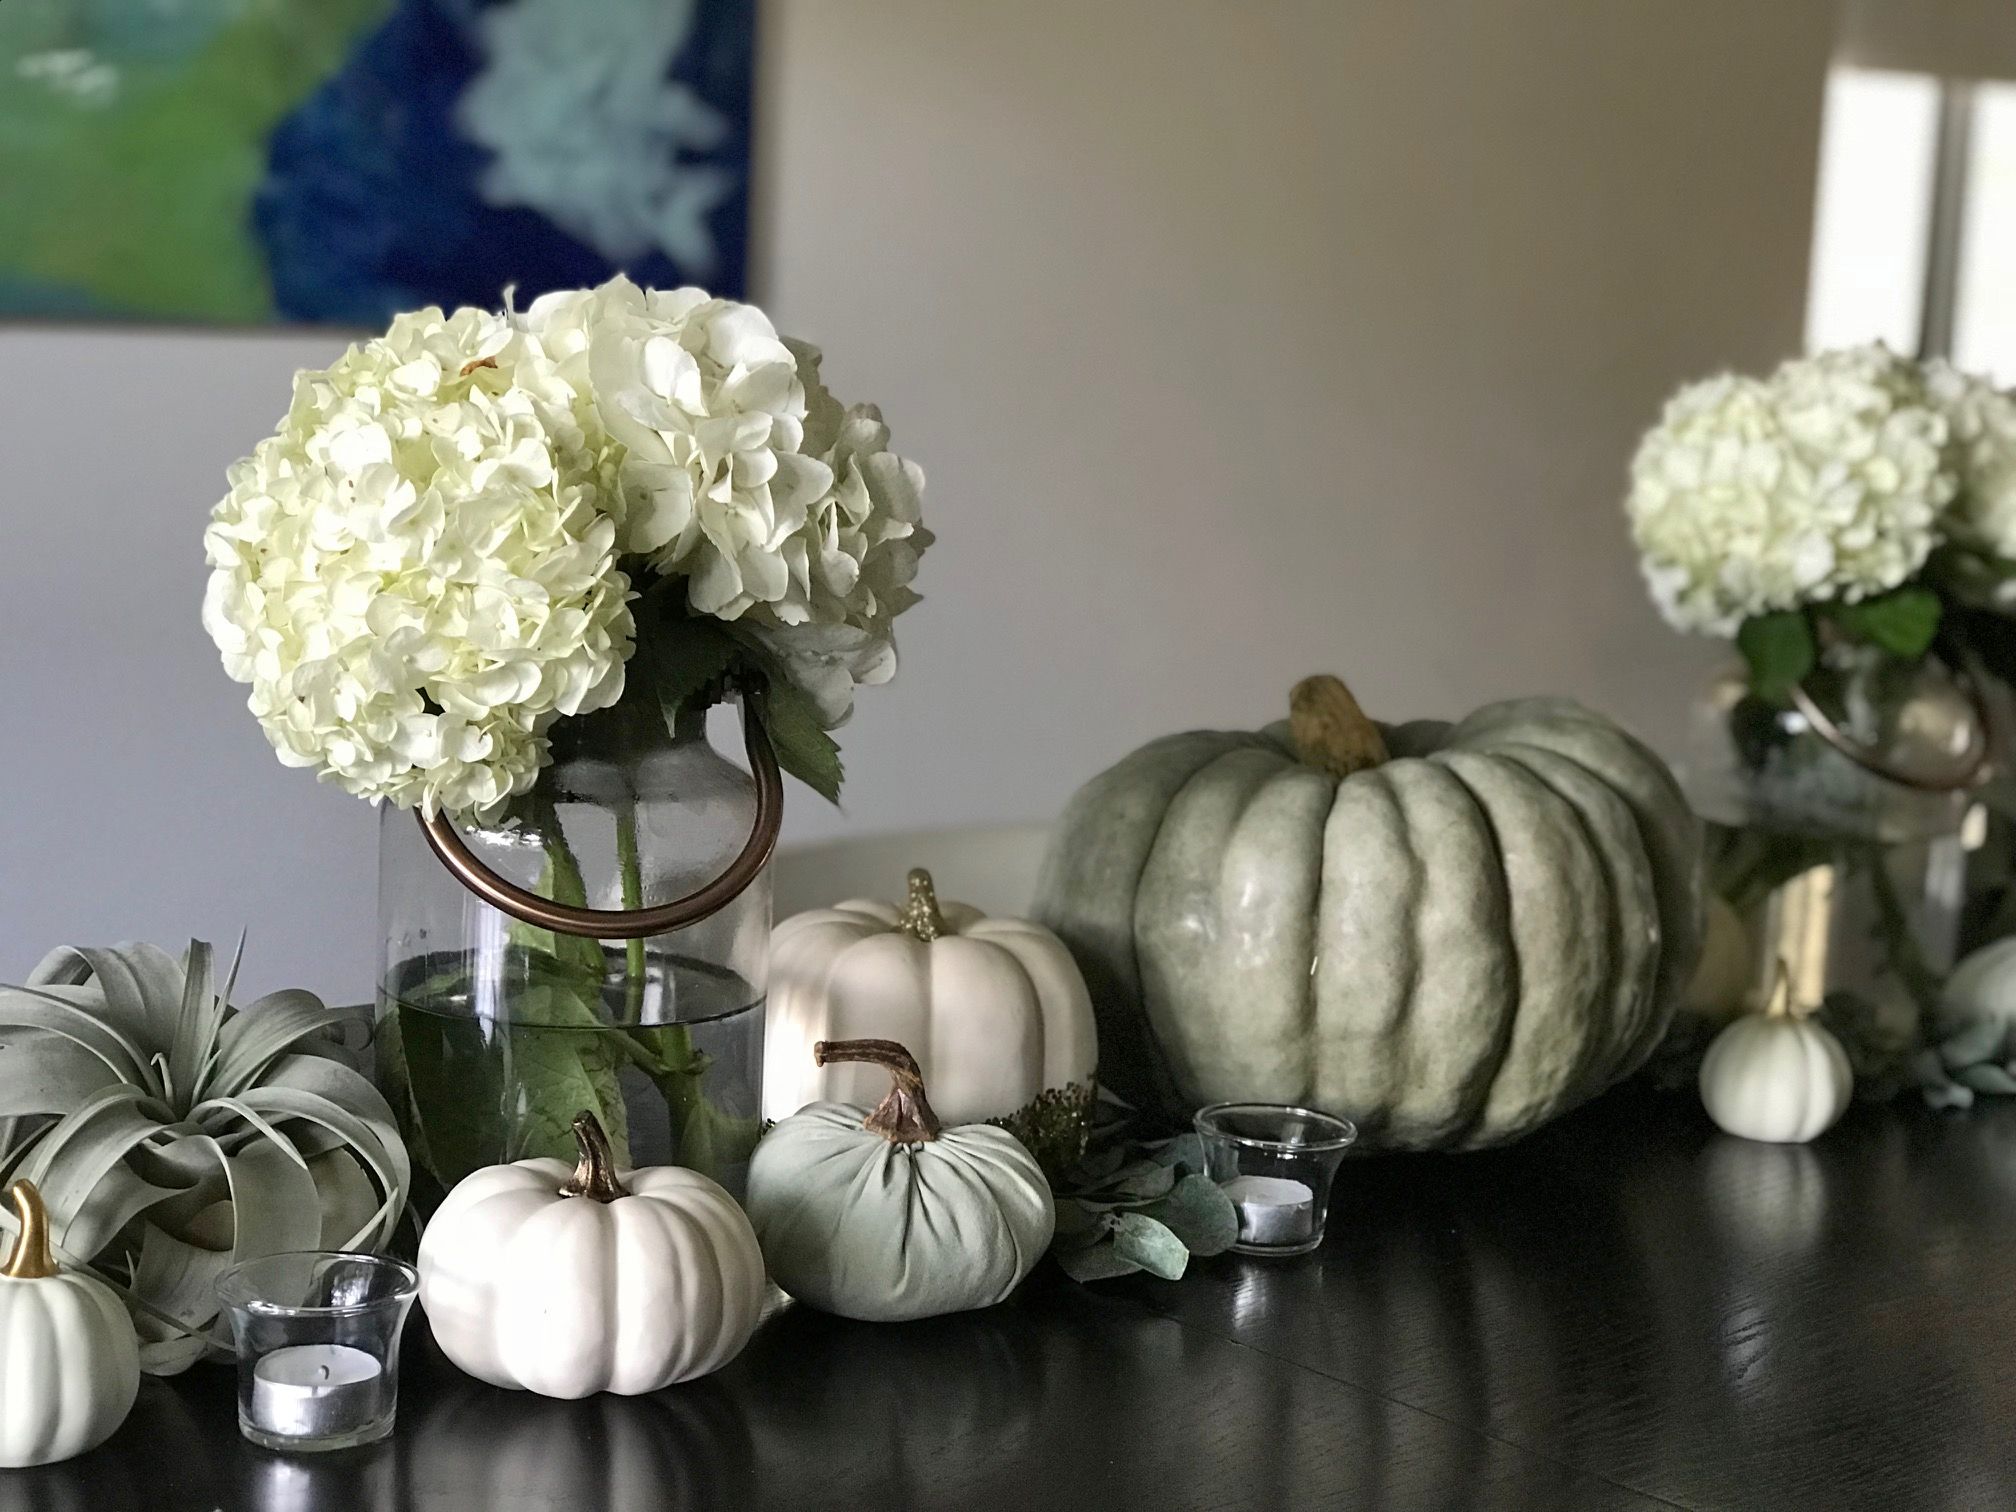
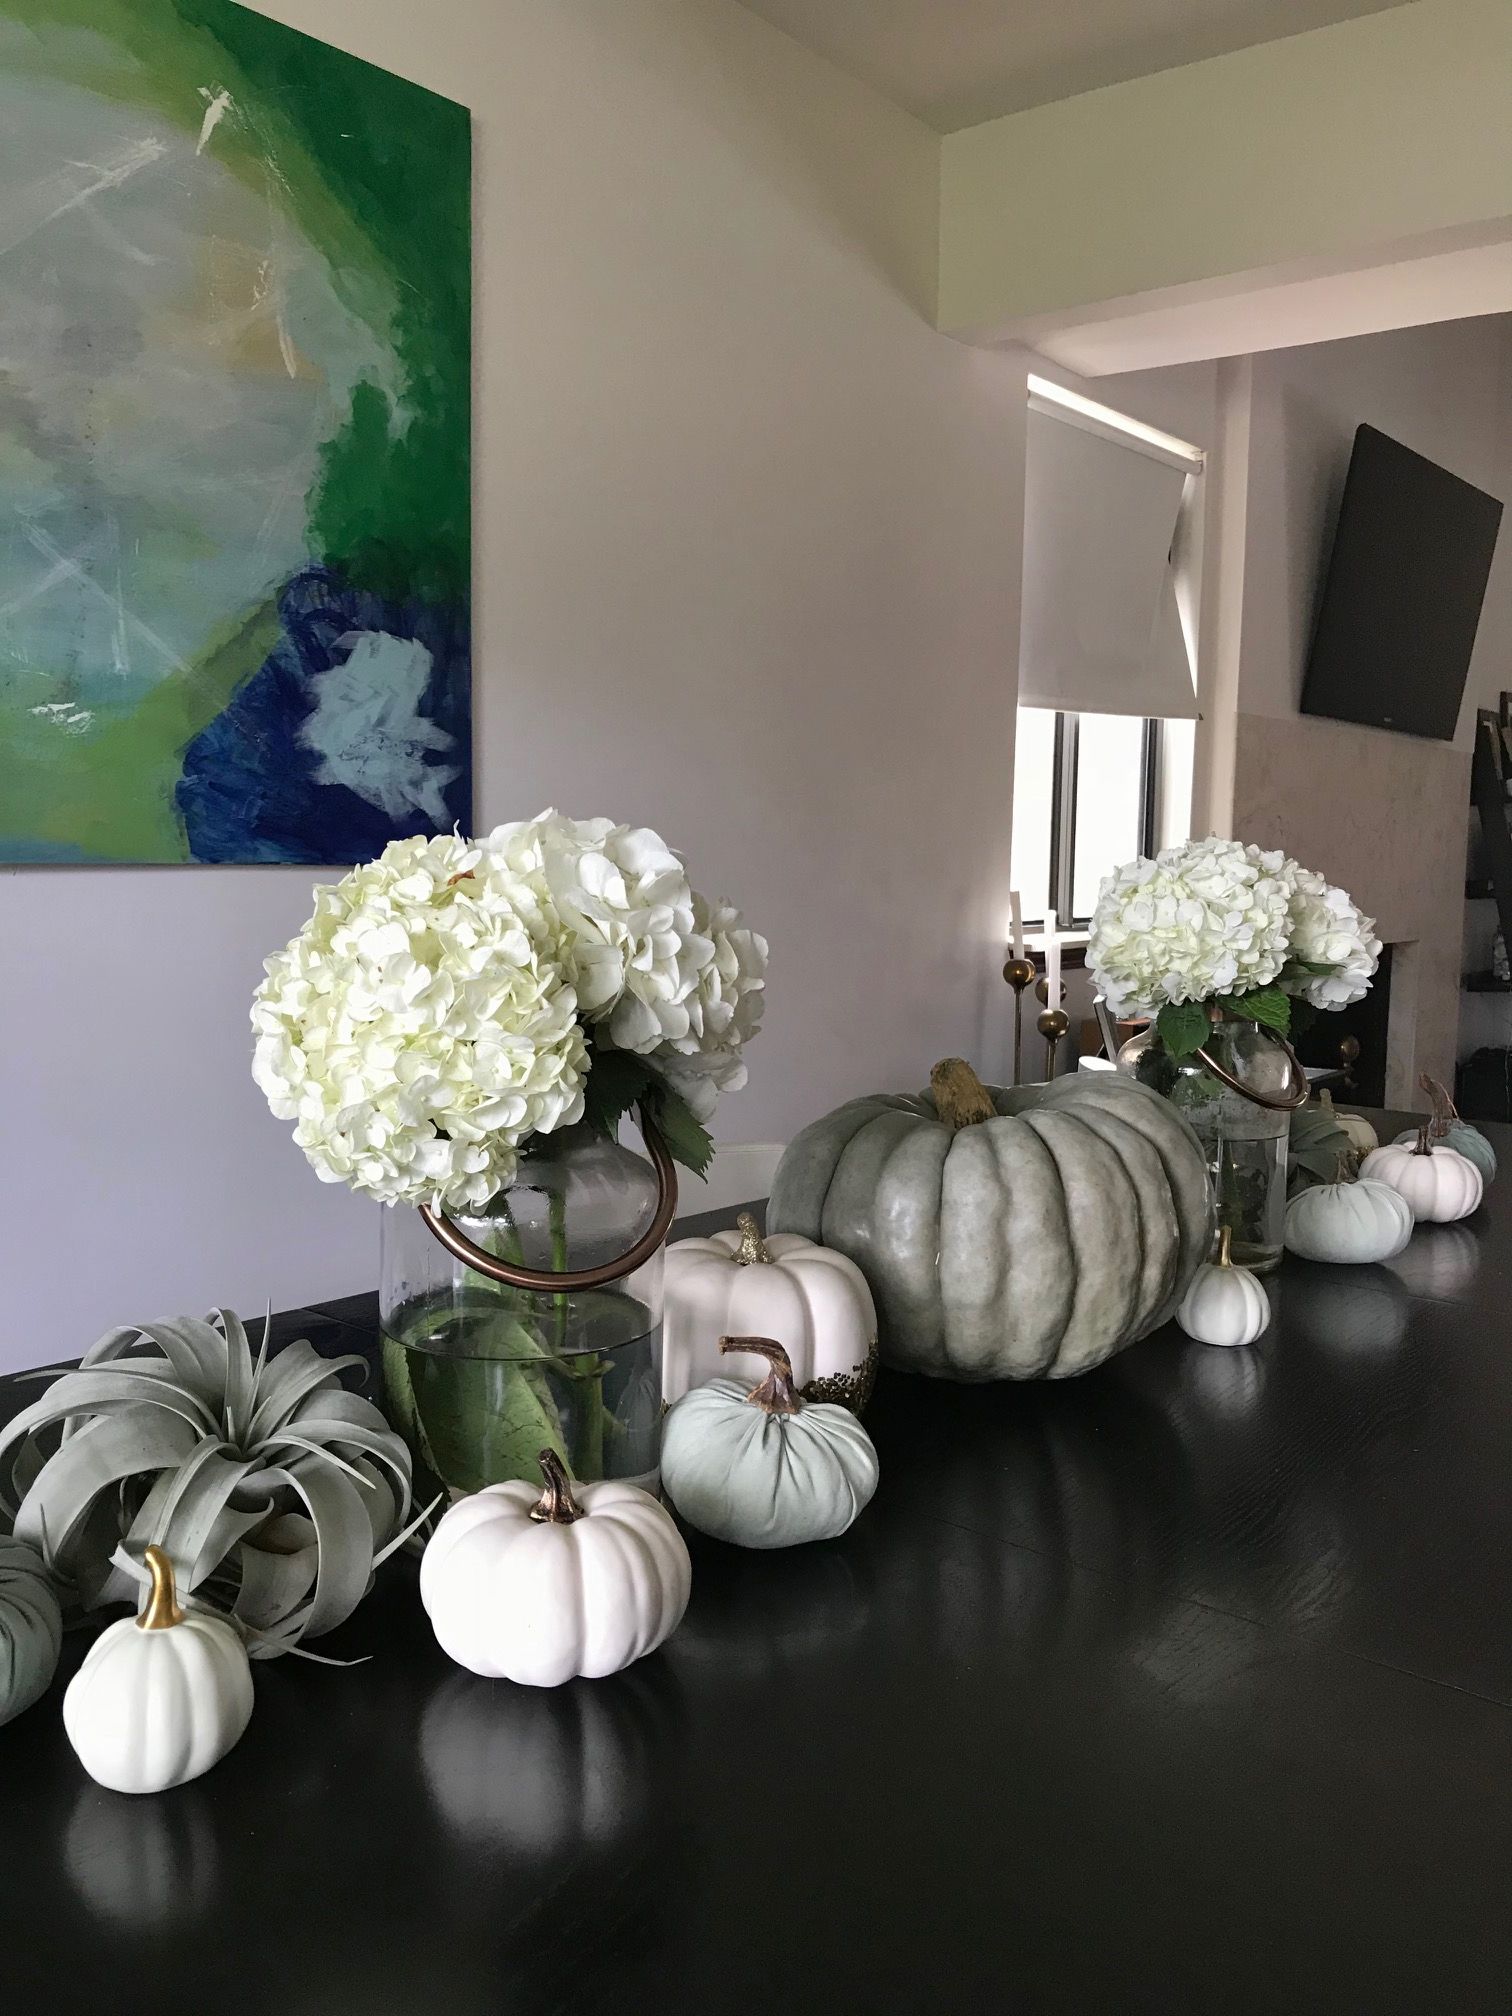
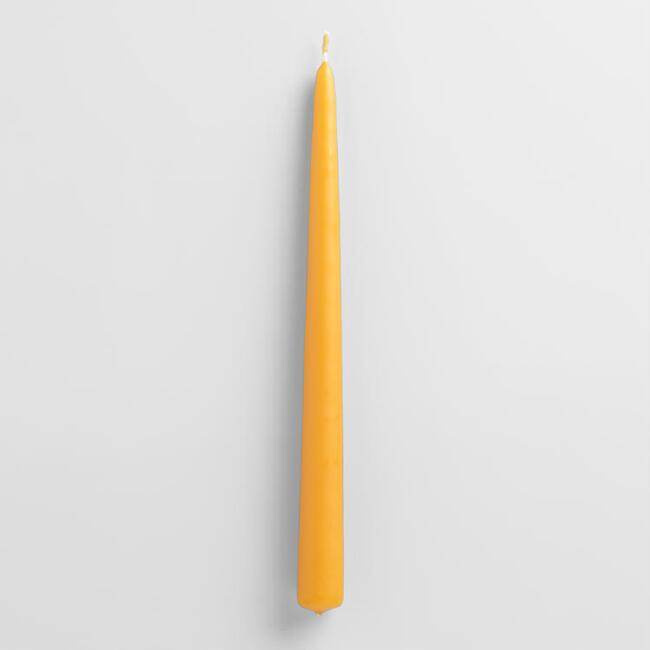
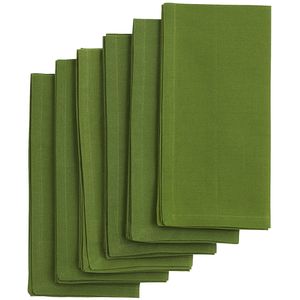
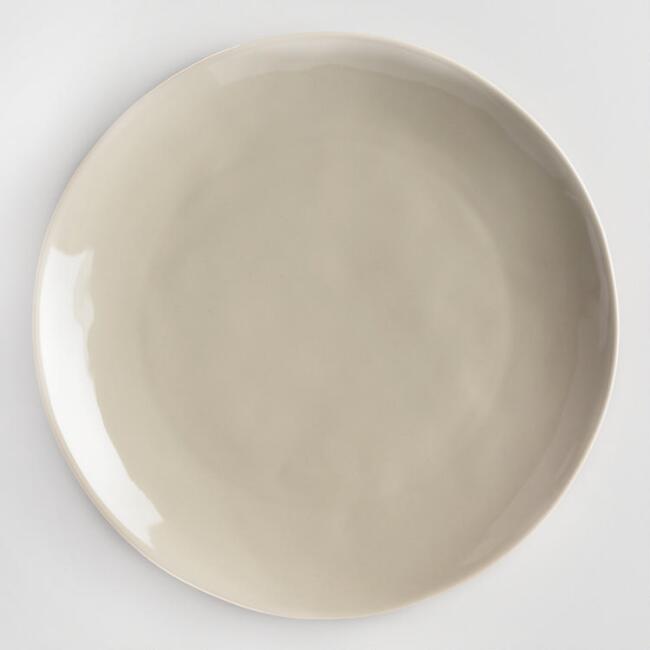
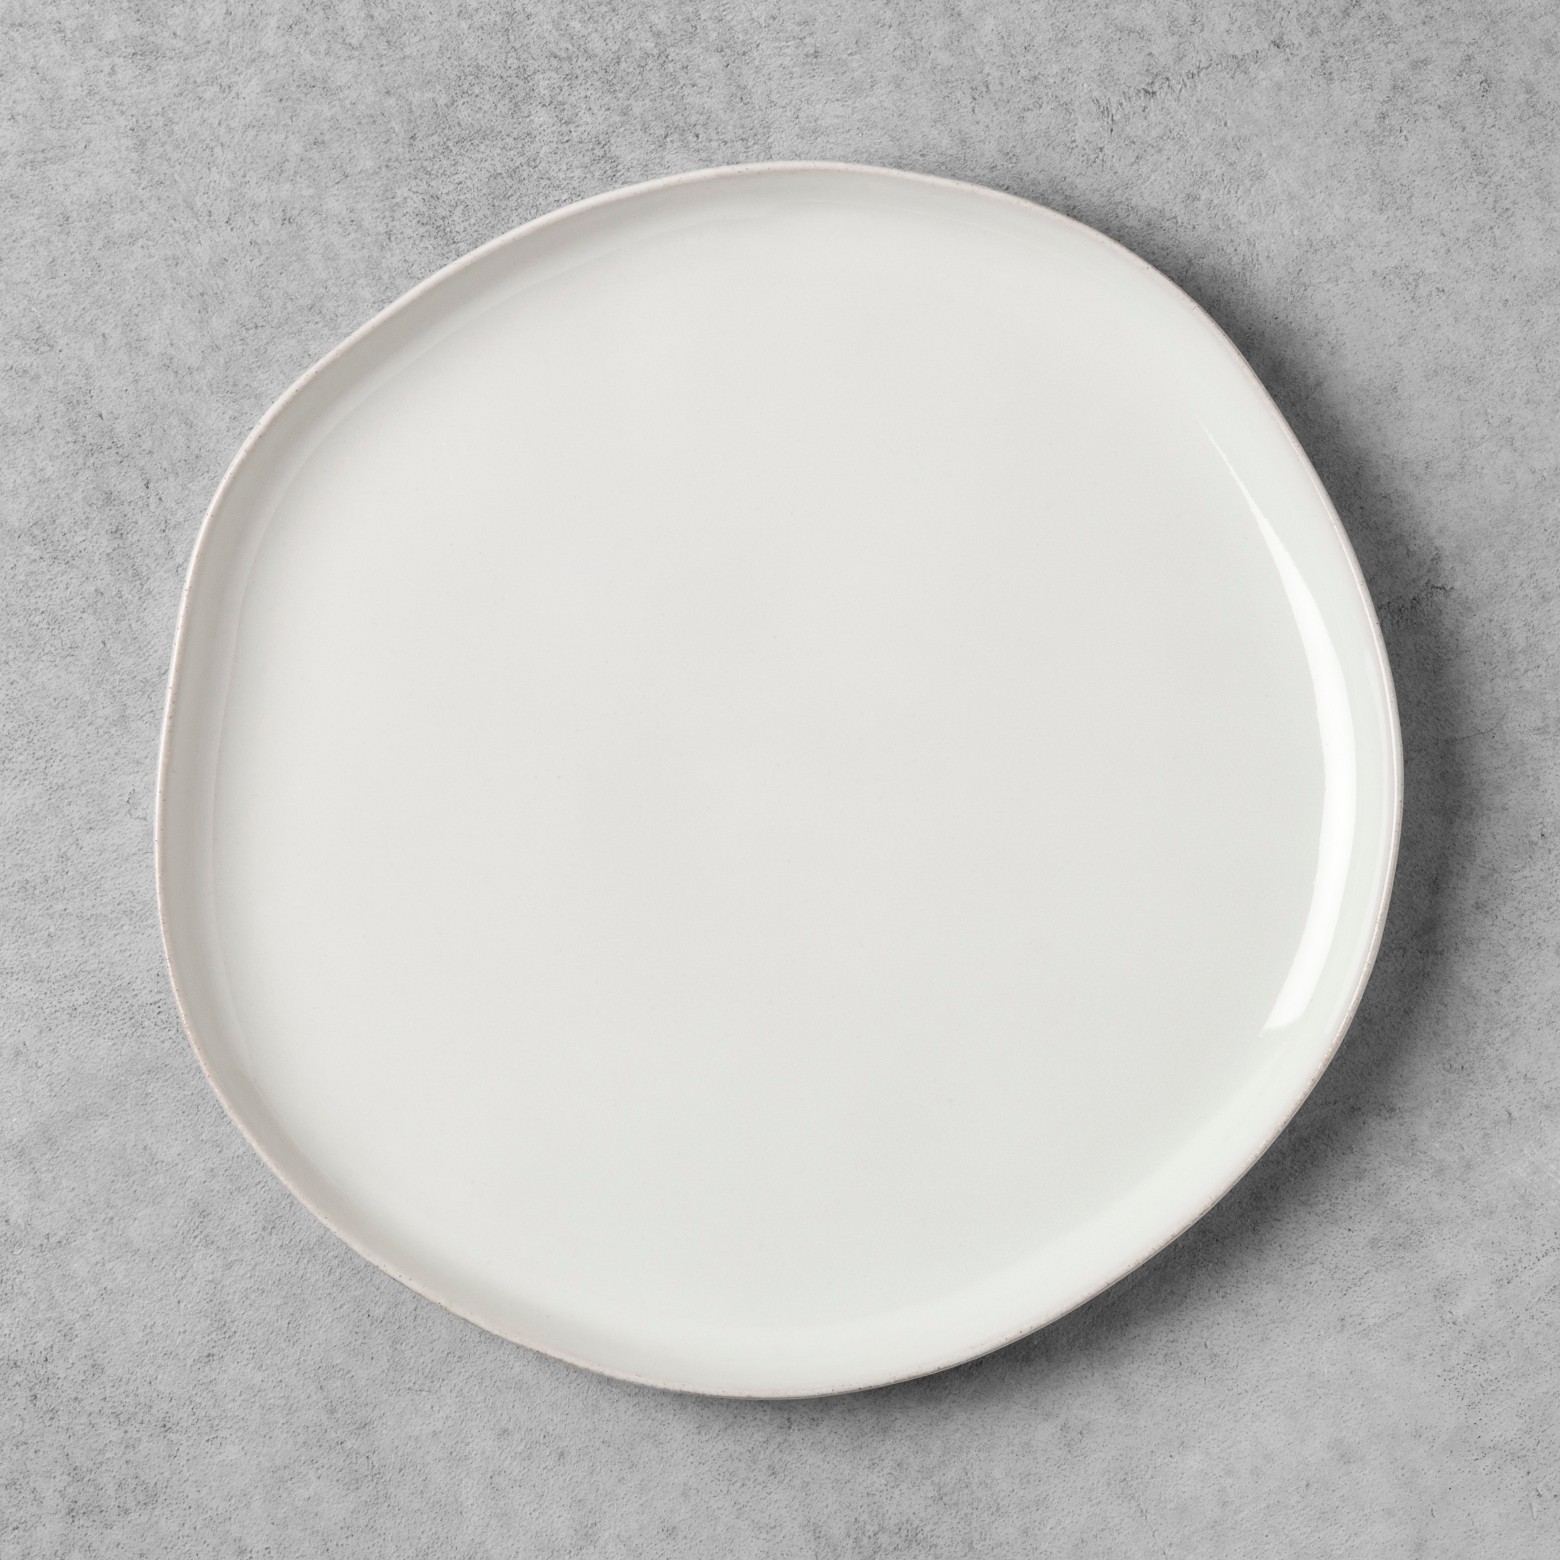
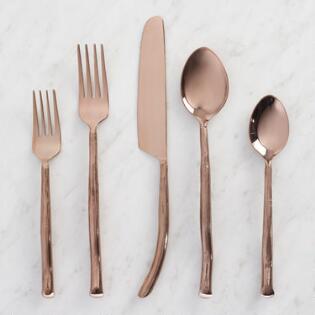
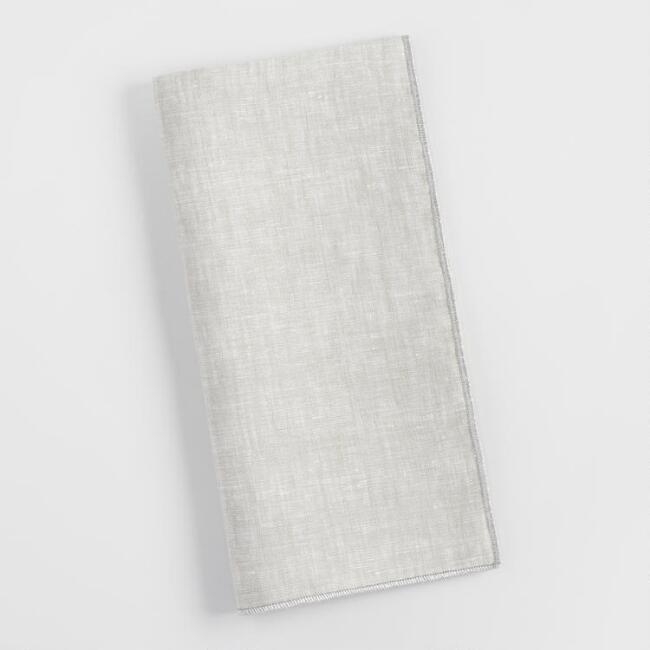
Setting a formal table for the holidays isn't really feasible for us. We host our large extended family, which requires us to squeeze in as many people around the table. To be real, each year I just do a centerpiece down the table and keep the rest casual. However, if setting a formal table was an option for us than I would set the table with these pretty items below. Click on the images to be taken to the product's page.

Have a happy Thanksgiving!

jessicasignature.jpg

A Fall Table, Two Ways

The fall season is all about gathering, entertaining and eating great food over great conversation, right?  So what better place to do that than over your beautifully decorated dining table? 

We know that for many, the holidays bring an added stress of making everything "perfect," and we're here to help!  A beautiful tablescape doesn't have to be time or budget consuming.  We're big proponents of using what you have and making it count.  So we've both designed some easy table setups to share with you guys.  I'll feature mine today, and Jessica will follow with hers.  Let's get started!

IMG_3468.jpg

I started by laying down a piece of plaid houndstooth I found in the fabric bin at the thrift store for $3.  Fabric isn't a necessity for a tablescape, but if you do want to use some, don't feel like you have to splurge on a table runner or tablecloth--sometimes a piece of fabric is just as good, if not better!  I bunched mine to create some movement and texture in the middle of the table.

IMG_3553.jpg

Next I added my vintage brass candlesticks that I've collected over the years (largely at thrift and antique stores).  Are you sensing a pattern?  I love the hunt and thrill of a good deal!  I swapped out my normal white tapers for some marigold ones for warmth and a nod to the traditional fall colors.

IMG_3472.jpg

Once I had my candlesticks spaced out how I wanted them, I started to add in the magnolia branches I clipped from the tree in my yard.  Greenery is one of the easiest and cheapest (free if you can use trimmings from your own yard or a sweet neighbors!) to build a table centerpiece.  I stuck to just magnolia on mine, but you could certainly use a variety of clippings for a more layered look. 

IMG_3520.jpg

Next I added some mini white pumpkins I picked up on a trip to the grocery store for $1.50 each. Nurseries and farmer's markets are another great place to look for more selection.  And remember, you don't have to stick to pumpkins.  My grocery store had some beautiful green squash that would have been a fun choice too--and they were 99 cents!

IMG_3488.jpg
IMG_3491.jpg

The next layer to the table was my dishes, which themselves got layered.  Layer, layer, layer friends!  I also added some green napkins and glassware that used to belong to my mom.  Who said you can't use green for fall decorating?

IMG_3524.jpg

The finished product cost me $13.50 ($3 in fabric and $10.50 for pumpkins!).  The best part is that it didn't take long at all to put together. 

IMG_3500.jpg

When you're shopping for entertaining decor remember to look for pieces that you will be able to use in a variety of different ways for different events.  That way the next time you have a function, you won't have to run to the store, just to your storage closet!

IMG_3529.jpg

GET THE LOOK

IMG_3499 copy.jpg

Happy fall, y'all!

signature+Mallory.png

Rollins' Floral First Birthday

My sweet Rollins turned one last October.  Now that she's 15 months old, I guess it's time I finally share some of her first birthday party details with you guys.

Like all of my parties, I like to pick a theme that isn't super commercialized so I can personalize it a little more.  Auden had a pumpkin first birthday since she was a fall baby and was often called "pumpkin."  Since Rollins is also a fall baby, I had to think of something else.  I decided a simple floral theme with watercolor touches would be just perfect for our sweet girl.

chalkboard first birthday with flower garland

I used greenery from our yard and some Dollar Tree flowers to make all of the floral swags.

One of my favorite details from the party was this floral photo wreath (idea sourced by Jessica).  I used images from her first year, converted them all to black and white and used Persnickety Prints for printing them.

They have a lot of great options, but I chose the 3" press print with thick border and matte finish.  I couldn't have been more pleased with the quality and customer service.

persnickety prints 3 inch floral photo ring

Jessica helped again by allowing me to use some jasmine from her yard to adorn the table and big balloon by Rollins' highchair.

This birthday poster I made hung above the food table, detailing her first year milestones.

first birthday poster with flowers

I kept the menu simple and fresh with cold subs, fruit, a cheese and cracker tray, pasta salad and spinach dip with pita chips.

floral first birthday food table
floral first birthday dirty iced cake

Everything is prettier with a bow, right?

styled sub sandwiches with bakers twine
cheese and cracker tray with fresh herbs

Of course, it's not a Reutter party without some custom sugar cookies.  I loved how the sweet monogram and flower details turned out.  Christa Lynn's on Etsy did a great job making my vision a reality and was very reasonably priced.

floral first birthday monogram sugar cookies
floral sugar cookie with monogram

For the main treat, my mom and I tried our hand at a dirty iced cake.  And I have to say,  I was pleasantly surprised with the outcome.  I love when family and friends can lend a hand in helping with a celebration.  It creates even more memories to cherish.  Much like my wedding (where the flowers and decor were done by me and my friends and family), this too will be a memory I'll never forget.

I ordered the light cherry wood cake topper from Alexis Mattox Designs on Etsy.  I threw on some fresh flowers, and there you have it.

dirty iced cake with flowers

Along with custom cakes and cookies, I also love a good signature cocktail.  I decided on a Rosemary Greyhound for the taste and look (I wanted it to match the decor).  But since the party was for Rollins, I added her nickname to the moniker, calling it a "Rolly Rosemary." You can get the watercolor tent labels here.

Rosemary Greyhound Recipe*

Ingredients

Rosemary Simple Syrup

  • 2 cups of water

  • 2 cups of sugar

  • 6 sprigs of rosemary

Cocktail

  • 2 ounces vodka

  • ½ ounce rosemary simple syrup

  • 4 ounces grapefruit juice

  • sprig of rosemary for garnish

Instructions

  1. Simple Syrup: In a small sauce pan over medium low heat, dissolve the sugar into the water for about 5 minutes. Do not let the mixture boil or crystals will form. In a heat safe container, pour the warm sugar water mixture over the rosemary sprigs and let it steep for at least 1 hour. The rosemary simple syrup will keep in the refrigerator in an airtight container for 10 days.

  2. Cocktail: In tall glass filled with ice combine the vodka, rosemary simple syrup and grapefruit juice. Garnish with a sprig of rosemary.

*This recipe is for a single cocktail but we just multiplied the amounts enough for our needs. 

I was so glad I finally got to use my vintage French Arcoroc champagne glasses I scored off Craigslist!

I ordered a 5" white buttercream cake from Publix for her smash cake.  Auden had one from there too, and she loved it!  I wanted to keep it simple, so I'm just added adorned it with a few flowers.  The pink glass cake stand was a TJMaxx find a few months before her party.

floral first birthday smash cake pink glass stand

Rollins in her birthday outfit.

floral first birthday wooden highchair

We don't call her sweet cheeks for nothing.

floral birthday wooden highchair

After getting into her true birthday suit, she was ready for the cake!  Her baby's breath crown didn't last long after daddy put the cake in front of her, so I'm glad I saved some money and made it myself with a little floral wire, scotch tape and babies breath clippings.

This is one of my favorite shots of my sweets enjoying her first sweets.

smash cake photography

I'd say this picture sums up how she feels about it pretty perfectly :)

smash cake photography

She delicately ate away at the icing for a good 30 minutes paying no mind while the party carried on.  :)

rollins floral first birthday

The cleanup crew was anxiously waiting for a taste themselves.

After she indulged a bit, we moved her into the living room for prime view of her one year video.

I made one for Auden and it's something we all still love watching, so I knew it was a must for Rollins as well.  Between the music and the memories, it's almost always a surefire cry session every time I watch. 

Here's the 3A Girls at the celebration...just missing Jessica's oldest.

For the favors, I created this favor sign to match her invitation. I did mini canvases, a paint brush and paint pods to carry out the watercolor theme.

mini canvas and paint party favors

We're so happy to have been given these last 15 months with Rollins and cannot wait to see her life unfold.  I could not have dreamed up a better addition to complete our little family!

signature Mallory.png

Pineapple Party

This past weekend we celebrated our little Amelia's first birthday. Aside from the heat, we had so much fun. I thought I would share with you a few DIYs I did.

Because of my current obsession with pineapples, I decided to do a pineapple themed party. Since Amelia's nursery was inspired by Palm Springs I wanted to incorporate it into her party as well.  The image below of The Parker was my inspiration for the overall look. Yellow striped awnings and pink flamingos, what's not to love?

tablecanopy.jpg

With the help of my husband, I created a canopy for the food table by following these instructions. Since I can't sew a straight line to save my life, I used iron-on Stitch Witchery for the hem which worked pretty well. Instead of stapling the fabric to the frame as the instructions suggest, I used 3m Velcro so that I could take the canopy apart to store later.

IMG_1447.JPG

Through-out Amelia's first year, I had taken a monthly picture of her which I compiled and created a garland out of. I created a pineapple print out, then glued on the pictures. To finish it off, I created a frame using trim I found in Micheals .50 bin and glued it on top of the pictures.

pineapple garland
bar cart

The bar cart was a last minute purchase from Bed, Bath & Beyond. It collapses flat for storage.

pineapple theme cake

For the floral "A", I used a large floral block and bread knife to cut out the shape. A few floral pins and tooth picks were used to attach the "A's"diagonal stems and crossbar together. Then it was just a matter of hot gluing all the flowers on the the foam. The floral block and pins were purchased from Hobby Lobby. The hanging pineapples were table top decorations that I punched a hole in and hung from small ties.

During the week of Amelia’s party, my dear friend Lilian and her family came to celebrate with us. While I was getting the decorations together, Lilian had an idea for the kids at the party to play a game of “hot pineapple” (hot potato spinoff) and sack races, whereas my initial idea was for them to chase bouncy balls and bubbles around the yard. The games ended up being a hit with the kids and saved my party from being lame. I was so thankful that Lillian not only helped prepare for the party, but also preformed a beautiful hula dance.

hot pineapple game
sack race
golf
hula dancer
flamingo pinata
pineapple smash cake

The humidity had already gotten to us by this point but I love the interaction between Amelia and Auden that was caught in this photo.

3a

With the chaos of getting the party ready and myself presentable after running around in the hot sun, there were a few details I wish I caught before the guest arrived but overall I was happy with how everything turned out.  A list of resources for the remaining party decor follows:

  • Paper plates, pineapple cups, straws- Party City
  • Flamingo napkins- Charlotte Ruse (randomly came across them in the check out line)
  • Yellow table runner, honeycomb pineapples, green pom-pom trim, flamingo pinata - Hobby Lobby
  • Pineapple sunglasses- Oriental Trading Company
  • Fake pineapples were a find at an antique mall and the lanterns were an old Micheal's purchase
  • Amelia's pineapple headband and "one" bib are from Etsy sellers Maddie & Addi and MMsBling

Until next time, lovelies!


A Spring Affair

We've finally busted out of the low temps and are embracing the 70's nearly every day for the next coming week.  Spring has sprung here on the coast, and it has me ready to be outside.

With the warmer temps, comes more visitors (a perk of living by the beach), and I am excited.  Spring and summer are the perfect time for hosting guests and gatherings...especially outdoors.  As you may have noticed, design for us don't stop in the home.  Pillows and furnishings are great, but we love a beautifully done shower setup or tablescape too.  Here are a few images that have me inspired and ready to play hostess in my home...or backyard.

I love the idea of a brunch gathering or shower.  Especially one that involved a pancake "cake" like this one featured on Camille Styles.

I love the idea of a brunch gathering or shower.  Especially one that involved a pancake "cake" like this one featured on Camille Styles.

Here's a great idea of using a runner (either fabric or kraft paper) as an entry sign like seen here on 100 Layer Cake-let.

Here's a great idea of using a runner (either fabric or kraft paper) as an entry sign like seen here on 100 Layer Cake-let.

Make inexpensive mylar balloons shine with a metallic paint pen and a beautiful script (tip: recruit your friend with the best handwriting) shown here via Hello May.

Make inexpensive mylar balloons shine with a metallic paint pen and a beautiful script (tip: recruit your friend with the best handwriting) shown here via Hello May.

Switch up your normal table decor with changing your white tapers to gray ones.  This has bee a favorite I've seen lately.  Image via Southern Weddings

Switch up your normal table decor with changing your white tapers to gray ones.  This has bee a favorite I've seen lately.  Image via Southern Weddings

Think small.  Even a small gathering can have a big look if you make everything mini--like these desserts at Desiree Hartsock's wedding shown on Inspired by This.  Think mini cakes, mini banana puddings, macaroons, etc.

Think small.  Even a small gathering can have a big look if you make everything mini--like these desserts at Desiree Hartsock's wedding shown on Inspired by This.  Think mini cakes, mini banana puddings, macaroons, etc.

One thing to always remember when trying to create a stylish and cohesive design is the color palette.  Here are a few favorites for spring.

Cheers to new gatherings and memories made at the table!


5 tips to a stylish Thanksgiving Buffet

The past couple years my husband and I have taken over the role of hosting both of our families for Thanksgiving. Because our family is too large to seat down at a formally set table, we lay all the food buffet style and it's get in where you fit in.

If you plan to have a buffet style Thanksgiving too, here are a few tips on putting together a stylish one.

1. START WITH A THEME

Putting together a stylish buffet table doesn't have to be expensive. Take stock of what you have already that you may want to use as a starting point: a table runner, a pretty serving dish, left over pumpkins from Halloween. Look around your yard. Perhaps there are some pretty branches, clippings from a rosemary bush, leaves, acorns, or pine cones.

2. ADD VARYING HEIGHTS

As seen in the image below, it is visually more interesting to have items laid out at different levels. If you do not have decorative items that can be used for elevation, stack books and cover them with linens.

Via

3. LABEL DISHES

Food labels can be an easy and inexpensive way to add a personal touch to your buffet. Pinterest has several labels that you can download or you can get creative and make your own.

This walnut used as a charity card holder could also work as a label holder.

Via


4. DRESS UP YOUR PROTEIN

Typically, the protein tends to be the star of the table. Dress it up! Use items that you used to cook with such as fresh herbs, greens, fruits, vegetables.

Via

5. DISPLAY THE SILVERWARE STYLISHLY

The silverware offers another opportunity to be creative. Instead of laying them in a pile on the table, tie together individual sets with twine or place them collectively in a decorative container. *Tip- Place the silverware at the end of the buffet, rather at the beginning. By doing so, it prevents juggling of the utensils while trying to serve yourself.

Via

With a little resourcefulness, a stylish buffet can be achieved with little to no cost. As an added bonus, here is a free download of these adorable left over labels designed by Bloom Designs. Just print them out and stick them on your guests' take home container.

Have a Happy Thanksgiving!