Memo Boards
/I've been in "Operation: Purge the Magazines" mode for quite a few months around here. I seem to weed a few out here and there but then more just show up. I have an obscene amount of magazines sitting on my couch and coffee table ottoman at the moment. I typically like to have a few laying around for inspiration and for guests to browse but there comes a time when enough is enough.
I typically dog-ear the pages in magazines that I want to reference later so I can tear them out, pin the information or add the recipe to my recipe binder. When the stacks get too high, I start to get anxiety about the amount of sorting those bookmarked pages will require. That's why I love memo boards--good, ol' fashioned memo boards.
Pinterest is a wonderful thing, but when you have something tangible you want to save (and don't want to clutter your surfaces) a memo board is the way to go. Once you have the board on the wall, adding images, quotes and fabrics is the easy and beautiful part. Here are a few different boards you can buy or better yet, make!
Use tacks and string to create your own board.
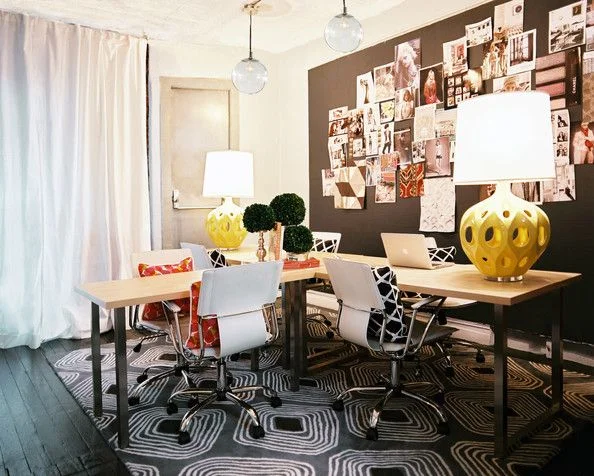
Or you can use a whole wall to tape up your favorites.
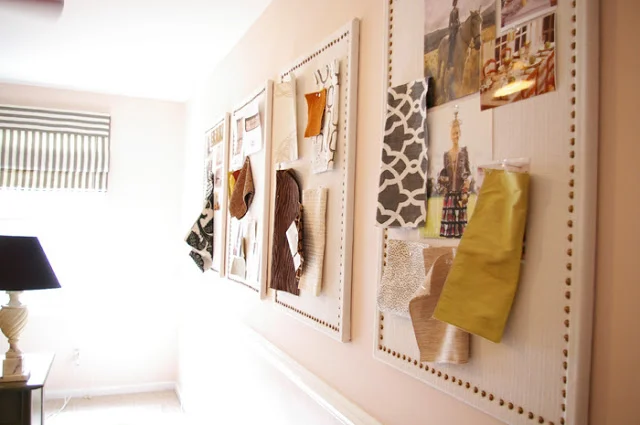
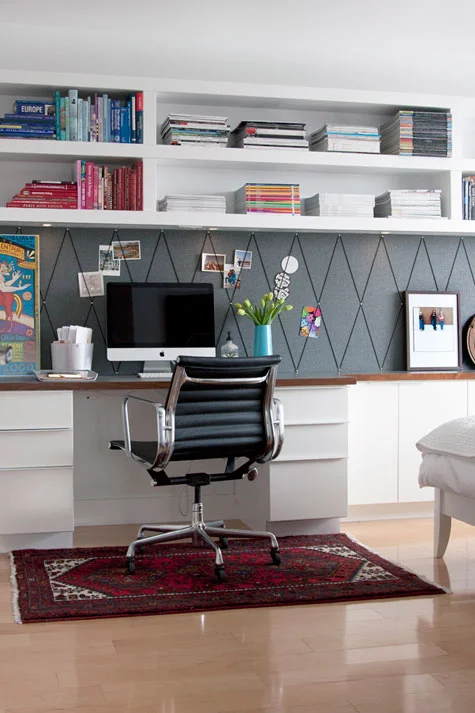
Or turn an ordinary cord board into something beautiful with linen fabric and decorative nail heads.

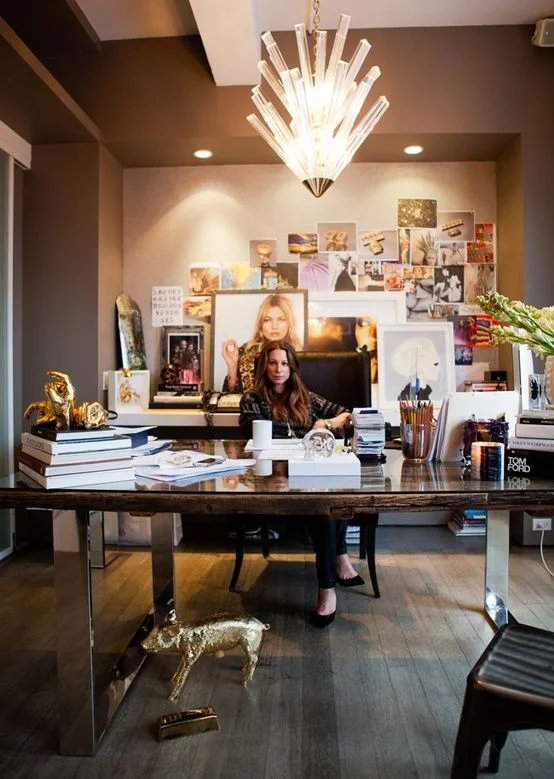
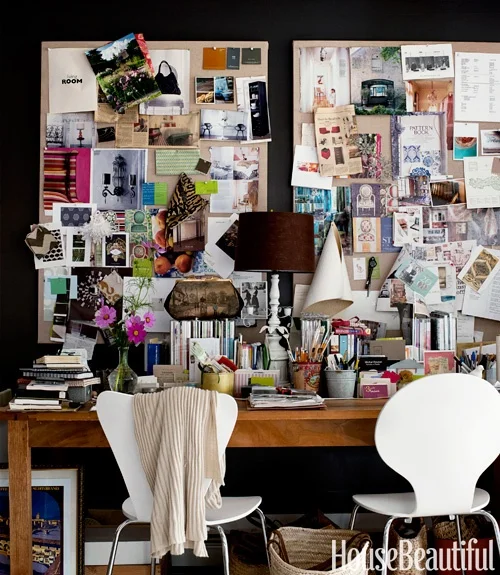
You can even create your own design.

Magnetic chalk paint is a great option as well!
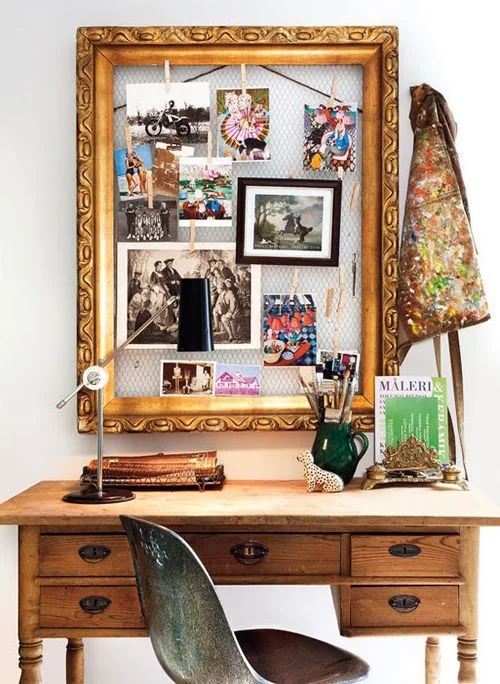
An empty frame and some chicken wire can be another solution.
Who is inspired now? I know I am. Now to just decide which one I can add to my office... Then I can finally rid my home of some clutter and make my walls a beautiful backdrop full of inspiration!
*Click images for sources