
easy breakfast nook facelift
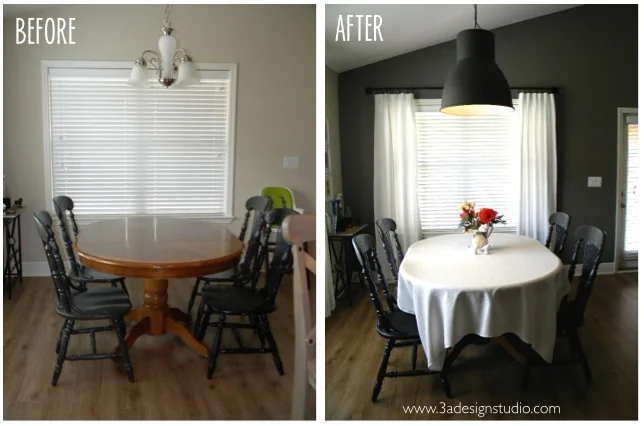
/If you're anything like me, your breakfast nook probably looks a little something like this:
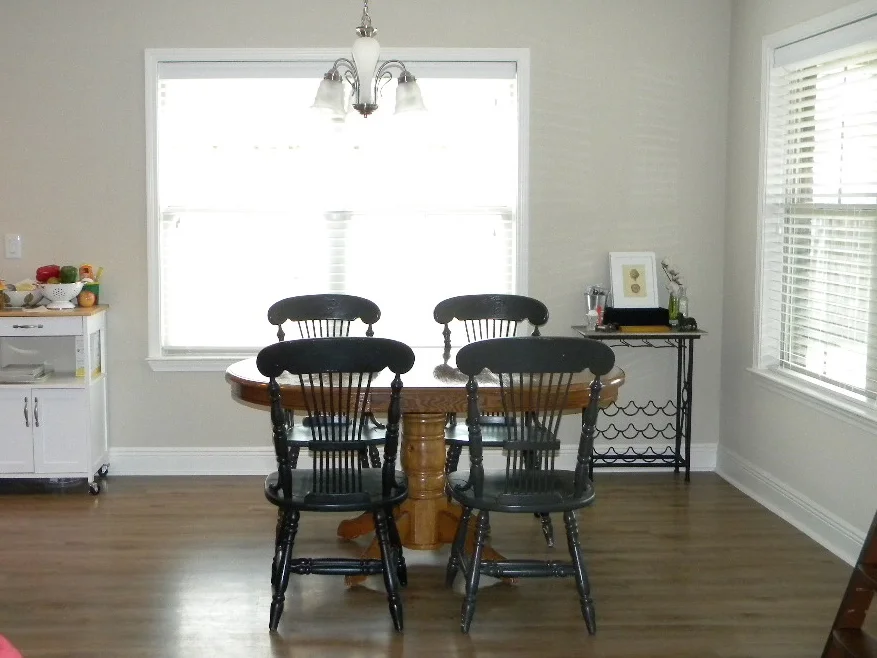
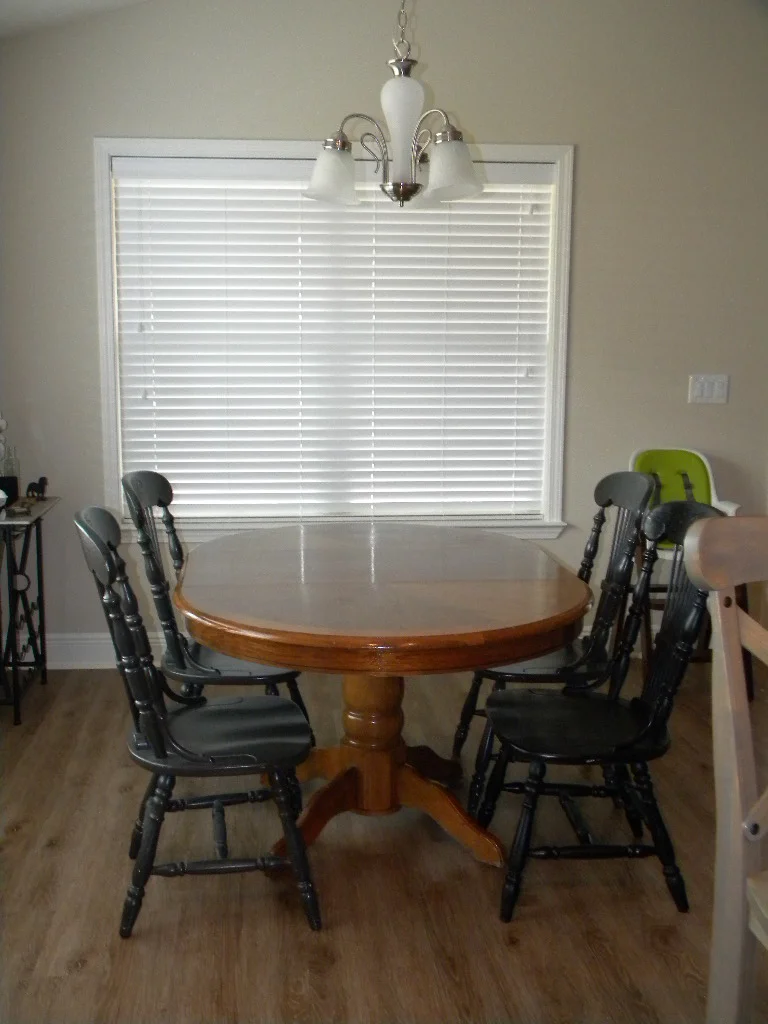
Typical. "Builder Beige" walls, an ordinary table, builder-grade light fixture and maybe a little something here or there to make it personal.
This was my breakfast nook shortly after we moved in. The table and chairs were my mom's (I ate from that table for as long as I can remember, and if you're a kid of the 80s/90s you probably had a similar one). In our old house I had the leaf removed and a colorful boho-looking tablecloth over it. I painted the chairs a dark charcoal several years ago. I had intentions of painting the table, but since all 4 chairs barely made it into the "completed" stages of being painted, I didn't want the table to endure the same suffering.
Other than that, you can see all that I have is a kitchen cart and a wine rack (except the wine bottles stay on the top shelf of the pantry because I have a toddler).
I needed a very quick and VERY budget-friendly facelift--not an overhaul, but something to cheer up the space we spend so much time in. And here's how it looks today:
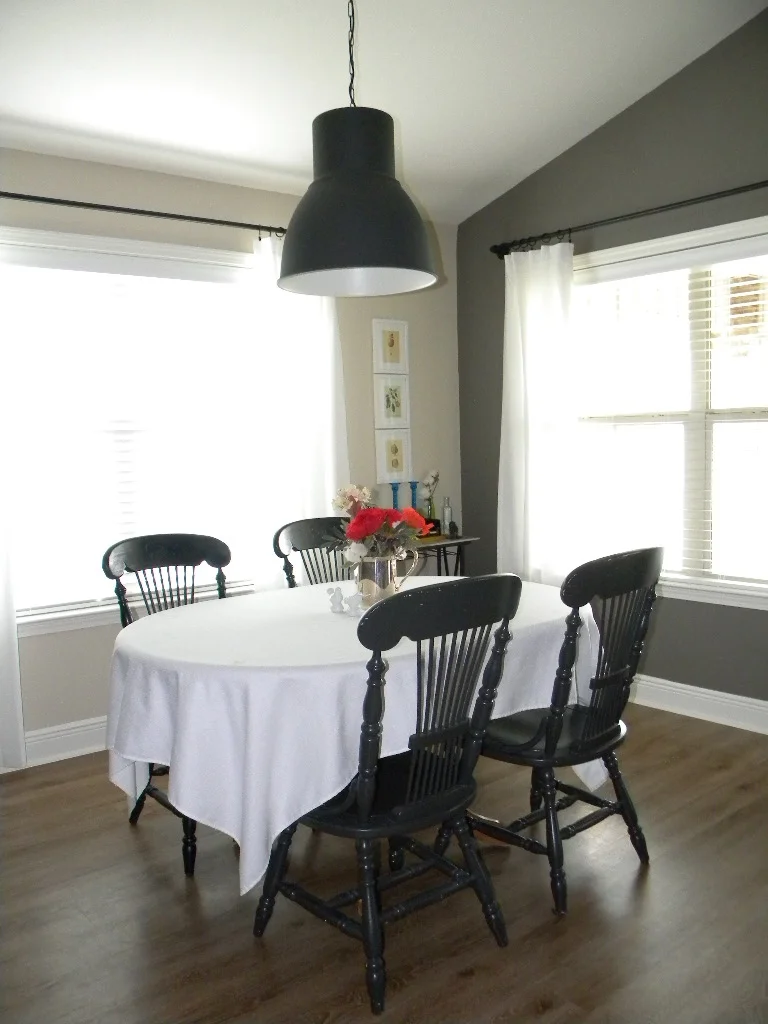
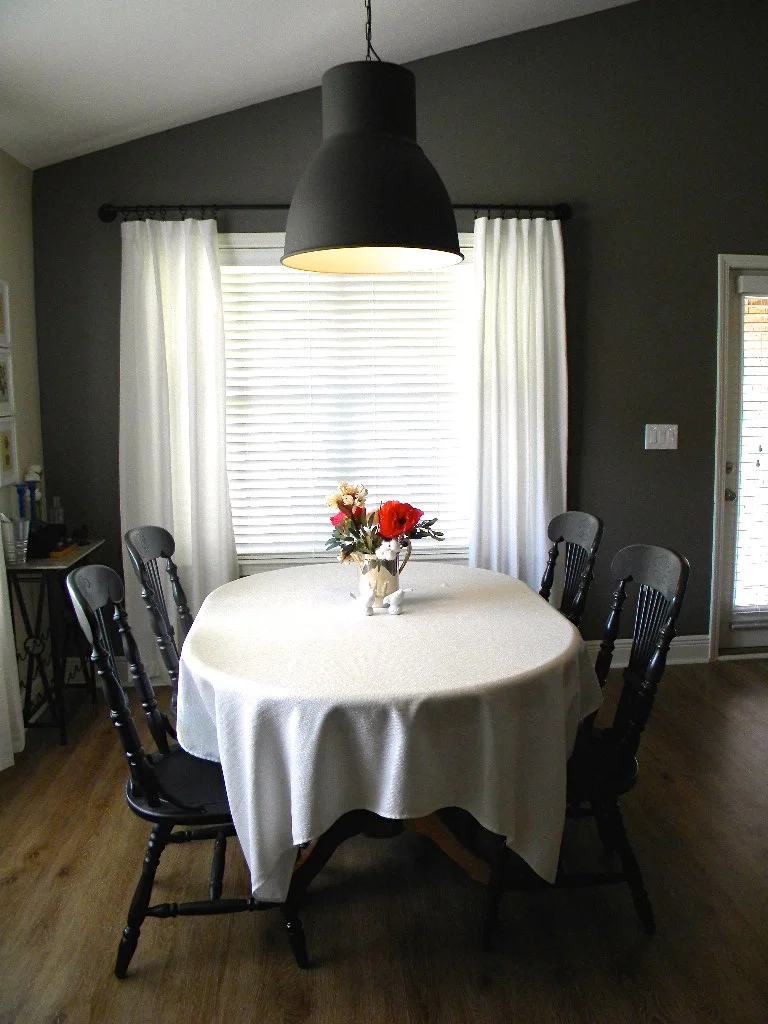
Not a huge difference, but man--what a few simple tricks can do for a space!
And here's what I did to get there:
1. Painted the back wall in Valspar: Sienne. I'm in love with the color. The wall that is not painted runs through our kitchen so I didn't want to paint that one. So I had to pick something that would go well with the existing paint color until I decided on what to do with it. This gray has the perfect balance of warm and cool undertones not to clash with the builder-beige.
2. Installed some DIY industrial curtain rods using this tutorial. I'd give you one myself but I didn't document the process. But if you decide to do it, know that the mounting hardware is very heavy and you'll need reinforcements (or studs) to hold it. Also....measure twice, cut once (learned that lesson the hard way)! I'm happy with how they came out but they were kind of a pain to install versus traditional rods. This method will have to take ring clips to mount your draperies because that's the only way they're coming off the rod :) The white curtains are simple thick cotton draperies you can find anywhere. (Also it should be noted that when using the industrial curtain rod, hang your curtains on your rod and measure exactly before installing--I just did math in my head, which can sometimes work, but in this case, my curtains are about 1.5" off the ground. Not ideal, but it's better than going through the fiasco of re-installing the rod and patching giant holes in our freshly painted wall. Also, according to my mom this can be a good thing "so you don't get dirty mop water on your white curtains.")
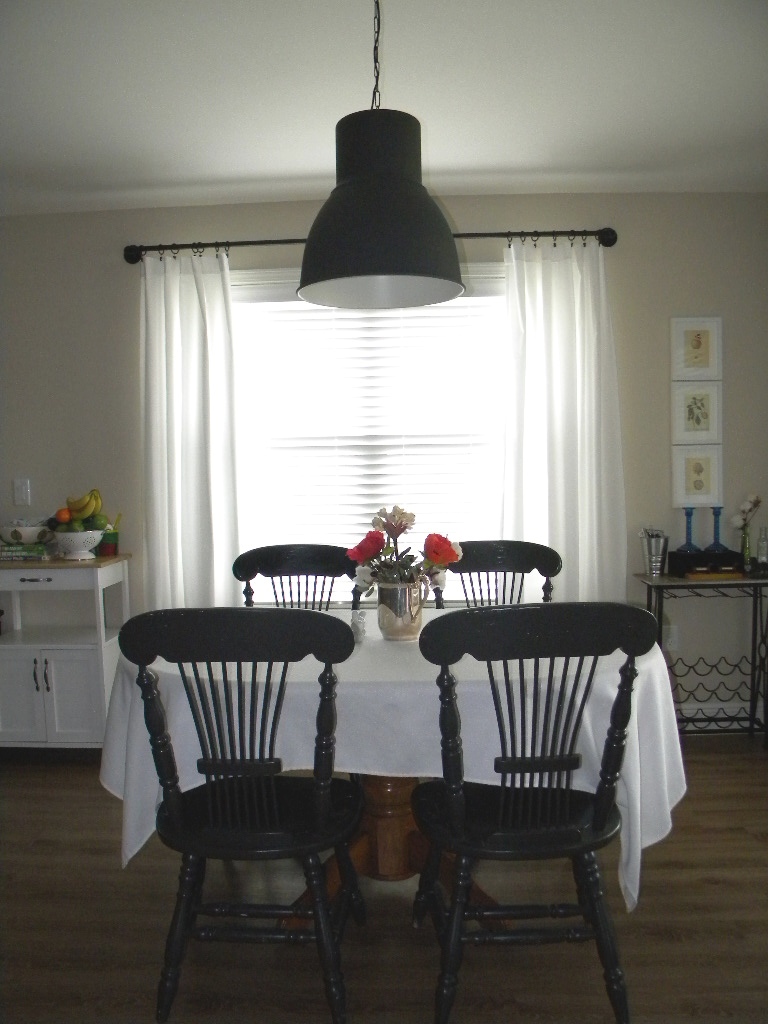
3. Added a simple white tablecloth with a eye-catching flower arrangement. This one sits in an antique silver pitcher that belonged to my grandmother. Although I much prefer real flowers, these are silk with cotton flowers added in. They work and are not something I have to worry about replacing every week.
4. Arranged botanical fruit prints above the wine rack. These were printables I found online a few years ago. The frames were inexpensive Walmart finds.
5. Replaced the builder light fixture with this statement one from Ikea. When we first got it I was like "what have I done?!" but the more I have time to adjust to the difference between it and our dinky builder grade fixture, I like it. It really adds weight to the space.
One last look:
And that's it, folks! It was quite simple. Of course, the space is by no means complete (ideally I'd like a rug, a space above the kitchen cart for a hanging indoor herb garden, an entirely new dining table/chairs set) but I think it's important to know that about working in your own home. It takes time. For many of us, spending all the money at once isn't an option. So you do a little here, a little there, add in a little elbow grease, and eventually you have a beautiful complete space. And that is so satisfying.
That's what is so great about our e-design service. We provide you with the vision to work towards. You control the cash flow. You control the pace. Just being able to see what your space has the potential to look like can be enough to jump start your room make-over. And then you can say "um, yeah. I did that!" With a little help from us, of course ;)
Until next time...
