some stencils i've been eyeing
/I have a teeny hallway in my house leading to two bedrooms and a bathroom. It is dull, ordinary, and lackluster. My first thought was to paint it a bright, bold color. But then I thought, hey let's get really crazy. Let's do wallpaper.
Nope. Too crazy. I once had to remove wallpaper in several rooms of the house I spent most my life in. And let me tell you something--you better love that wallpaper when you put it up.
So then I thought, ok I'll just hand-paint something on it. And then I remembered all of the half-projects I've started throughout my house and thought, let's not add another.
But, heyyyy....stencils! Stencils are where it's at. Stencils lend themselves to a higher probability of completion.
So I've been looking, and here's some I like a lot from Cutting Edge Stencils.
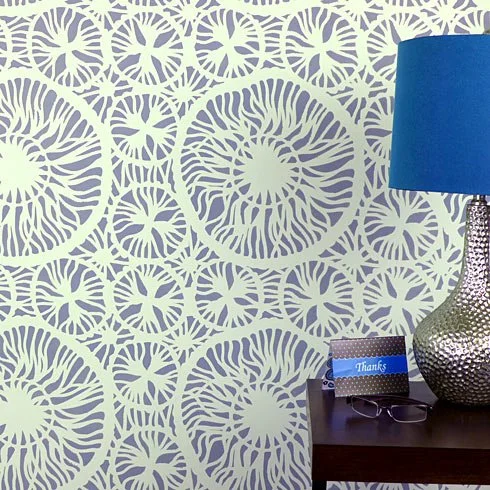
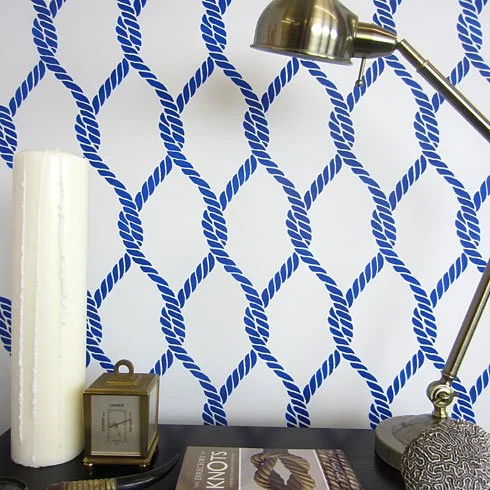
I live on the Gulf Coast so this rope stencil has just enough nautical flare to be "coastal" without being "beachy" if you catch my drift (pun intended).
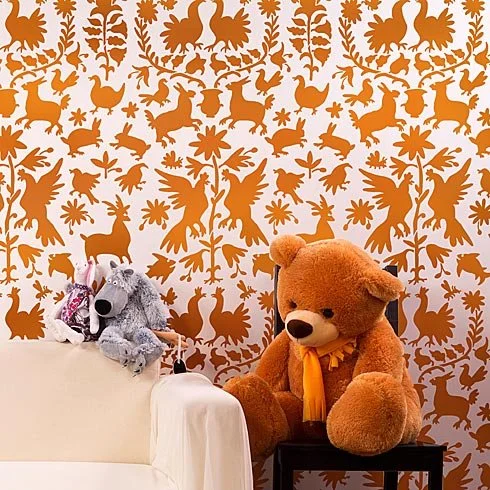
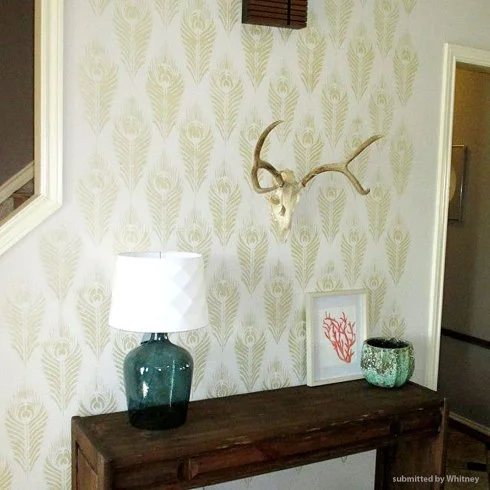
I think this one is my most favorite because the hallway leads to my daughter's room and the guest room, both of which have an organic vintage feel that honors nature.
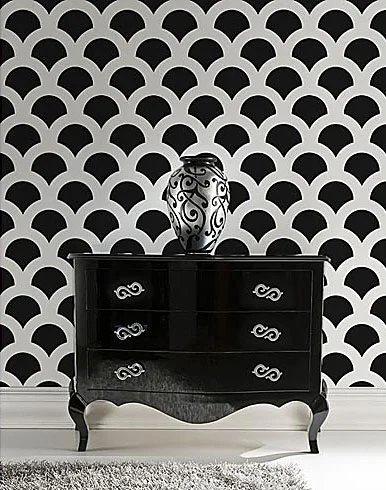
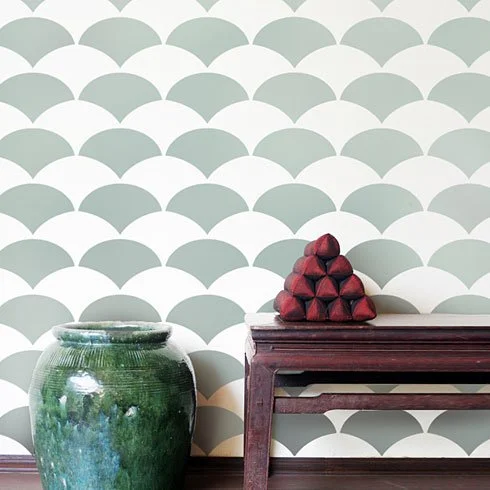
Can you tell I'm into scallops these days?
So that's my top 6. I wanted to stick with something organic or a geometric pattern with rounded shapes. In tight spaces, avoiding structured patterns with a lot of angles can help you not to have that "closing in" feeling that small spaces can have.

Or. You know. I could just do a hallway of wiener dogs (!!!!). I saw this one from The Stencil Studio. I come from a long line of dachshund-lovers. But maybe not everyone loves them as much as I do, so I'll probably tone down the obsession and stick to my dachshund thank-you notes for now :)
Have any of you used wall stencils for a wallpaper-effect and been pleased with the outcome?