A Guest Bath - The Plan
/Since we moved into our home almost two years ago now, we've painted every bedroom but the master and every bathroom but one. One of the bathrooms that recently get painted was our main guest bath. It is one of the baths right off of our living room but also is a part of the guest suite area we have at the back of our house. Needless to say, it gets a lot of use.
When we first moved in, this is how it looked:

No, it's not horrible, but it's not my style either so I knew immediately some things would be changing. Here was my initial to do list:
- Replace shower curtain
- Update dinky hardware
- Add rug
- Add baskets and towels in empty vanity cubbies
- Paint walls
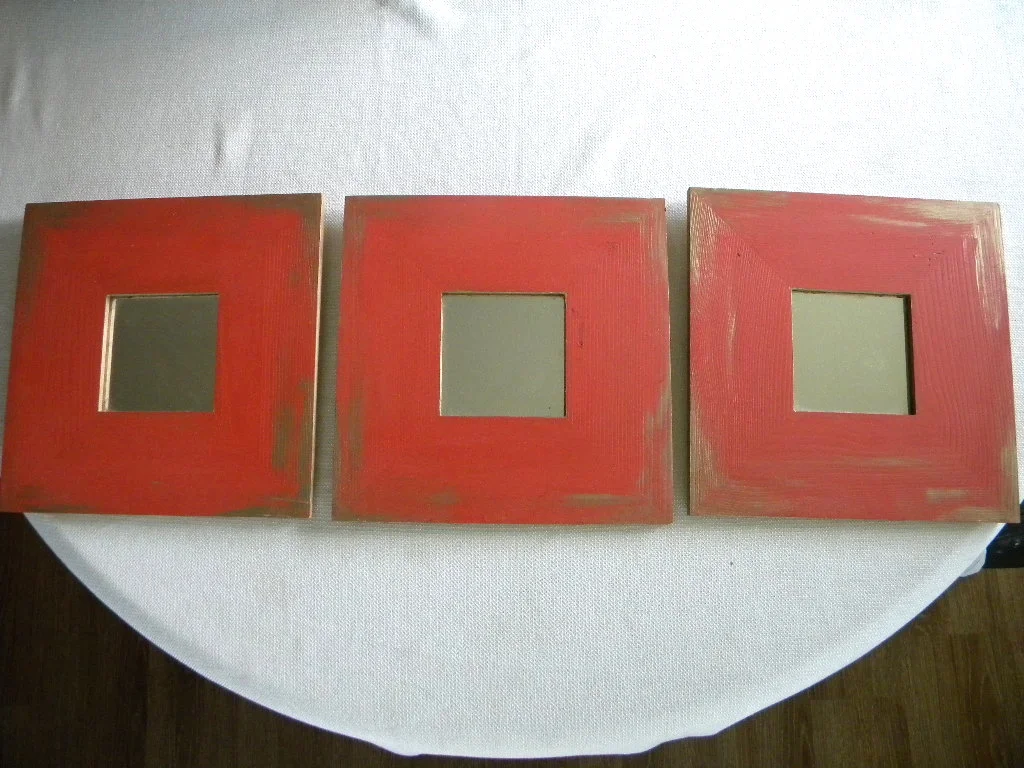
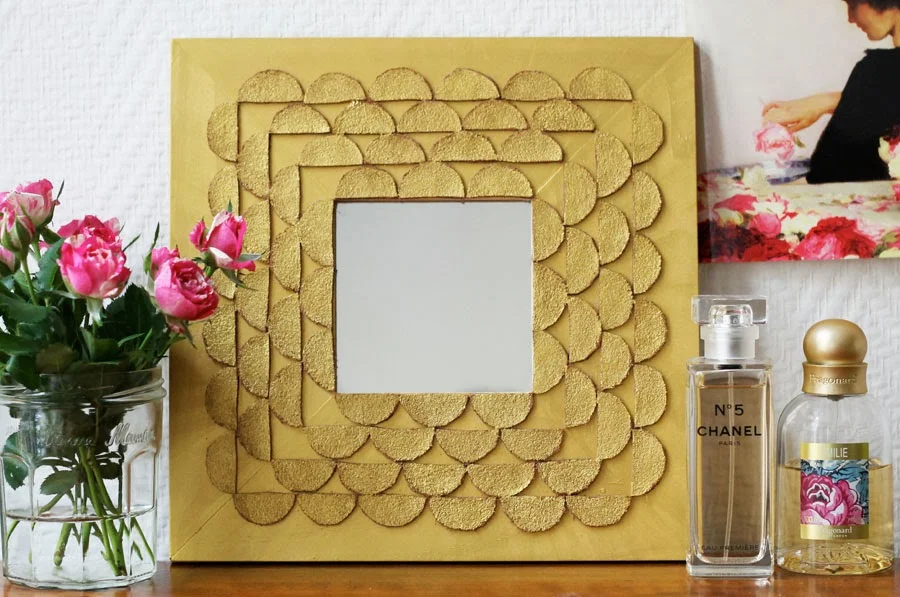
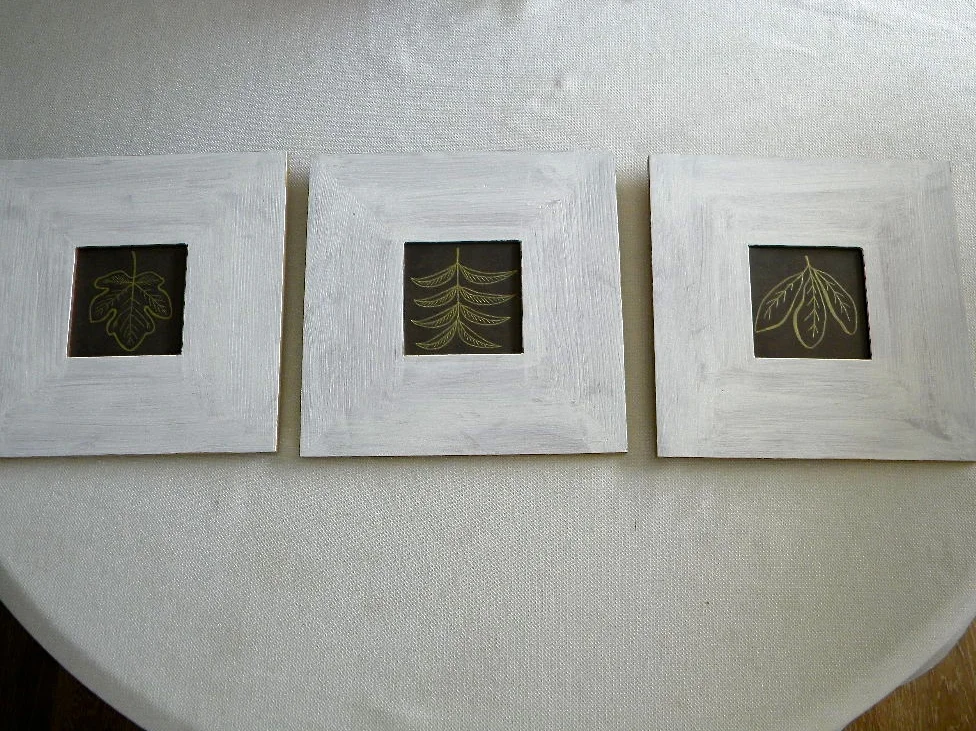
- Replace mirror
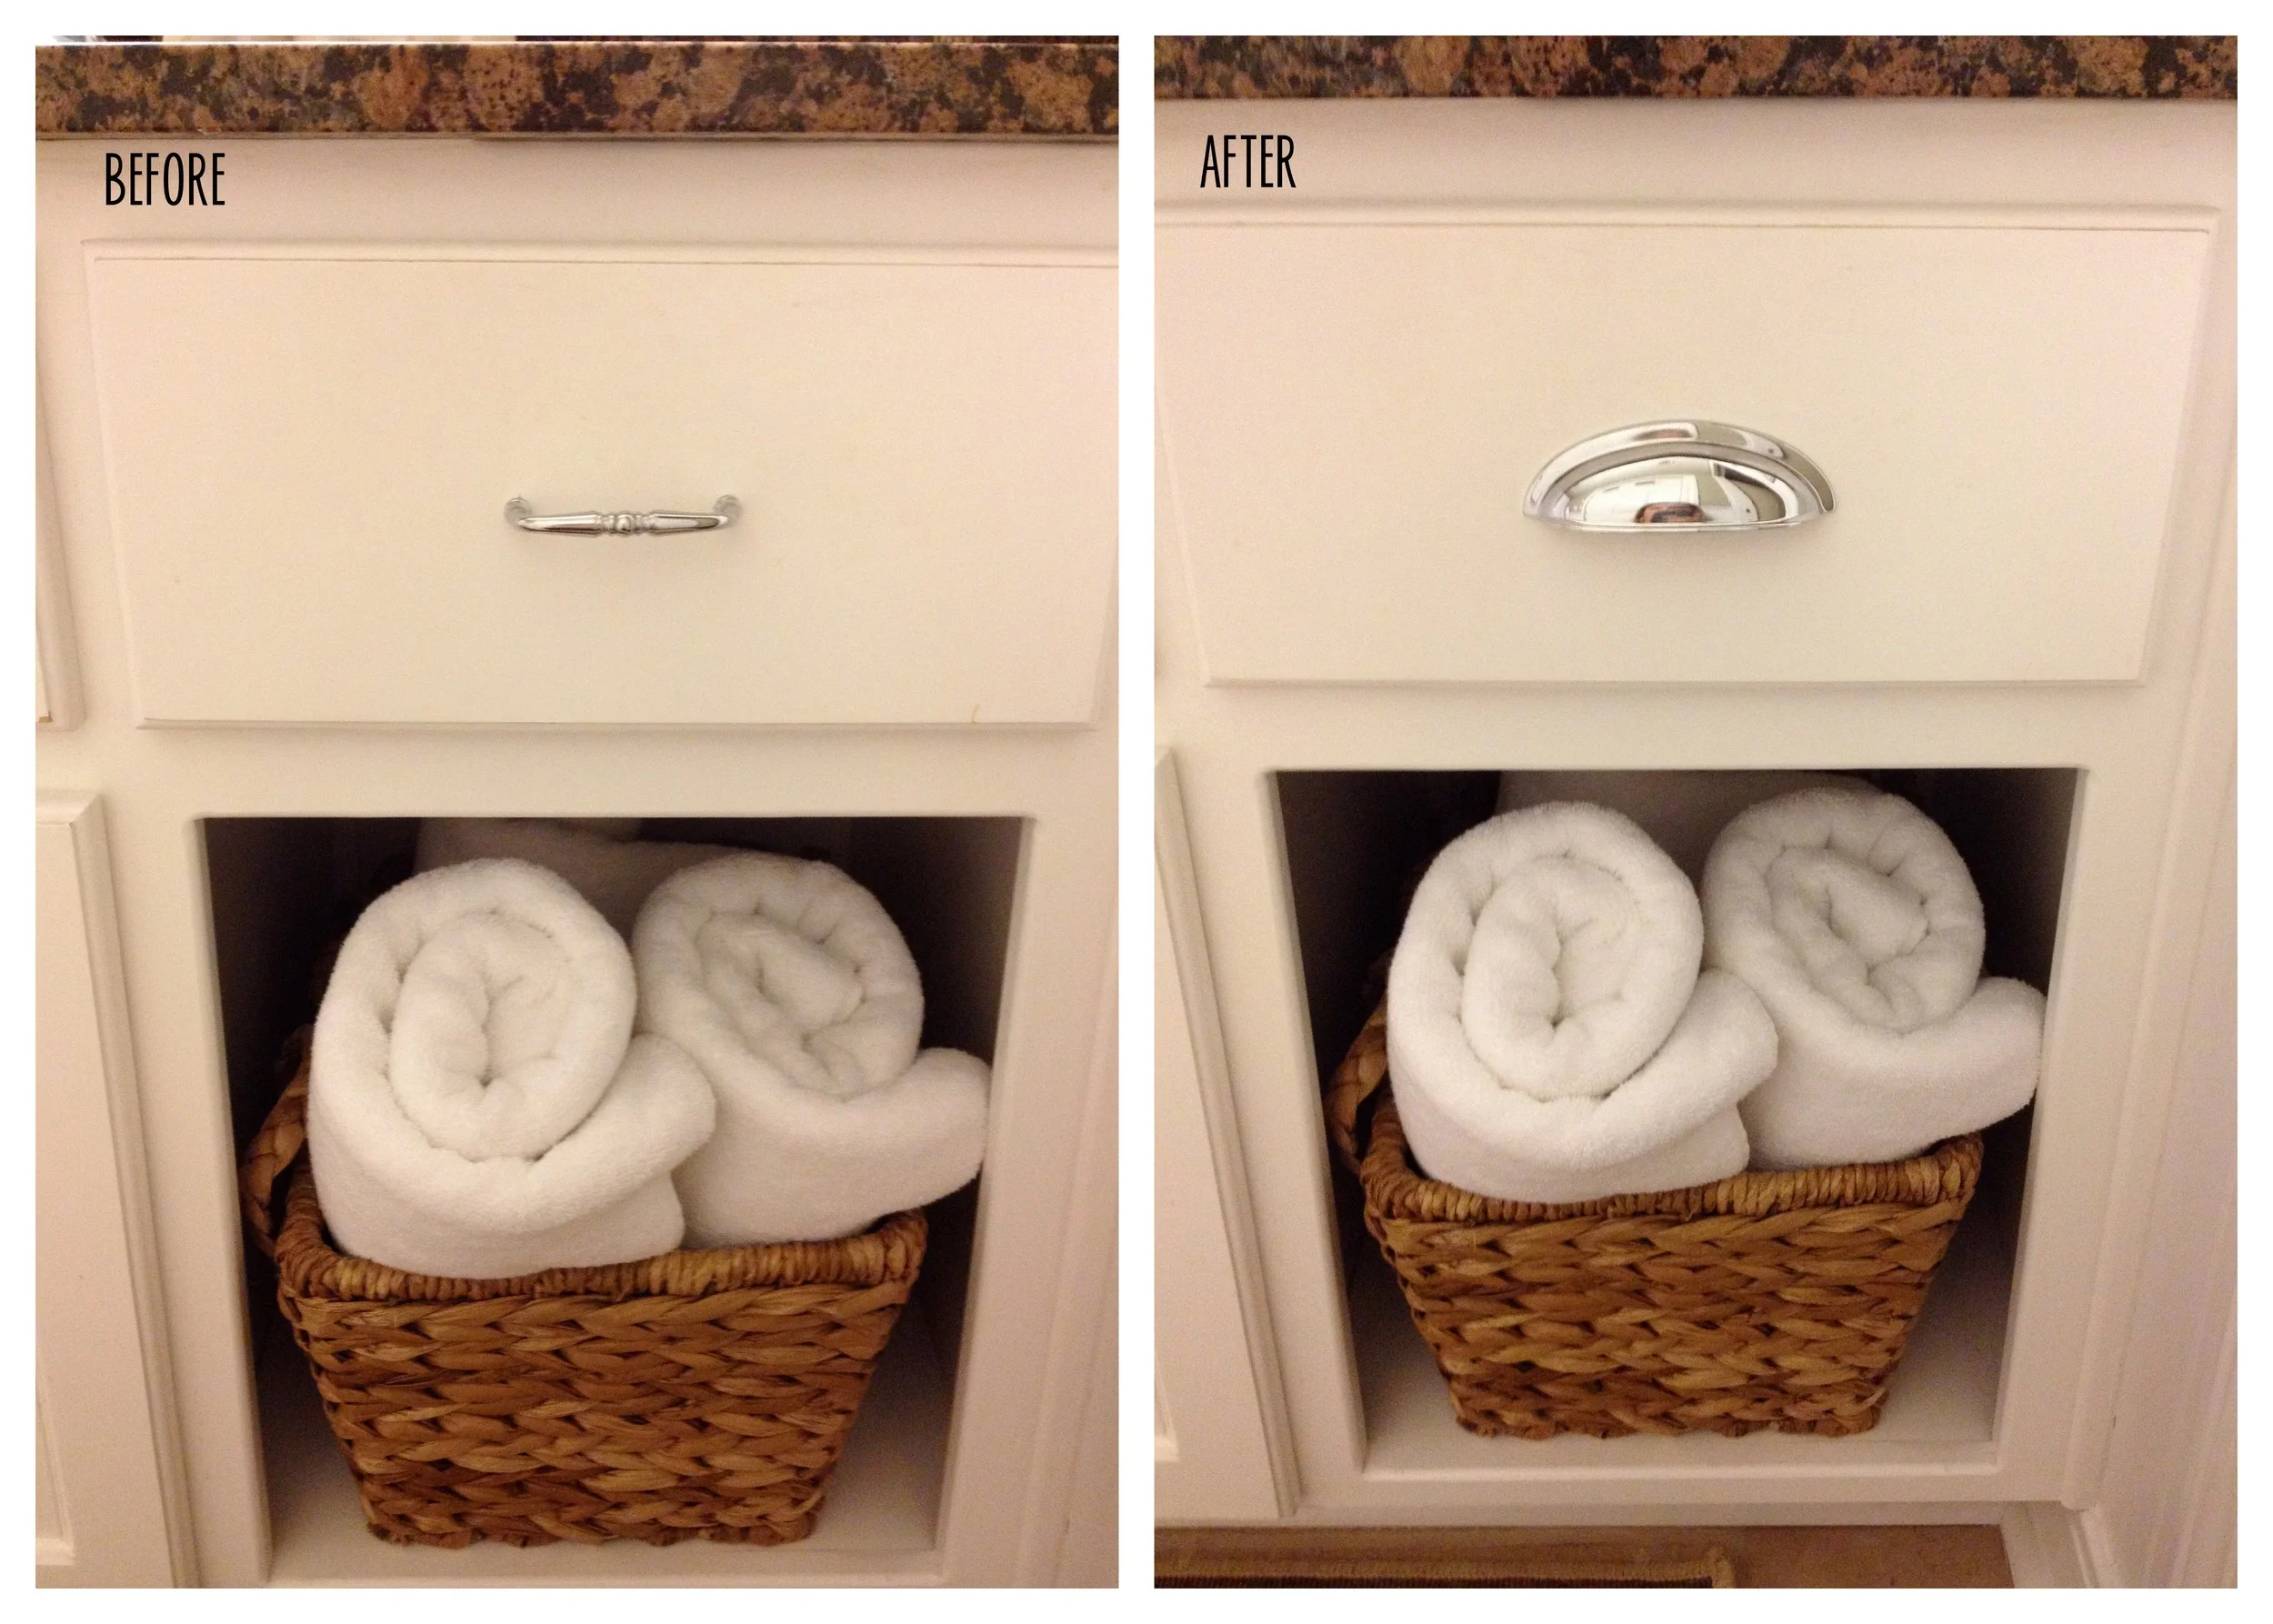
A Before and After of number 2 on the list.
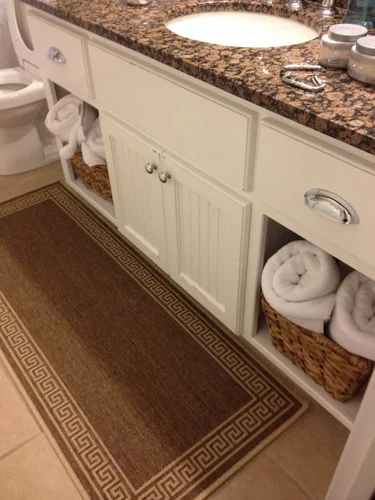
Here's a shot with the updated hardware, baskets and rug.
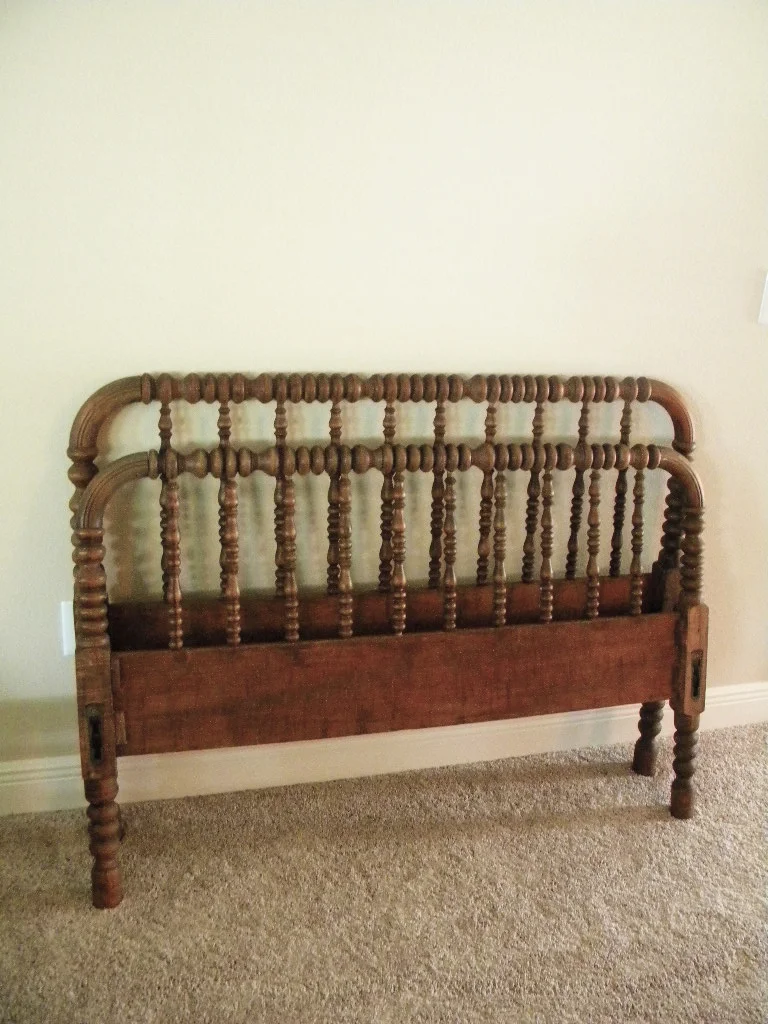
Numbers 1-5 are complete and surprisingly almost in that exact order, but number 6 has been a problem. I knew I wanted to replace that mirror since the day I stepped into that bathroom, and here I am two years later still looking for the perfect one (in my budget).
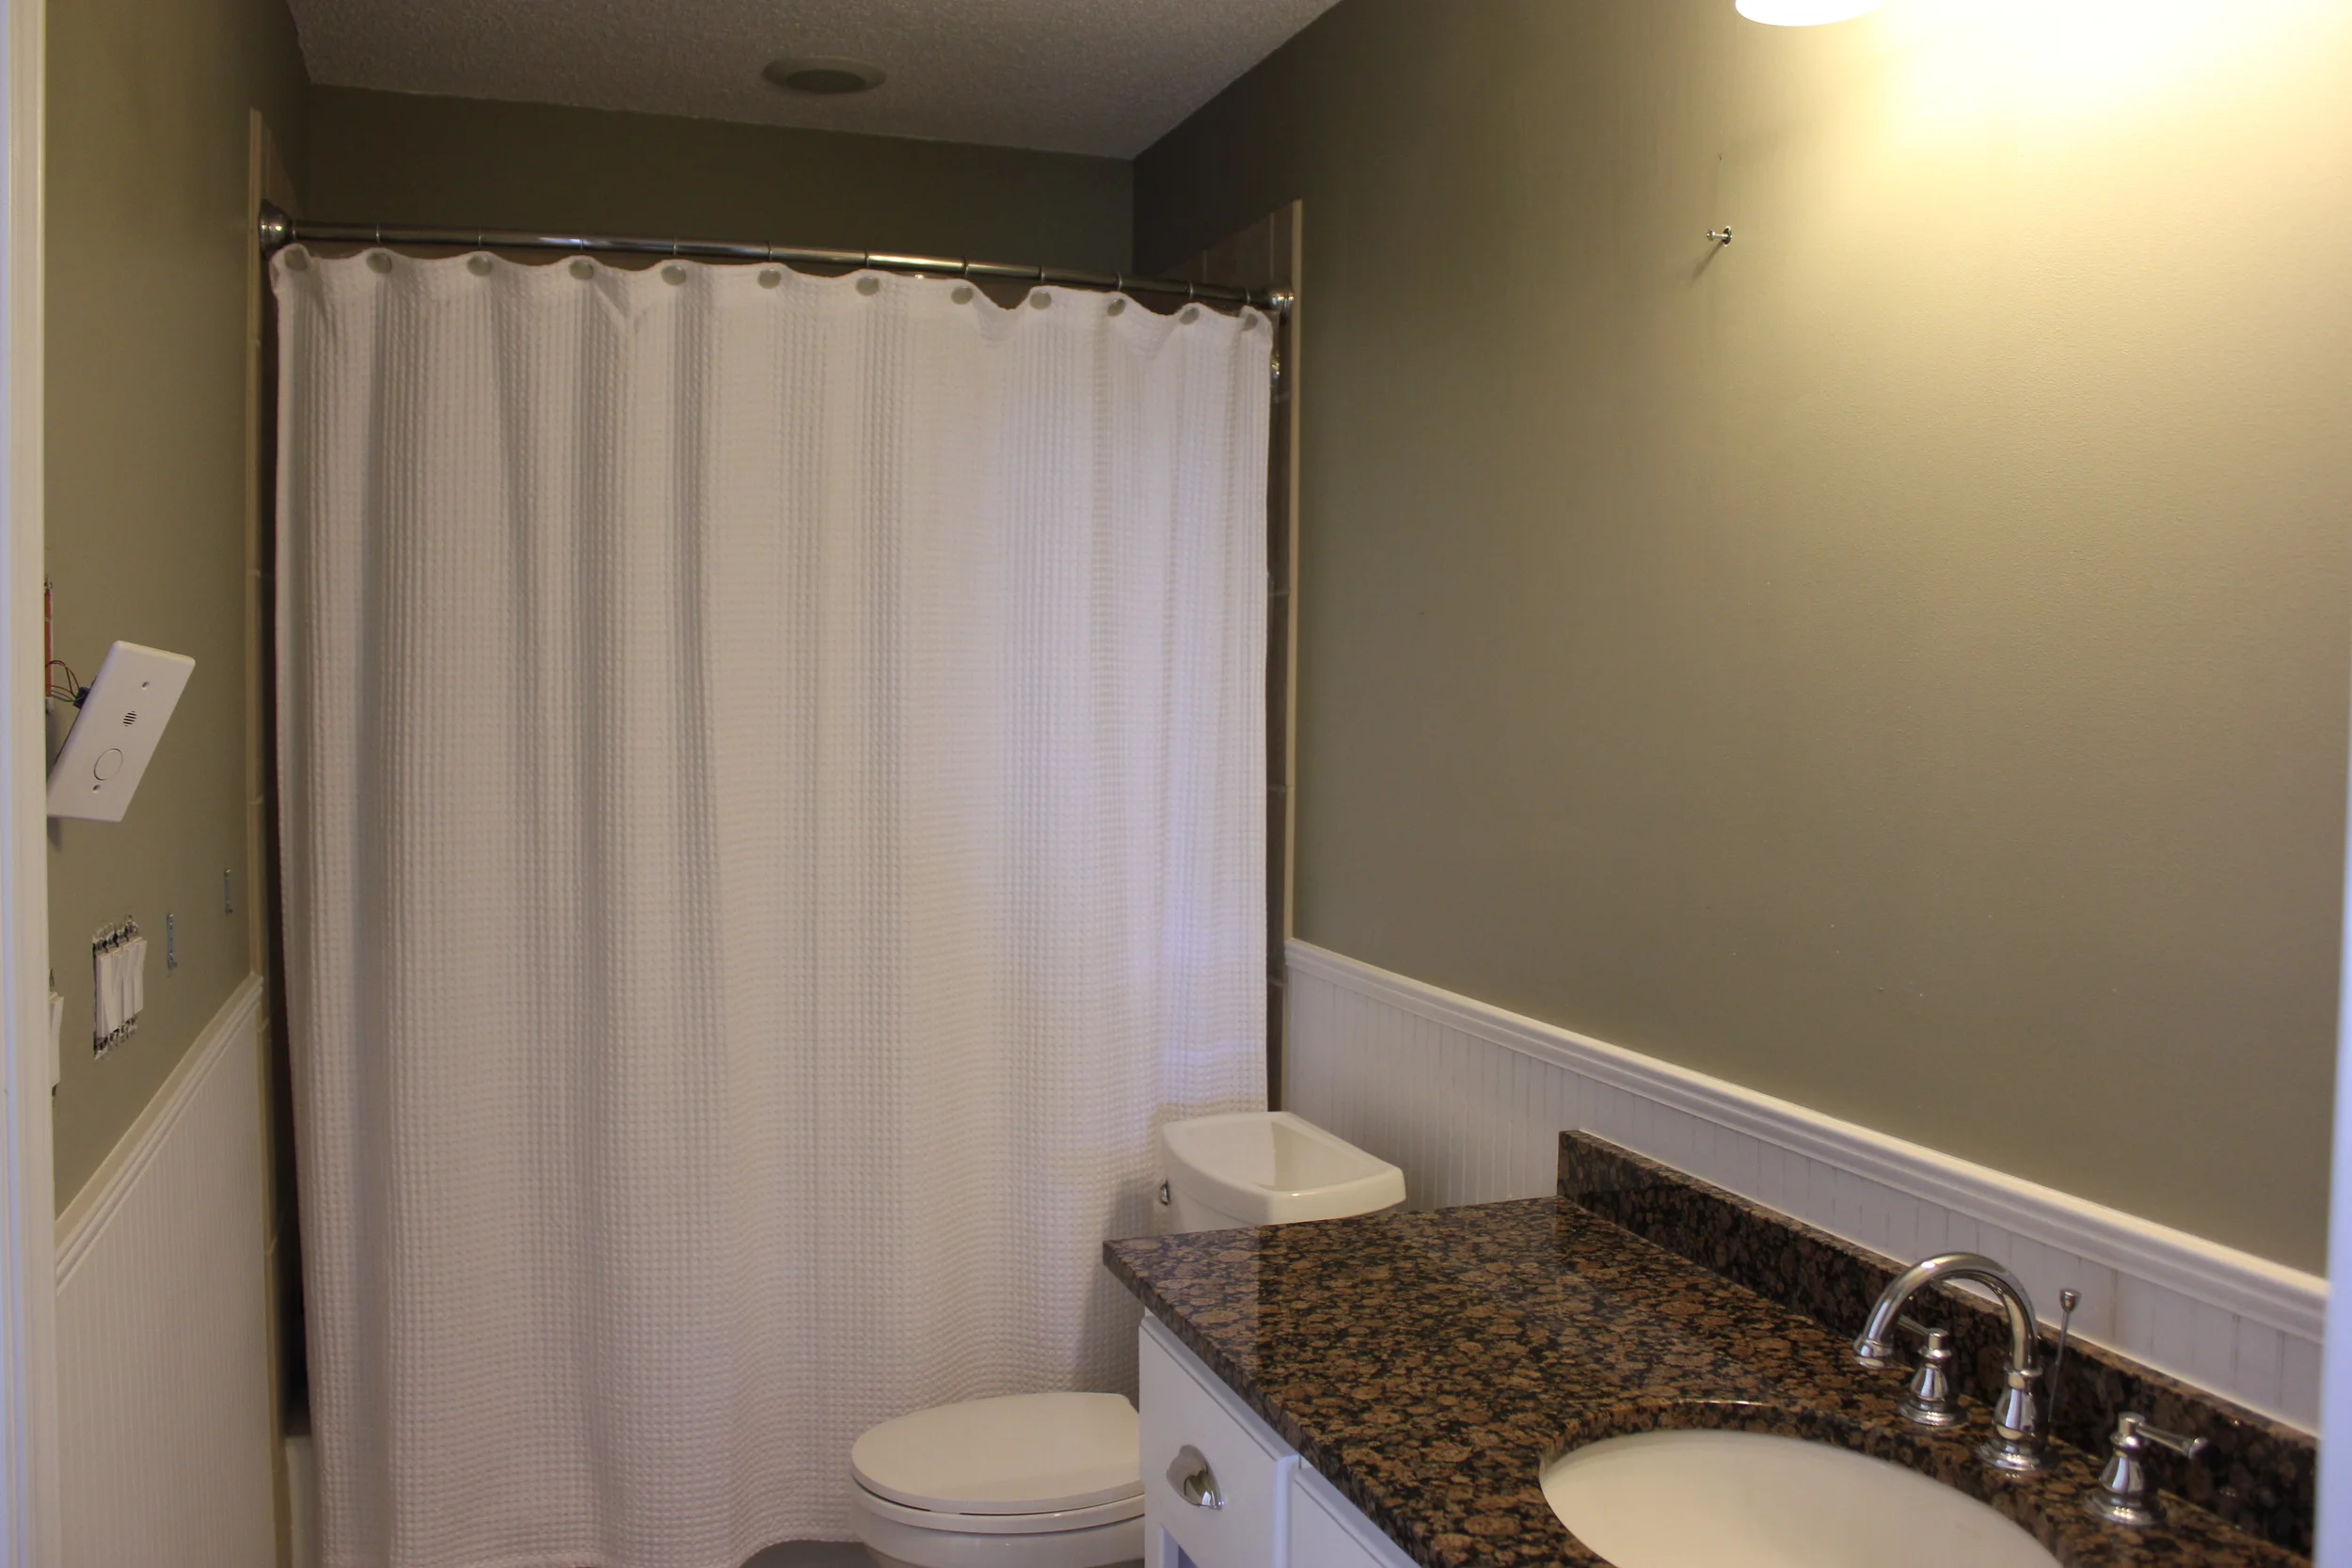
Here's a shot of the room prior to painting.
The room looks much better with the mirror gone doesn't it? I've since painted the space Benjamin Moore's Windsbreath. I love the color and did sample it on the walls (next to the white beadboard), but I'm not pleased with the final look. It makes the tan builder tile look even more blah so I'm afraid I'm going to have to repaint (haven't told the husband) in something with a little more gray in it, maybe Edgecomb Gray. I want to keep it light because the only natural light in the space is from three small transom windows on the door leading out to the pool area (to the left in this picture).
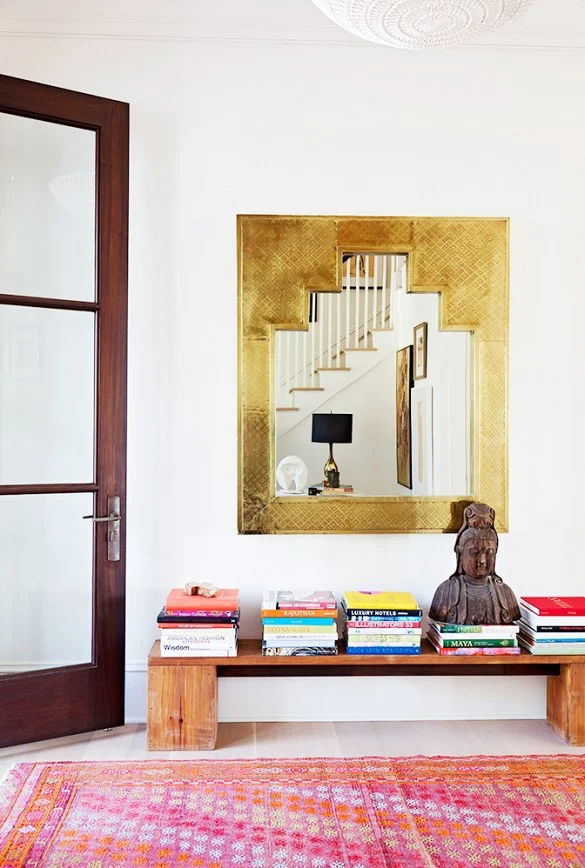
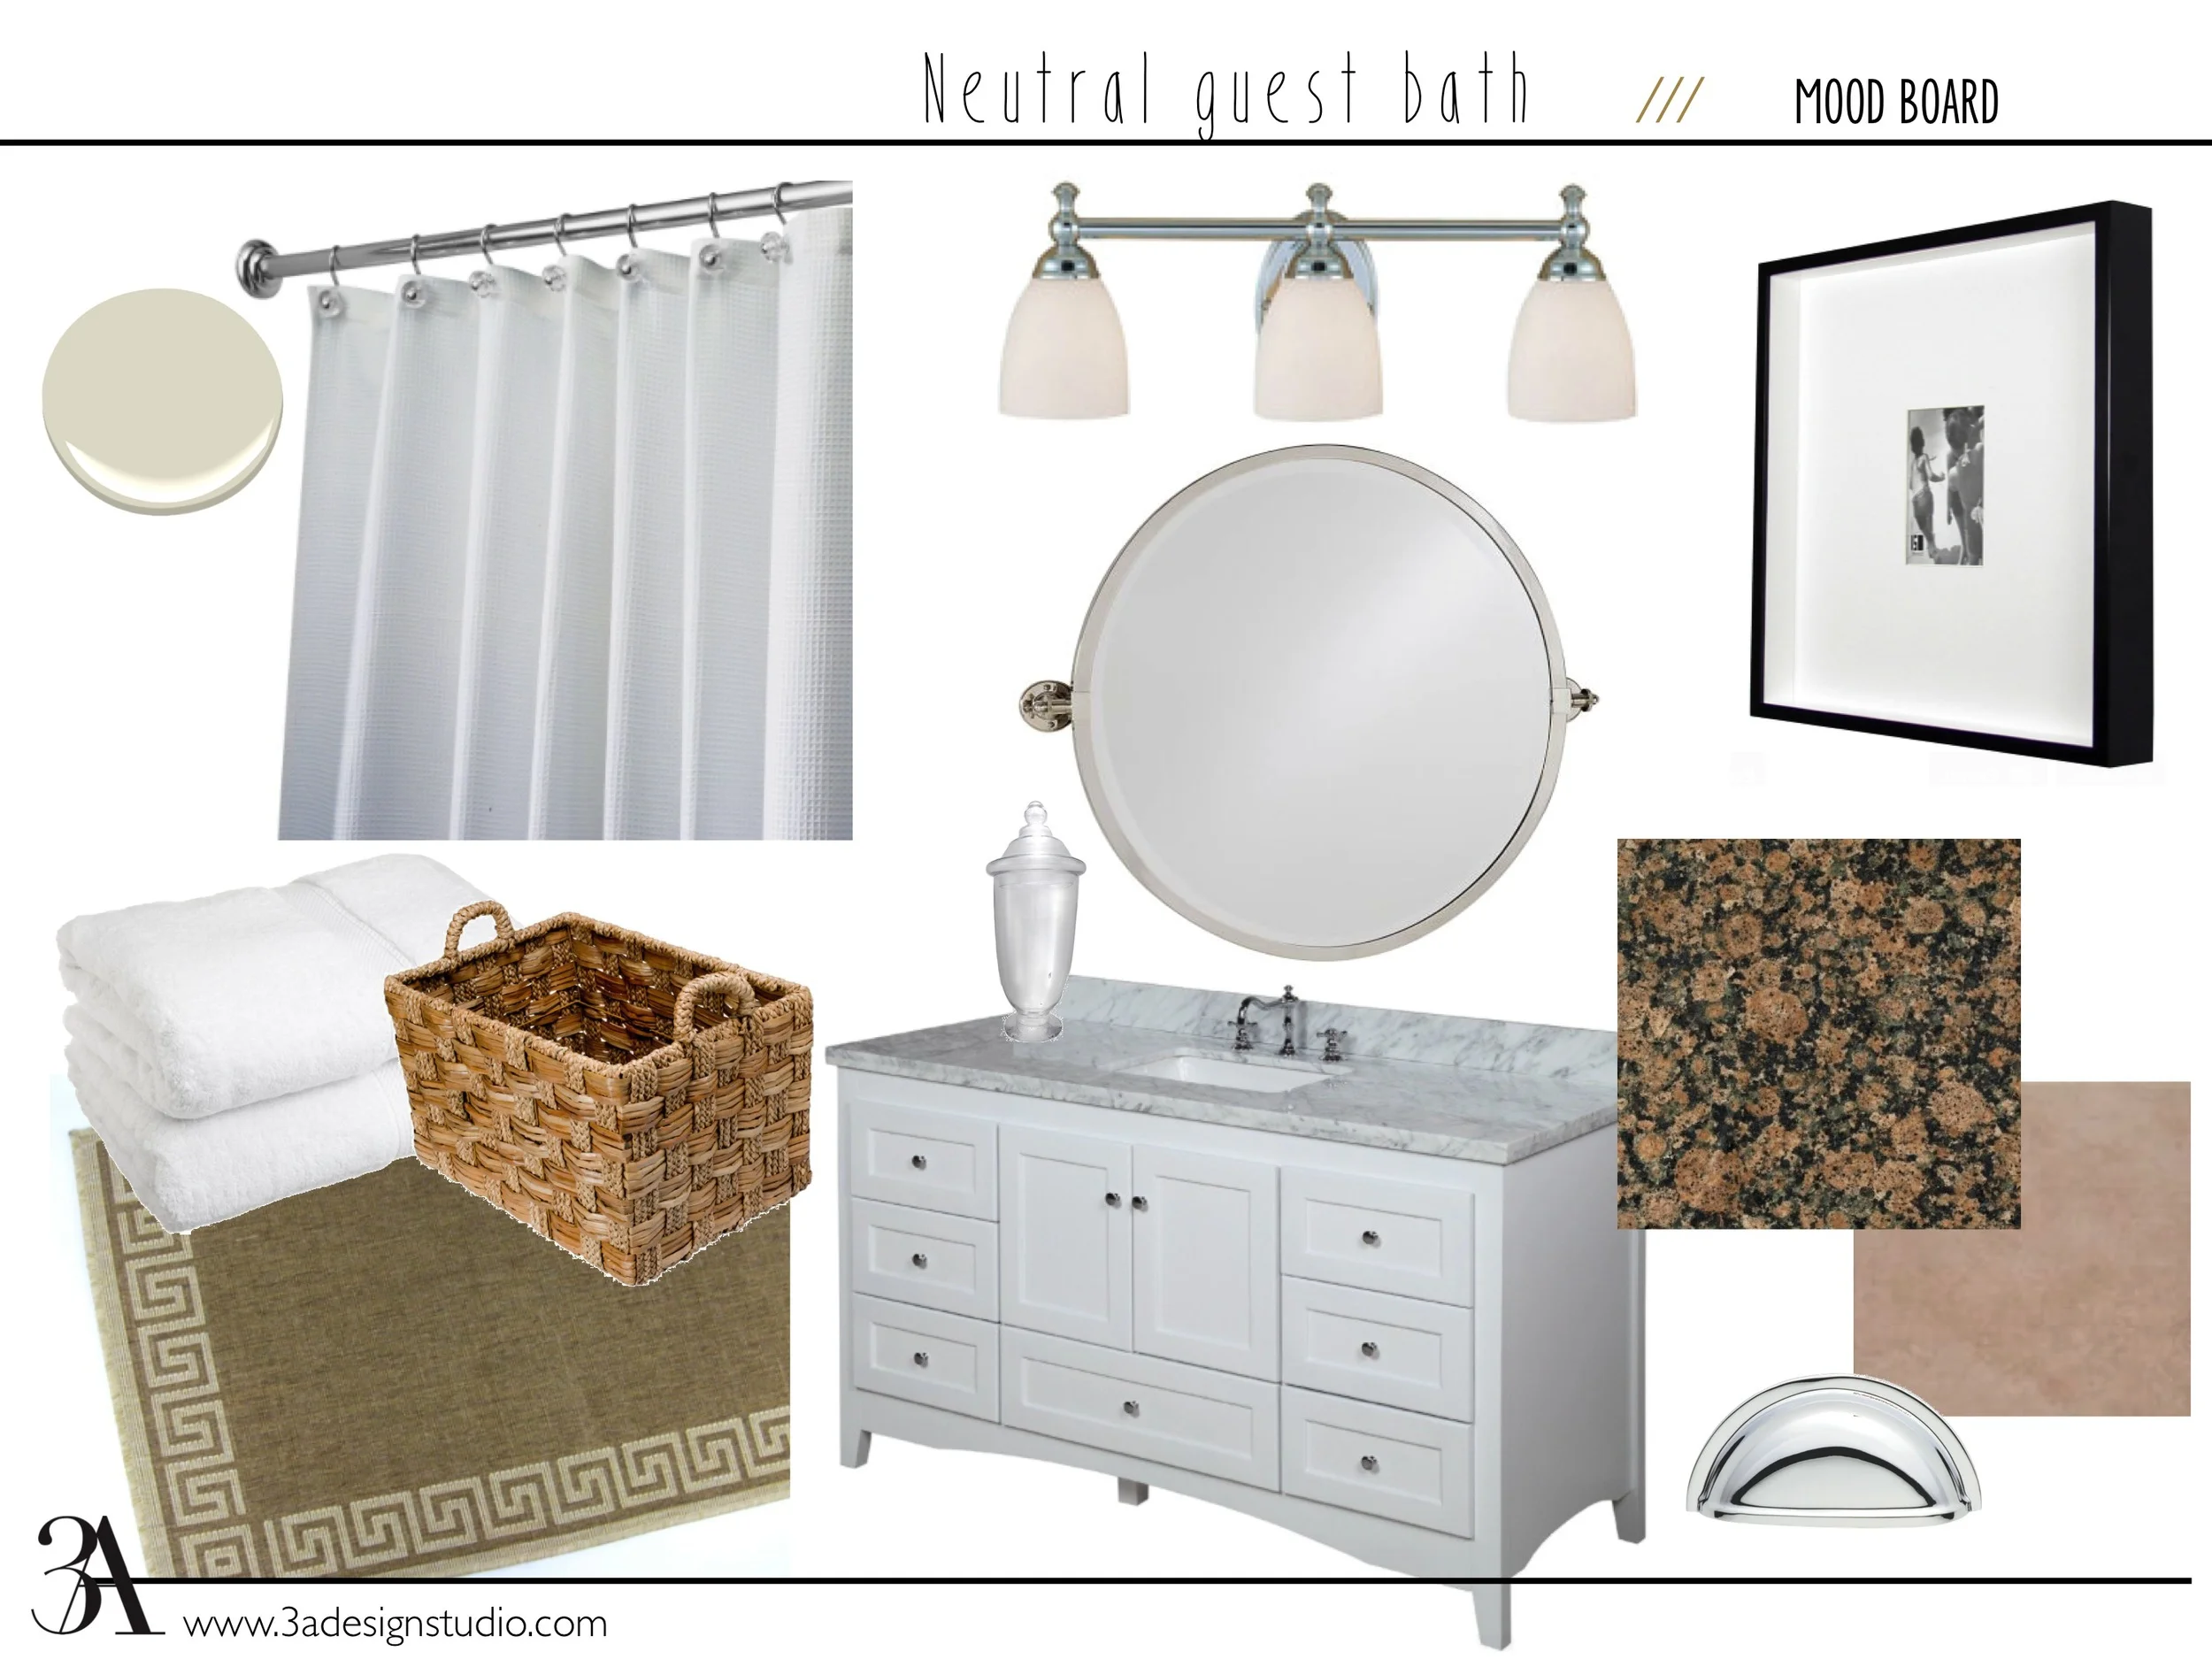
Until the repainting gets done, I have my sights on finally getting a new mirror. I decided I wanted a round one to break up all of the squared lines in the room and found one in the perfect size (we need something large for the longer vanity length) and perfect finish from Pottery Barn. It is more than I'd like to spend, but I'm so tired of searching, I don't even care at this point.

I think it will dress up the space a bit and finally rid the room of the brown wars (granite, mirror, floor tile, shower tile, etc.) Here it is with all of the other elements in the room.
Such an improvement! I can't wait to finally finish this space!...then it's on the to the next thing...the house of a designer is never finished!